
Discovery II
FRONT SUSPENSION
60-46
REPAIRS
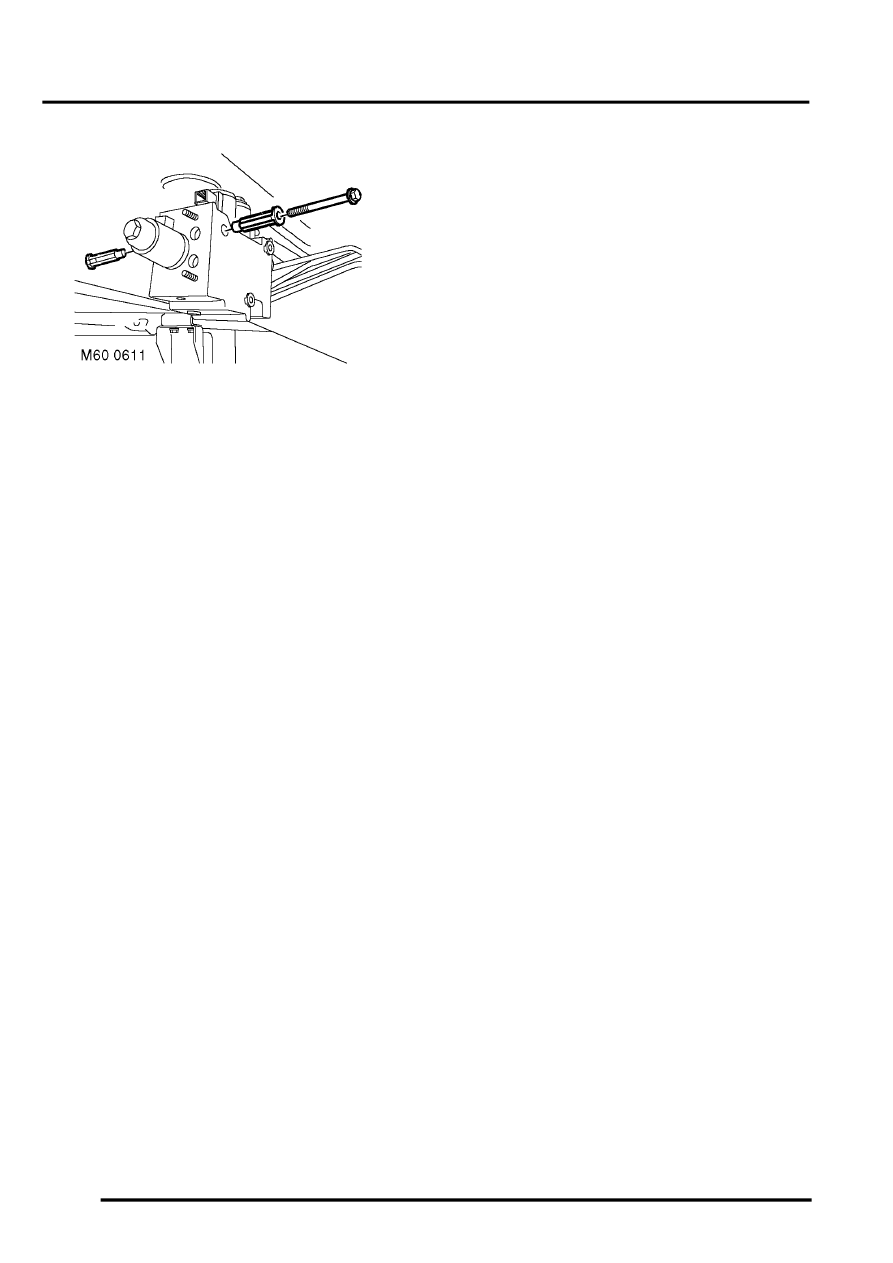
7. Remove 3 bolts securing valve block to
chassis.
8. Release front pipes and clamping plate from
valve block and remove valve block.
CAUTION: Always fit plugs to open
connections to prevent contamination.
NOTE: Keep pipes assembled to clamping
plate to maintain correct pipe positions for
refitting.
9. Remove 6 bushes from valve block.
Refit
1. Fit 6 bushes to valve block.
2. Ensure valve block and pipe connections are
clean.
3. It is important that the pipe ends are in good
condition to achieve a seal.
4. Position valve block and connect front pipes
and clamping plate. To avoid damage to
seals, keep pipes square to valve block. Fit
and tighten bolts securing valve block to
chassis to 18 Nm (13 lbf.ft).
CAUTION: Ensure pipes are installed in
their correct ports or serious system
damage will occur.
5. Fit and tighten nuts securing front clamping
plate to valve block to 21 Nm (15 lbf.ft).
6. Fit bolt securing front pipe clip to chassis and
tighten to 6 Nm (4.4 lbf.ft).
7. Connect rear pipes and clamping plate to valve
block. To avoid damage to seals, keep pipes
square to valve block. Fit and tighten nuts
securing clamping plate to valve block to 21 Nm
(15 lbf.ft).
CAUTION: Ensure pipes are installed in
their correct ports or serious system
damage will occur.
8. Fit bolts securing rear pipe clips to chassis and
tighten to 6 Nm (4.4 lbf.ft) .
9. Connect 4 multiplugs to valve block.
10. If the same valve block has been refitted, renew
11. Bleed ACE hydraulic system.
ADJUSTMENTS, ACE hydraulic system
bleeding.
12. Lower vehicle.