
L322 Range Rover Service Procedures
PANEL REPAIRS
PROCEDURES
-15
2. Cut new and existing panels as necessary to
form butt, joggle or brace joint as required.
Remove all clamps and metal remnants.
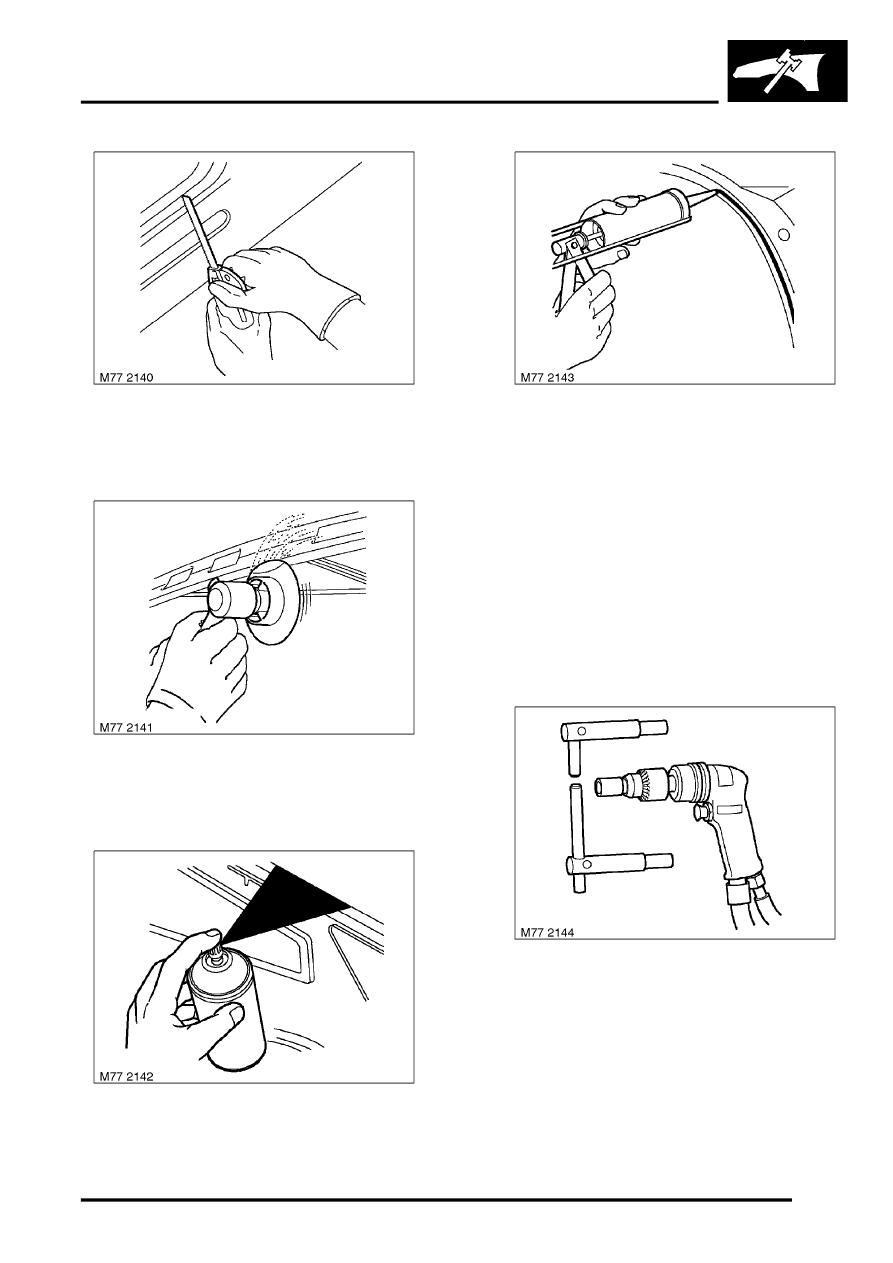
3. Prepare new panel joint edges for welding by
sanding to a bright finish. This must include
inner as well as outer faces.
4. Apply suitable weld-through primer, to panel
joint surfaces to be welded, using brush or
aerosol can.
5. Apply adhesive sealant to panel joint surfaces.
Offer up and align
1. Offer up new panel and align with associated
panels. Clamp into position using welding
clamps or Mole grips. Where a joggle or brace
joint is being adopted, make a set in the original
panel joint edge or insert a brace behind the
joint.
NOTE: In cases where access for welding
clamps is difficult, it may be necessary to use
tack welds.
Welding
1. Select arms for resistance spot welding and
shape electrode tips using a tip trimmer. Tips
should be dressed so the diameter is equal to
twice the thickness of the metal to be welded
plus 3.0 mm (0.118 ins).
CAUTION: Use arms not exceeding 300 mm
(11.811ins) in length.
NOTE: To maintain weld efficiency, the tips will
require regular cleaning and dressing.