
MKX AWD V6-3.5L (2007)
Install the LH and RH rear drive tube bracket-to-housing screws.
-
Tighten to 5 Nm (44 lb-in).
7. NOTE:
-
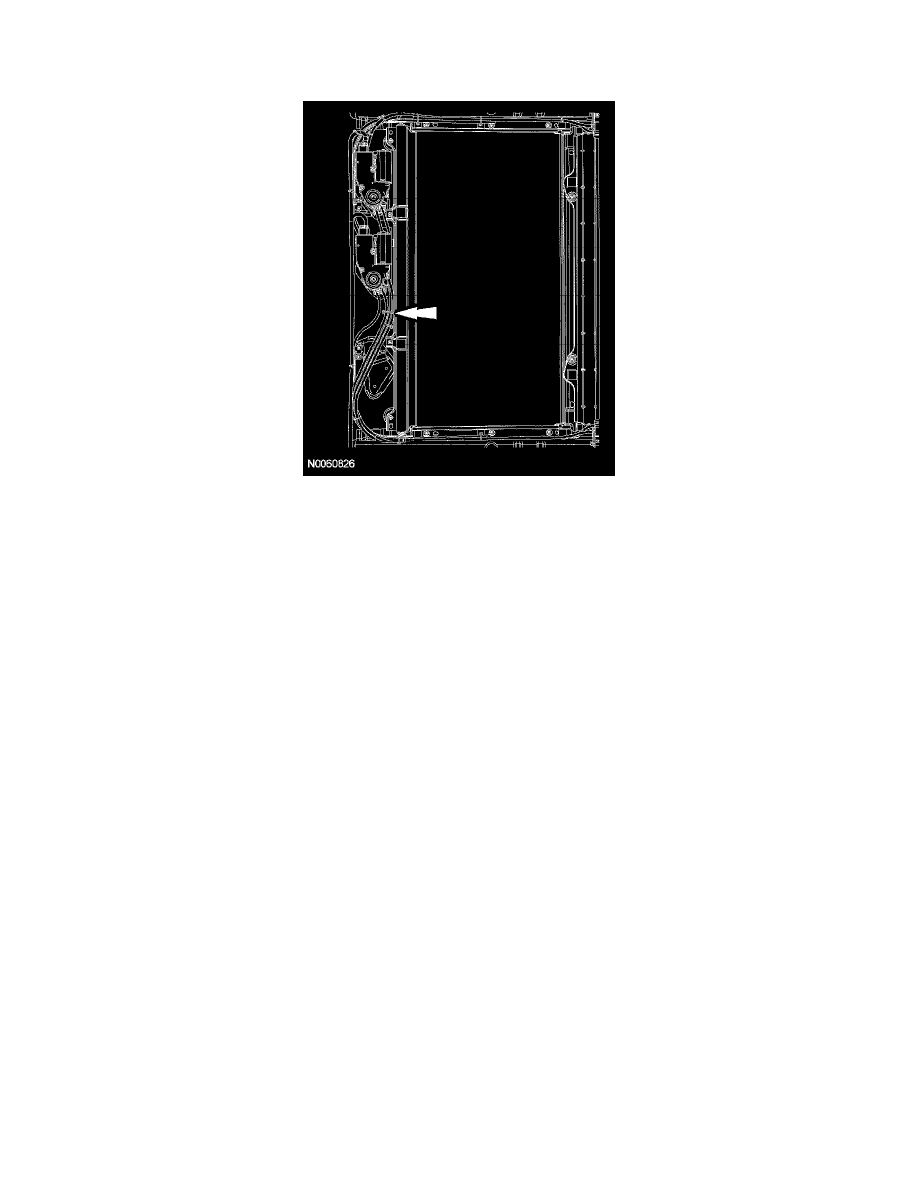
Be careful not to overtighten cable wraps during assembly to prevent crimping the cable sheath.
-
The cable wraps must be reinstalled at the exact same locations.
Install new cable wraps to the shade motor block and drive tube assembly.
8. NOTE: Do not install the headliner at this time.
Install the front and rear shade assemblies but do not carry out the roof opening panel motor initialization at this time.
9. Manually move the sliding front glass mechanisms forward until they are flush against the track hard-stops.
10. NOTE: Do not install the headliner at this time.
Install the roof opening panel sliding glass motor but do not carry out the initialization at this time.
11. Carefully move the front and rear shades rearward to the fully OPEN position by pushing at the edges closest to the tracks.
12. Install the roof opening panel shade motor but do not carry out the initialization at this time.
13. With the roof opening sliding glass panel still removed, initialize the roof opening panel motor(s).
14. NOTE:
-
Press the glass open switch to move the mechanisms rearward to allow installation of the sliding glass panel.
-
It will be necessary to carry out the initialization procedure again after the glass panel is installed.
Install the roof opening panel sliding glass.