
Town Car V8-4.6L VIN V Flex Fuel (2006)
3. NOTE: Avoid scratching the pinch weld. For minor scratches or exposed metal on the pinch weld, see the manufacturer's recommendations.
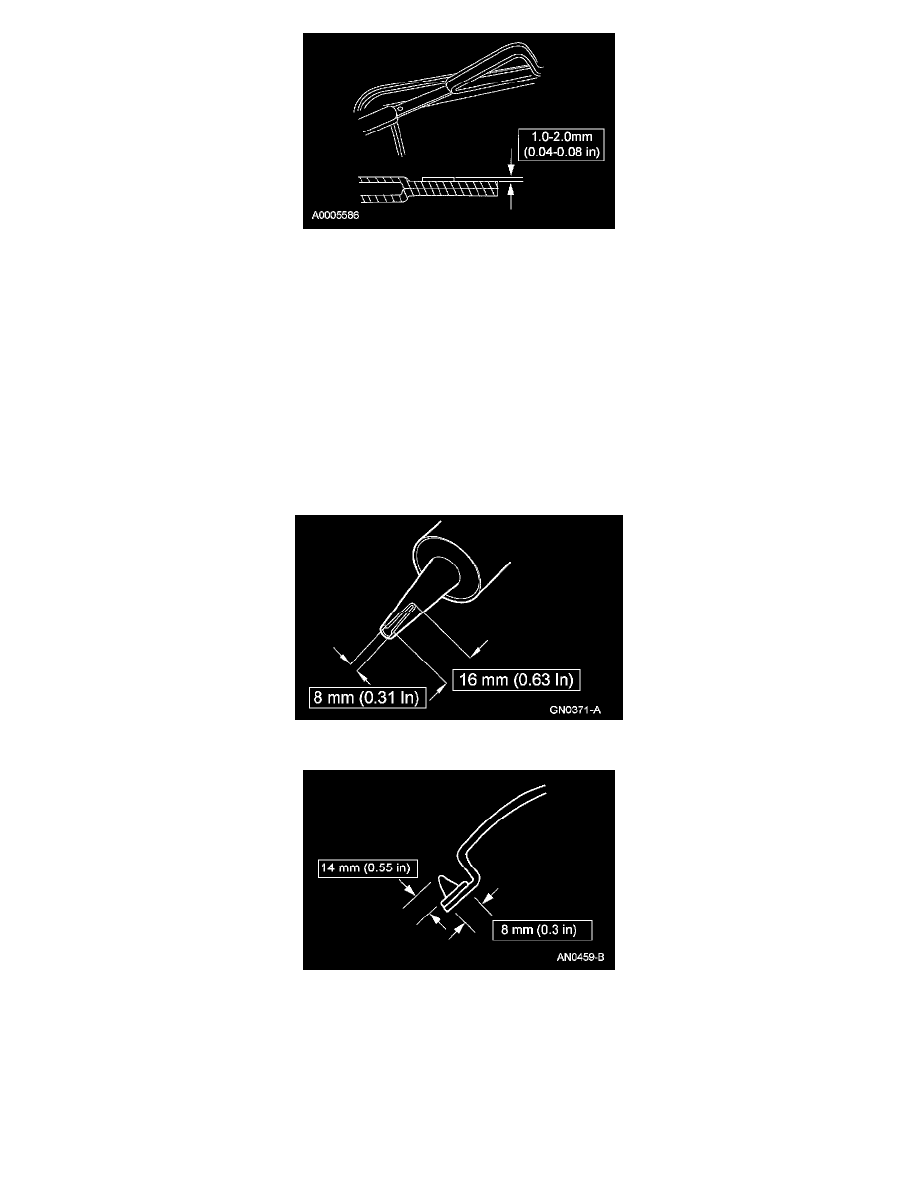
Using an appropriate tool, trim the urethane adhesive leaving a 1-2 mm (0.04-0.08 in.) base of original equipment urethane on the pinch weld.
4. If reinstalling the original rear window glass, remove the excess urethane adhesive from the rear window glass.
5. If a new rear window glass is to be installed, attach the new moulding to the edge of the glass starting at the top center, then working out, then
down the pillars and around the corners.
6. Clean the rear window glass with a non-alcohol based window cleaner.
7. CAUTION: Be sure to use the same brand and cure-rate products for the adhesive and primer. Do not mix different brands of urethane
and primer. Refer to the Material Chart.
NOTE: Sika uses the same black primer for the glass and pinch weld area.
If installing a new rear window glass, apply urethane glass primer according to the manufacturer's instructions. Allow at least 6 minutes to dry.
8. Cut the urethane adhesive applicator tip to specification.
9. NOTE: Use either a high-ratio, electric or battery-operated caulk gun that applies the urethane with less effort and continuous bead.
Apply urethane adhesive on top of the existing trimmed urethane adhesive bead on the pinch weld. Make sure that all gaps in the urethane
adhesive are smoothed into one continuous bead starting and ending at the bottom of the rear window glass near the center.