
3 L4-2.5L (2010)
Antenna Cable: Testing and Inspection
Sirius Satellite Radio Antenna Feeder Inspection
SIRIUS SATELLITE RADIO ANTENNA FEEDER INSPECTION
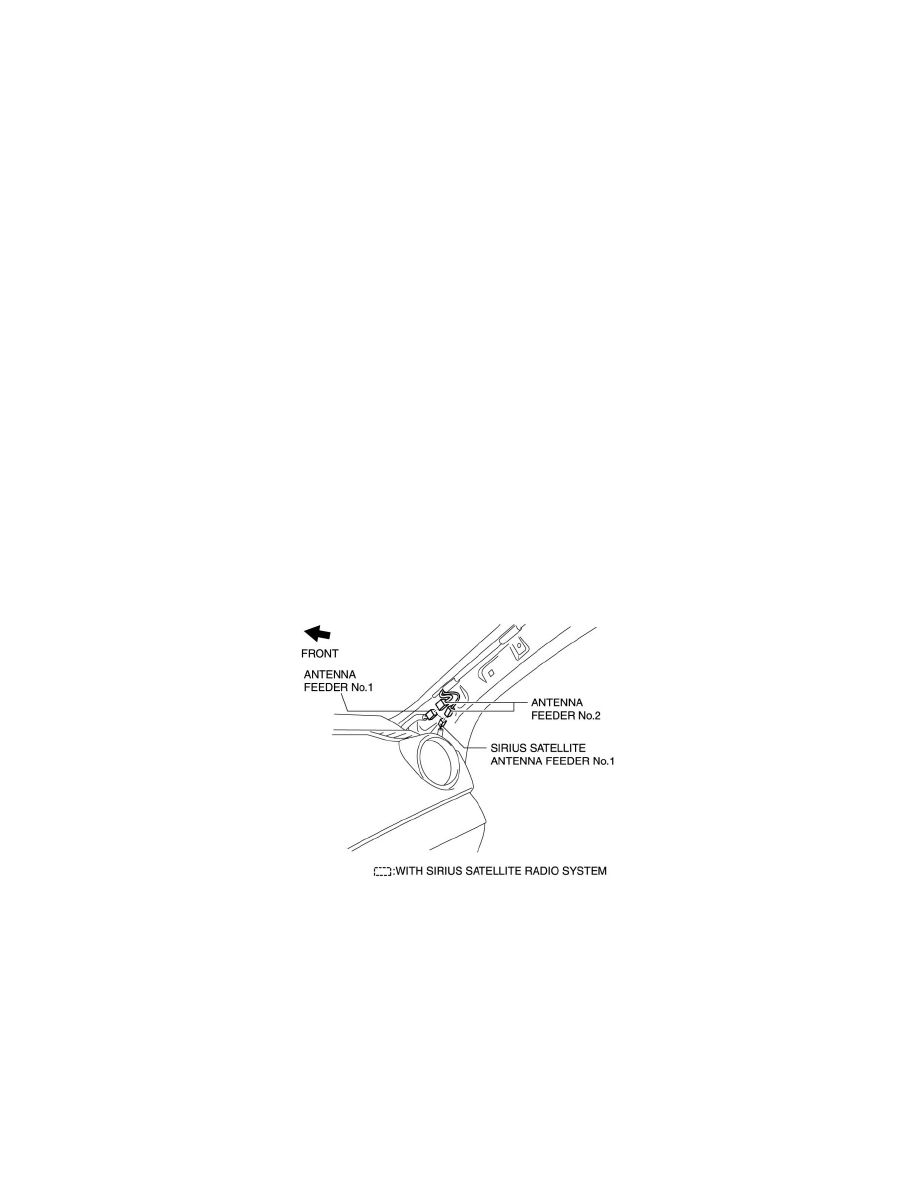
SIRIUS Satellite Radio Antenna Feeder No.1
NOTE:
-
SIRIUS satellite radio antenna feeder No.1 is integrated with the dashboard wiring harness.
1. Disconnect the negative battery cable.
2. Remove the following parts:
a. Passenger-side front scuff plate See: Body and Frame/Interior Moulding / Trim/Scuff Plate/Service and Repair/Front Scuff Plate
Removal/Installation
b. Passenger-side front side trim See: Body and Frame/Interior Moulding / Trim/Trim Panel/Service and Repair/Front Side Trim
Removal/Installation
c. Dashboard under cover See: Body and Frame/Interior Moulding / Trim/Dashboard / Instrument Panel/Service and Repair/Removal and
Replacement/Dashboard Under Cover Removal/Installation
d. Grove compartment See: Body and Frame/Interior Moulding / Trim/Glove Compartment/Service and Repair
e. Passenger-side lower panel See: Body and Frame/Interior Moulding / Trim/Dashboard / Instrument Panel/Service and Repair/Removal and
Replacement/Lower Panel Removal/Installation
f.
A-pillar trim (RH) See: Body and Frame/Interior Moulding / Trim/Trim Panel/Service and Repair/A-Pillar Trim Removal/Installation
3. Disconnect the SIRIUS satellite radio antenna feeder connector. See: Radio, Stereo, and Compact Disc/Radio/Stereo/Radio Tuner/Service and
Repair
4. Disconnect the antenna feeder No.2.
5. Verify that the continuity between SIRIUS satellite radio antenna feeder No.1 terminals is as indicated in the table.