
Mazdaspeed6 L4-2.3L Turbo (2006)
2. Remove the Bolt.
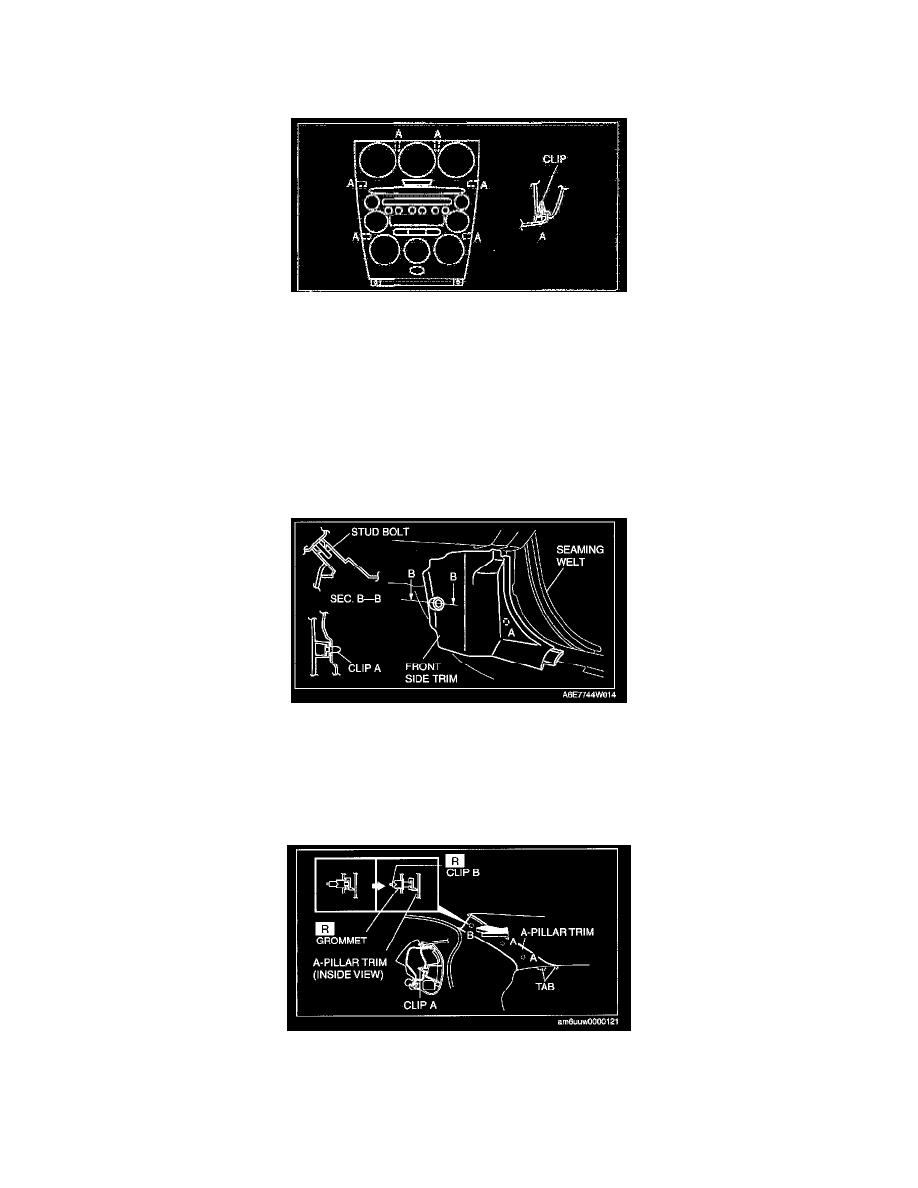
Center Panel Unit Removal Note
1. Pull the center panel unit toward you, then disengage clips A from the dashboard, and remove the center panel unit.
Caution
Verify that bolt has been removed when pulling the center panel unit outward. If the center panel unit is pulled with bolt installed, stress will
be applied to the connectors inside the panel which may cause a malfunction.
Front Side Trim Removal/Installation
FRONT SIDE TRIM REMOVAL/INSTALLATION
1. Remove the front scuff plate.
2. Partially peel back the seaming welt.
3. Pull the front side trim outward, disengage clip A and the stud bolt, then remove the front side trim.
4. Install in the reverse order of removal.
A-Pillar Trim Removal/Installation
A-PILLAR TRIM REMOVAL/INSTALLATION
1. Partially peel back the seaming welt.
2. Pull the A-pillar trim shown in the figure in the direction of the arrow, raise clip B from its grommet together with the A-pillar trim, and remove
clips A at the same time.