
Mazdaspeed6 L4-2.3L Turbo (2006)
Clutch Fluid: Service and Repair
Clutch Fluid Air Bleeding/Replacement
CLUTCH FLUID AIR BLEEDING/REPLACEMENT
Caution:
^
Fluid will damage painted surfaces. Be careful not to spill any on painted surfaces. If fluid does get on painted surfaces, wipe it off immediately.
^
Keep the fluid level in the reserve tank at 3/4 full or more during air bleeding.
Note: When replacing the fluid, drain the old fluid, fill the reserve tank with new fluid and then perform Steps 1-7 below.
Specified fluid SAE J1703, FMVSS 116 DOT-3
1. Remove the under cover.
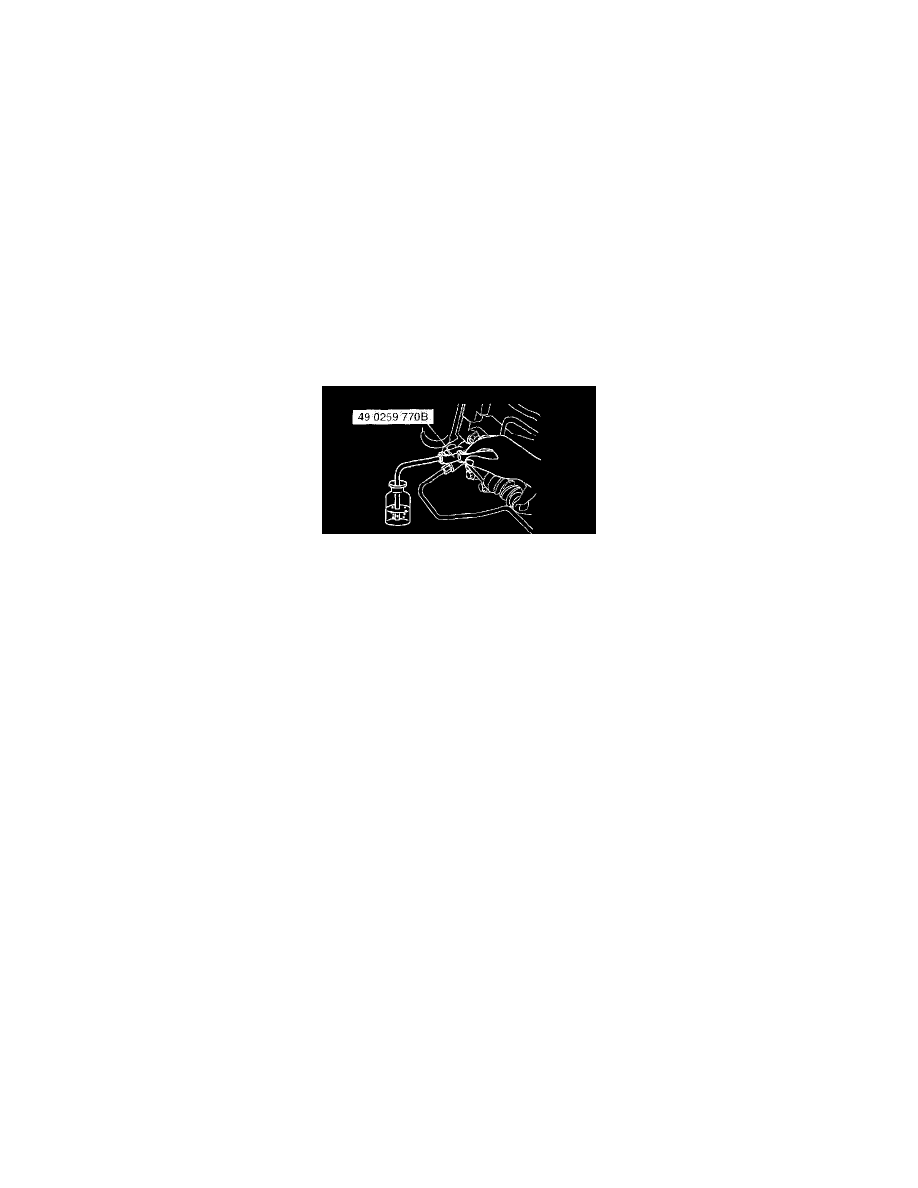
2. Remove the bleeder cap from the clutch release cylinder, and connect a vinyl hose to the bleeder plug.
3. Place the other end of the vinyl tube in a clear container, and fill fluid in the container during air bleeding.
4. Working with two people, one should depress the clutch pedal a few times and then depress and hold the pedal down.
5. While the clutch pedal is being held down, the other person should loosen the bleeder screw using the SST, and bleed any fluid containing air
bubbles. Once completed, tighten the bleeder screw.
6. Continue to perform Steps 4 and 5 until no air comes from the vinyl hose.
7. Tighten the bleeder screw using the SST.
Tightening torque 5.9 - 8.8 Nm (61 - 89 kgf-cm, 53 - 77 inch lbs.)
8. Fill the reserve tank to MAX with the recommended fluid.
9. Perform the following inspections:
^
Clutch operation
^
Fluid leakage
^
Fluid level