
MPV LX 4WD V6-3.0L SOHC (1997)
Trim Panel: Service and Repair
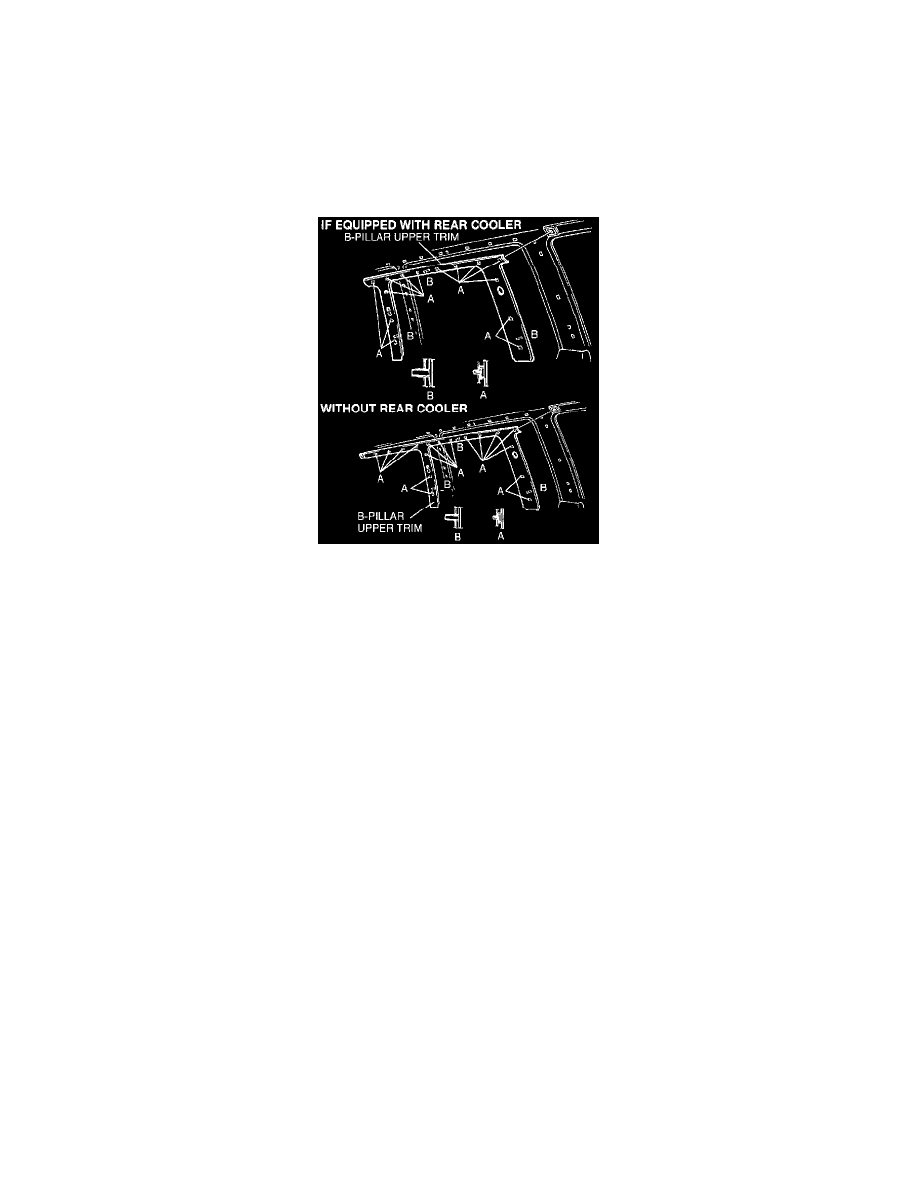
B-Pillar Upper Trim Removal / Installation
1. Remove the rear header trim.
2. Remove the mat set end plate.
3. Remove the rear side trim.
4. Remove the D-pillar trim.
5. Remove the front and rear scuff plate.
6. Remove the B-pillar lower trim.
7. Remove the front seat belt upper anchor and the rear No.1 seat belt upper anchor.
8. Pull the B-pillar upper trim to disengage clips A and pins B from the body, and remove the B-pillar upper trim.
9. Install in the reverse order of removal.