
MPV LX 2WD V6-3.0L SOHC (1998)
Lower Arm Ball Joint Removal Note (5)
1. Remove the cotter pin and nut.
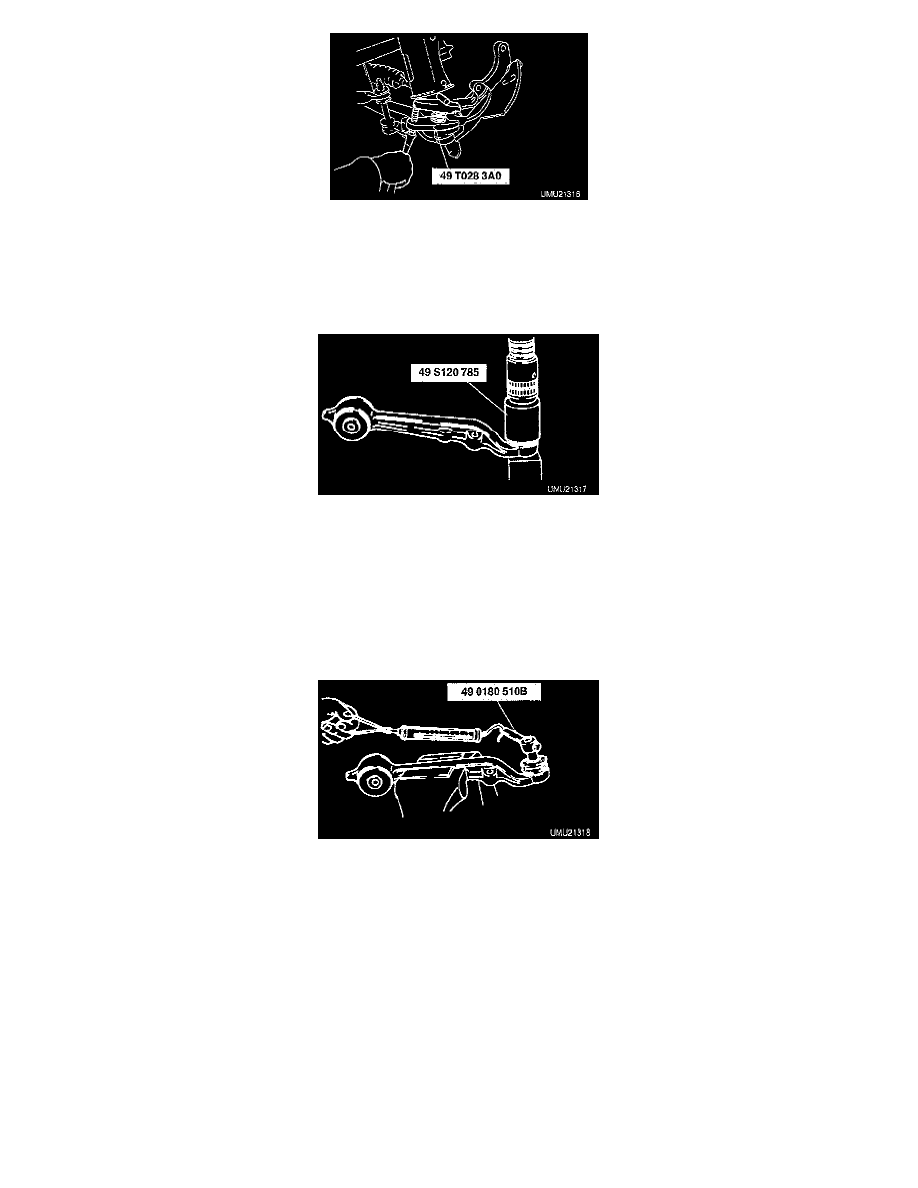
2. Separate the ball joint from the knuckle by using the Special Service Tool (SST).
Dust Boot Removal Note (8)
-
Remove the dust boot by using a chisel.
Dust Boot Installation Note (8)
1. Liberally coat the inside of the new dust boot with grease (lithium-based, NLGI No. 2).
2. Press the dust boot onto the ball joint by using the SST.
FRONT LOWER ARM INSPECTION
1. Remove the front lower arm from the vehicle.
2. Inspect the arm for damage and the boot for cracks. Replace them if necessary.
3. Inspect the ball joint for looseness. Replace the arm if necessary.
4. Shake the ball joint stud at least five times.
5. Connect the SST to the stud and measure the rotation torque by using a pull scale.
Rotation torque: 2.0 - 3.4 Nm (18 - 30 inch lbs.)
Pull-scale reading: 20 - 34 N (4.4 - 7.7 lbs.)
6. If not within the specification, replace the front lower arm.