
RX7 2RTR- 1308cc 1.3L Turbo FI (1989)
Fuel Injector: Testing and Inspection
POWER SUPPLY CHECK
1.
Disconnect injector harness electrical connectors and turn ignition "ON".
2.
Check for voltage at the B/Y wire terminal of the harness side connectors.
IGNITION "OFF" - 0 volts
IGNITION "ON" - 12 volts (battery voltage)
If no voltage is present, check main relay and wiring between main relay and injector harness connector.
RESISTANCE CHECK (OFF VEHICLE)
Individual Injector - Resistance Checking
Check resistance between terminals on individual injectors, as shown in figure.
RESISTANCE: approx. 12 - 16 ohms
If resistance is not within the specified range, replace injector(s).
INJECTOR SPRAY PATTERN AND LEAKAGE CHECKING
NOTE: Before performing any fuel system work, relieve system pressure by starting engine with fuel pump relay (circuit open relay) disconnected
and let run until engine dies. Then remove hose on outlet side of fuel filter. To avoid fuel spray, cover with a clean rag while removing hose.
1.
Remove intake manifold dynamic chamber and fuel rail with injectors. Leave fuel lines connected.
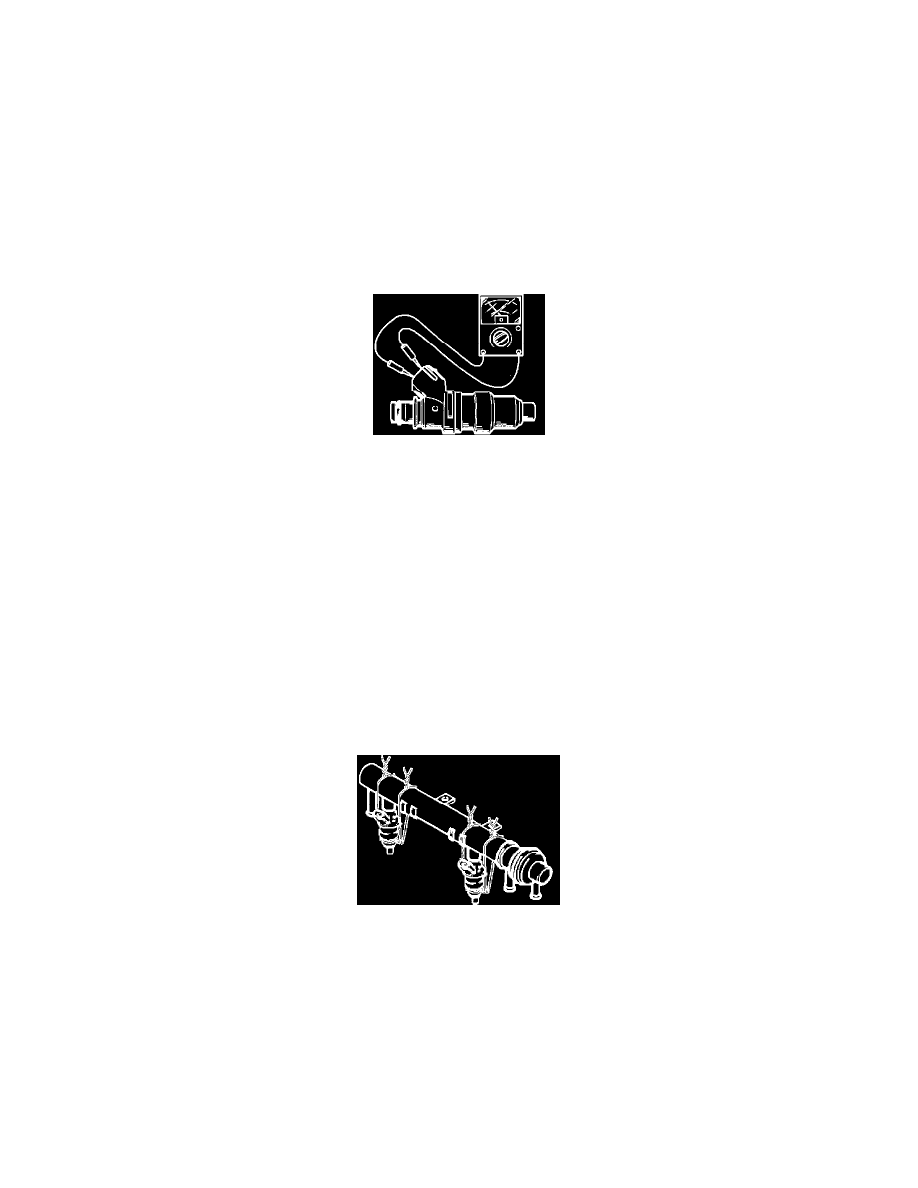
Secondary Fuel Rail With Injectors Attached For Testing
2.
Secure injectors to fuel rails with wire, making certain that injectors are straight and cannot move (see illustration).