
Grand Marquis V8-302 5.0L VIN F TBI (1984)
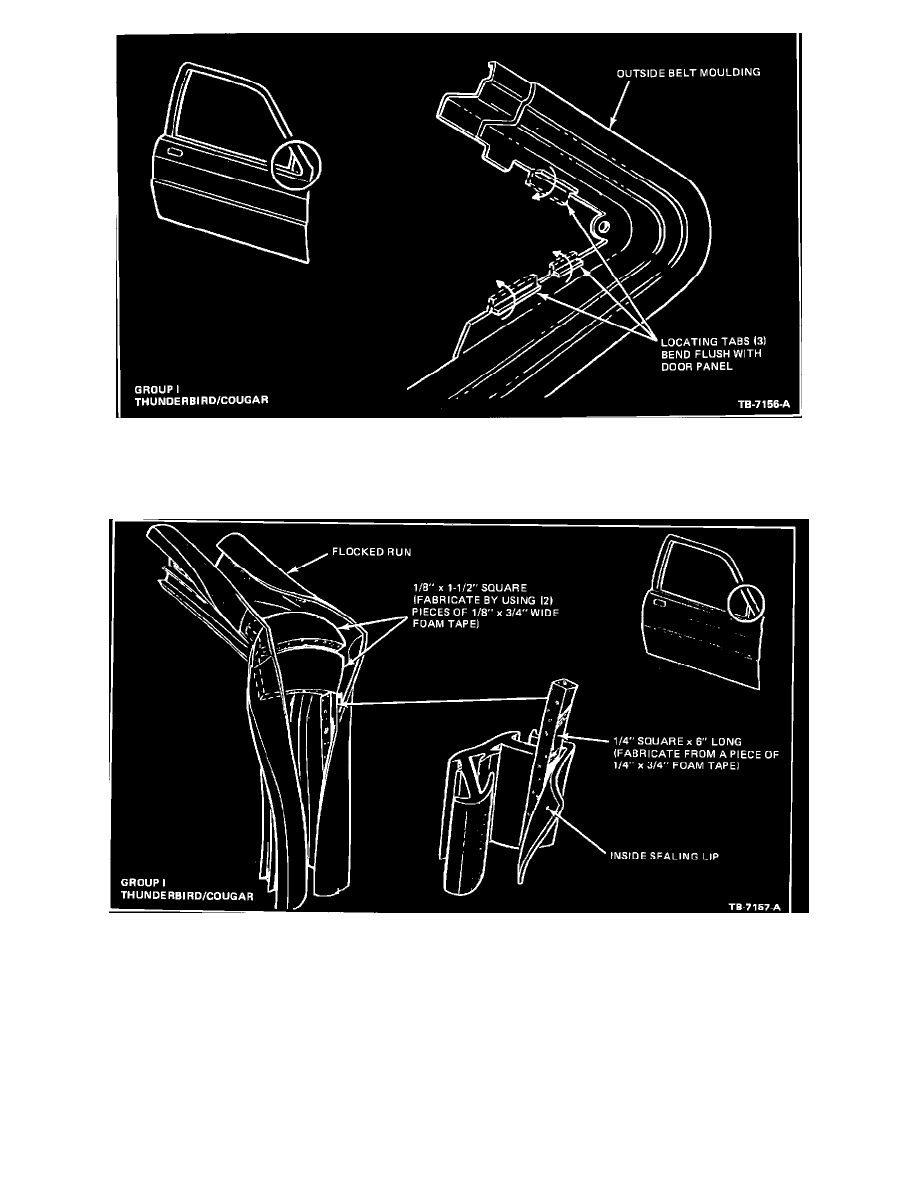
Figure 3
The O/S belt mouldings on early built units have (3) tabs in nose area that were used to locate the sail mirror. These tabs contribute to the
dislocation of the sail mirror gasket. Therefore, if tabs are present they must be bent flush with door panel before remounting sail mirror. (Figure 3).
Figure 4
4.
Applies only to units without vent windows.
Pull front moulded corner of flocked run out of door frame and install a piece of 1/8"x 1/2" square piece of foam tape (fabricate by using two pieces of
3/4" wide tape). Also, install a piece of 1/4" square x 6" long foam tape behind the inner lip of the vertical portion of the flocked run, starting at the
moulded corner and working down approximately 6" as shown in Figure 4.
NOTE:
The 1/4" square foam tape that has to be installed under the inside sealing lip will extend approximately 2-1/2" below the belt line, therefore it
may be necessary to remove the
door trim panel to facilitate installation.