Mariner 4WD L4-2.5L (2010)

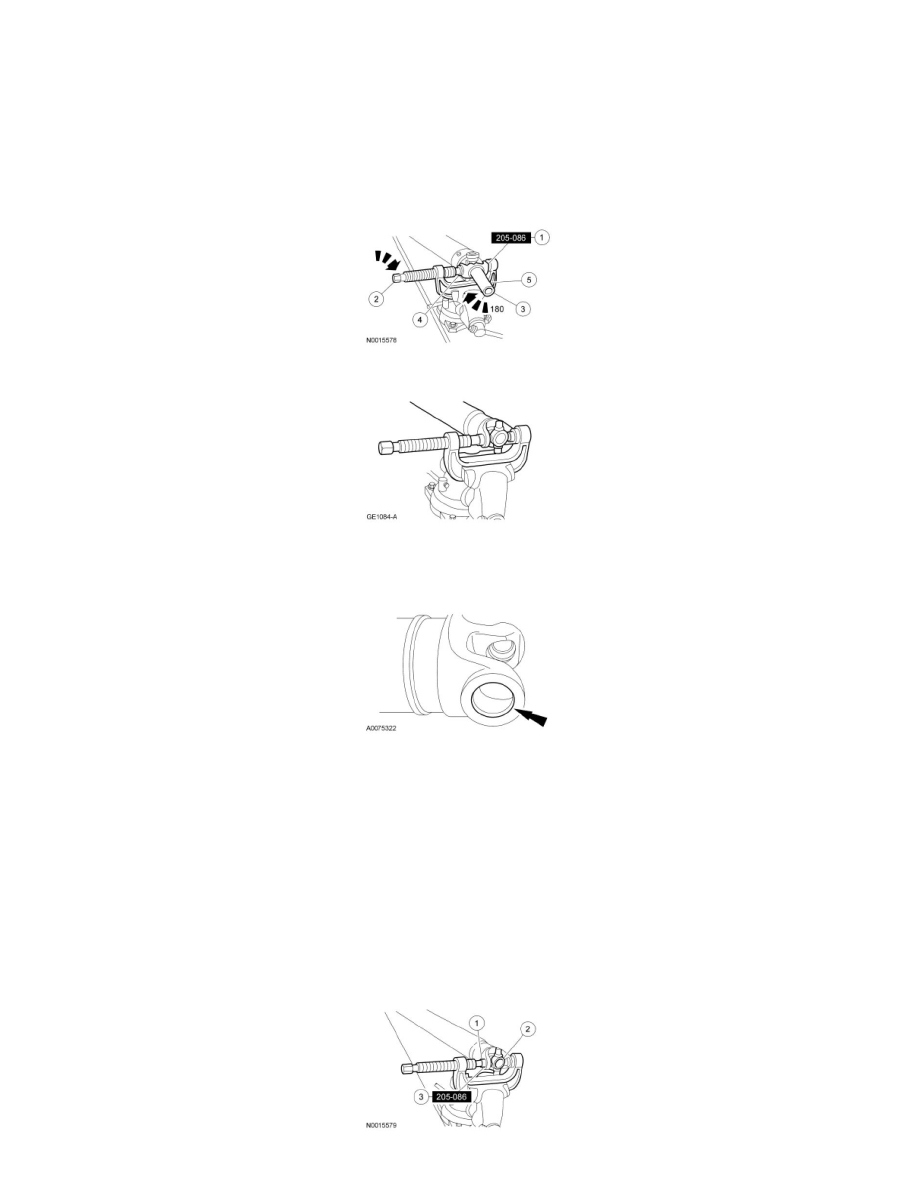
1. Position the driveshaft slip yoke in the C-Frame and Screw Installer/Remover.
2. Press out a bearing cup.
3. Rotate the driveshaft slip yoke 180 degrees.
4. Press on the U-joint spider to remove the remaining bearing cup.
5. Remove the driveshaft slip yoke.
7. Repeat steps to remove the remaining bearing cups and the U-joint spider from the driveshaft yoke.
8. NOTE: Inspect the bearing cup bores and retaining ring grooves. Remove any rust or other surface irregularities.
Inspect the bearing cup bores of the driveshaft slip yoke and driveshaft yoke. Make sure that the bearing cup bores are clean and smooth.
Assembly
1. NOTE: Install the U-Joint Kits as complete assemblies only. Do not mix components from other U-Joint Kits.
NOTE: Lubricate the driveshaft slip yoke and driveshaft yoke bearing cup bores with grease before installing the bearing cups.
Install a new U-joint spider and bearing cup.
1. Start a new bearing cup in the driveshaft yoke.
-
Check the needle bearings for correct positioning.
2. Position the new U-joint spider in the driveshaft yoke.
3. Using the C-Frame and Screw Installer/Remover, press the bearing cup to just below the snap ring groove.
