
Mountaineer AWD V8-4.6L VIN 8 (2006)
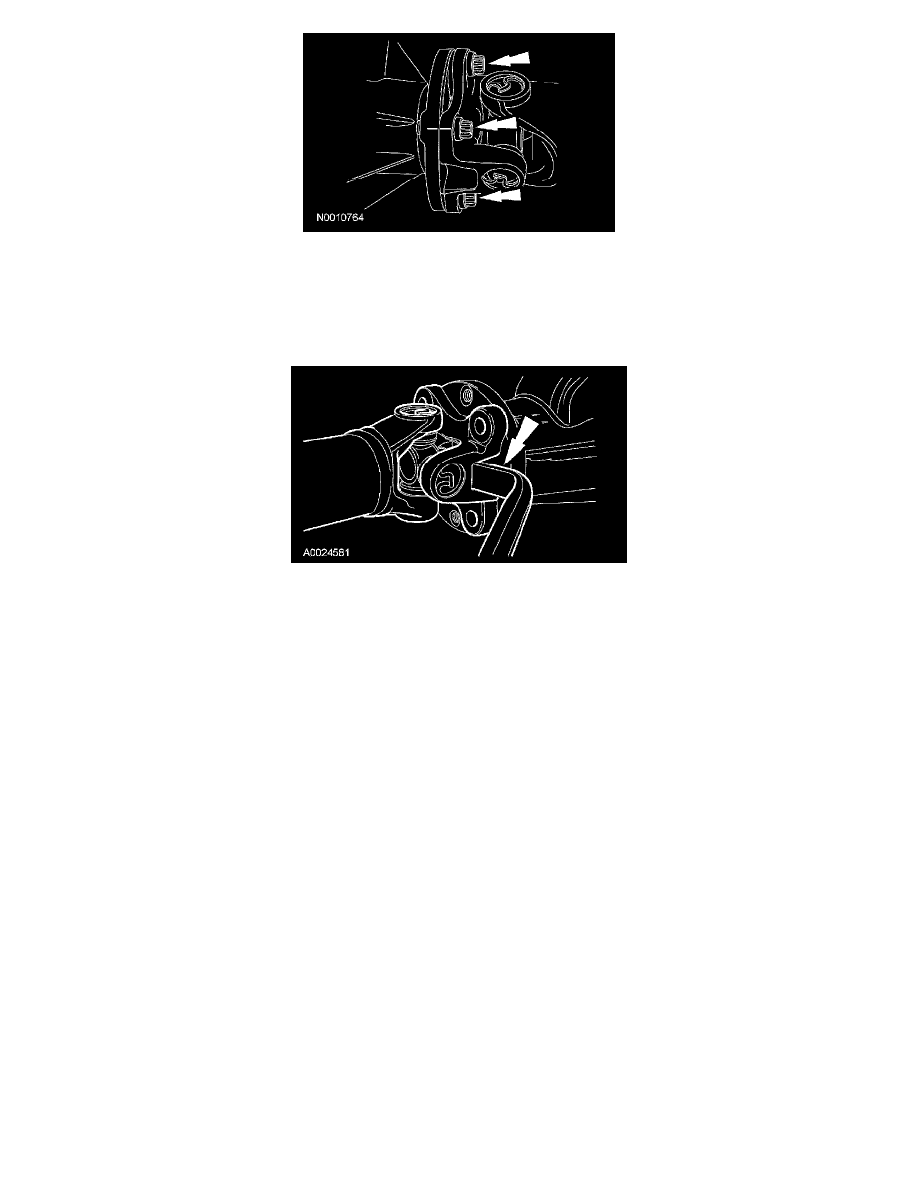
6. Remove and discard the transfer case rear output flange bolts.
^
To install, tighten to 112 Nm (83 ft. lbs.).
7. CAUTION: The driveshaft flange fits tightly on the axle pinion flange pilot and the transfer case output flange. Never hammer on the driveshaft
or any of its components to disconnect the driveshaft flanges from the mating flanges. Pry only in the area shown, with a suitable tool, to
disconnect the driveshaft flanges.
Using a suitable tool as shown, disconnect the driveshaft flanges and remove the driveshaft.
8. CAUTION: The driveshaft flanges fits tightly on the pinion flange pilots. To make sure that the driveshaft flanges seat squarely on the pinion
flanges, tighten the driveshaft flange bolts evenly in a cross pattern.
CAUTION: If new driveshaft flange bolts are not available, coat the threads of the original driveshaft flange bolts with threadlock and sealer.
To install, reverse the removal procedure.
^
Install new fasteners.