
Sable AWD V6-3.5L (2008)
All vehicles
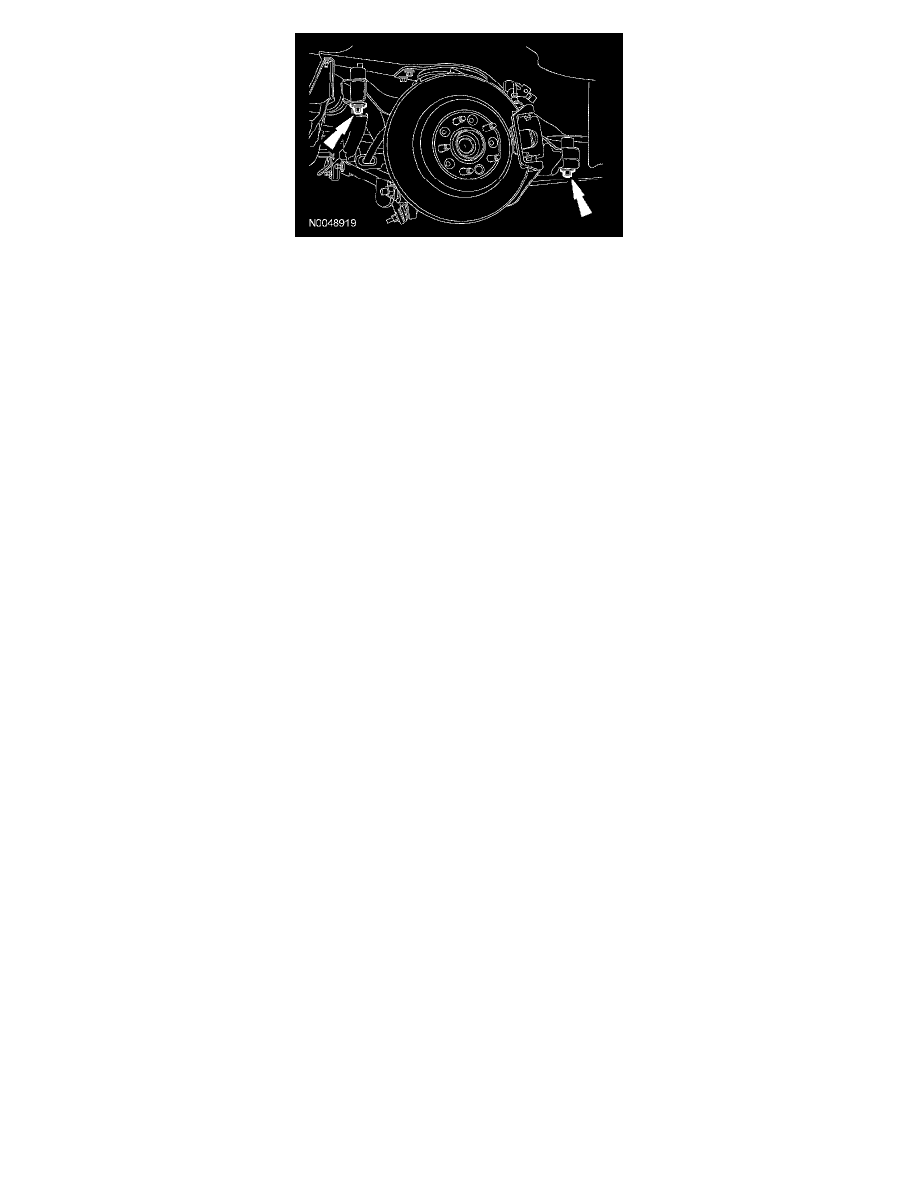
27. Remove the 2 LH rear subframe bolts.
-
To install, tighten to 115 Nm (85 lb-ft).
28. Correctly support the fuel tank and remove the LH rear fuel tank strap bolt.
-
To install, tighten to 35 Nm (26 lb-ft).
29. Release the rear auxiliary inlet line fitting nut and disconnect the fitting.
-
Discard the O-ring seal.
-
To install, tighten to 8 Nm (71 lb-in).
30. Release the rear auxiliary inlet line fitting nut and disconnect the fitting.
-
Discard the O-ring seal.
-
To install, tighten to 8 Nm (71 lb-in).
31. Remove the 2 middle rear auxiliary line bracket bolts.
-
To install, tighten to 5 Nm (44 lb-in).
32. Remove the 2 middle rear auxiliary line brackets.
33. Remove the 2 middle front auxiliary line bracket nuts.
-
To install, tighten to 5 Nm (44 lb-in).
34. Remove the 2 middle front auxiliary line brackets.
35. CAUTION: To avoid loss of coolant, or unintended damage to an auxiliary line that is not being removed, clearly differentiate which line
is to be removed before cutting.
Assemble and lay out the replacement line(s) in the same position as the existing line(s) and, using a suitable tool, cut the auxiliary evaporator
line(s) in the same position as the middle fitting on the replacement line(s).
-
To install, connect the middle auxiliary evaporator line fitting(s).
36. Remove the front auxiliary line bracket nut.
-
To install, tighten to 5 Nm (44 lb-in).
37. Remove the front auxiliary line bracket.
38. Remove the front portion of the auxiliary evaporator outlet line and/or auxiliary evaporator inlet line.
39. Remove the rear auxiliary line bracket nut.
-
To install, tighten to 5 Nm (44 lb-in).
40. Remove the rear auxiliary line bracket.
41. NOTE: The LH side of the rear subframe and the LH side of the fuel tank will have to be lowered slightly to provide clearance to remove the
lines. Be sure to lower the rear subframe and fuel tank only as needed without stressing the attached components.
Remove the rear portion of the auxiliary evaporator outlet line and/or the auxiliary evaporator inlet line.
42. To install, reverse the removal procedure.
-
Install new gasket seals and O-ring seals.
-
Lubricate the refrigerant system with the correct amount of clean PAG oil.
43. Evacuate, leak test and charge the refrigerant system.