
Sable AWD V6-3.5L (2008)
5. Remove the evaporator outlet line fitting nut and disconnect the fitting.
-
Discard the O-ring seal and gasket seal.
-
To install, tighten to 15 Nm (11 lb-ft).
6. Remove the evaporator inlet line fitting bracket bolt.
7. Remove the evaporator inlet line fitting nut and disconnect the fitting.
-
Discard the O-ring seal and gasket seal.
-
To install, tighten to 15 Nm (11 lb-ft).
8. Remove the thermostatic expansion valve (TXV) manifold and tube bracket bolt.
-
To install, tighten to 9 Nm (80 lb-in).
Vehicles without auxiliary climate control
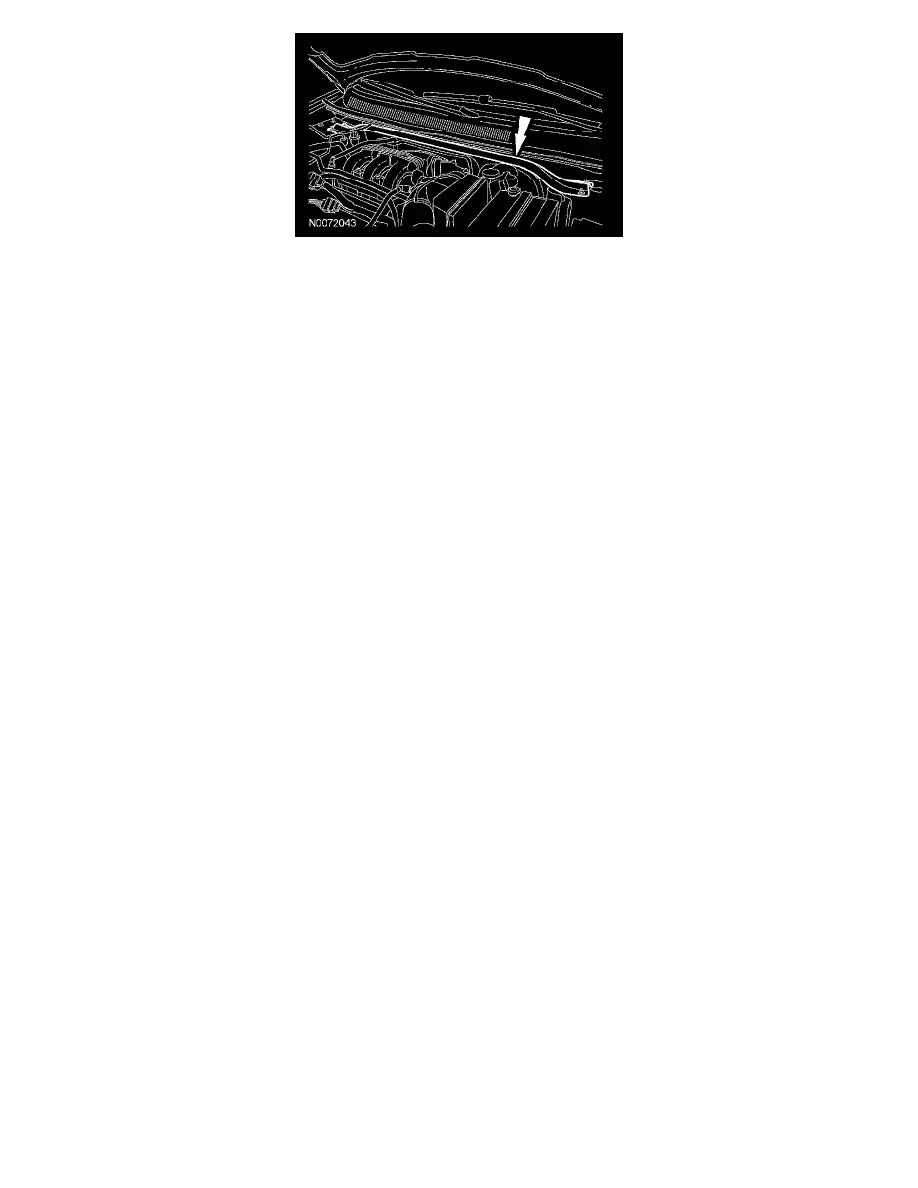
9. Disconnect the evaporative emission (EVAP) canister purge valve lower fitting.
Vehicles with auxiliary climate control
10. Remove the auxiliary evaporator outlet line fitting nut and disconnect the fitting.
-
Discard the O-ring seal.
-
To install, tighten to 15 Nm (11 lb-ft).
11. Remove the auxiliary evaporator inlet line fitting nut and disconnect the fitting (if equipped).
-
Discard the O-ring seal.
-
To install, tighten to 15 Nm (11 lb-ft).
All vehicles
12. Remove the TXV fitting bolt and disconnect the fitting.
-
Discard the O-ring seals.
-
To install, tighten to 8 Nm (71 lb-in).
13. Remove the TXV manifold and tube assembly.
14. To install, reverse the removal procedure.
-
Install new gasket seals and O-ring seals.
-
Lubricate the refrigerant system with the correct amount of clean PAG oil.
15. Evacuate, leak test and charge the refrigerant system.