
Villager V6-181 3.0L SOHC VIN 1 EFI (1997)
Piston Ring: Service and Repair
REMOVAL
1. Use a piston ring expander to remove the piston rings. Start with the top piston ring and move downward.
CAUTION: Use care not to scratch the pistons.
2. Remove the oil rings from the piston.
3. Remove the oil ring spacer.
INSTALLATION
1. Clean and inspect the piston and rings.
CAUTION: Use care not to scratch the pistons.
2. Check the piston ring end gap and the piston ring-to-groove clearance.
3. Apply clean engine oil to the oil ring spacer and the oil rings.
4. Install the oil ring spacer.
5. Install the upper and lower oil rings and ensure the oil ring spacer and the oil rings turn freely in both directions.
NOTE: The upper and lower oil rings are the same and can be installed with either face up.
6. Use a piston ring expander to install the second piston ring.
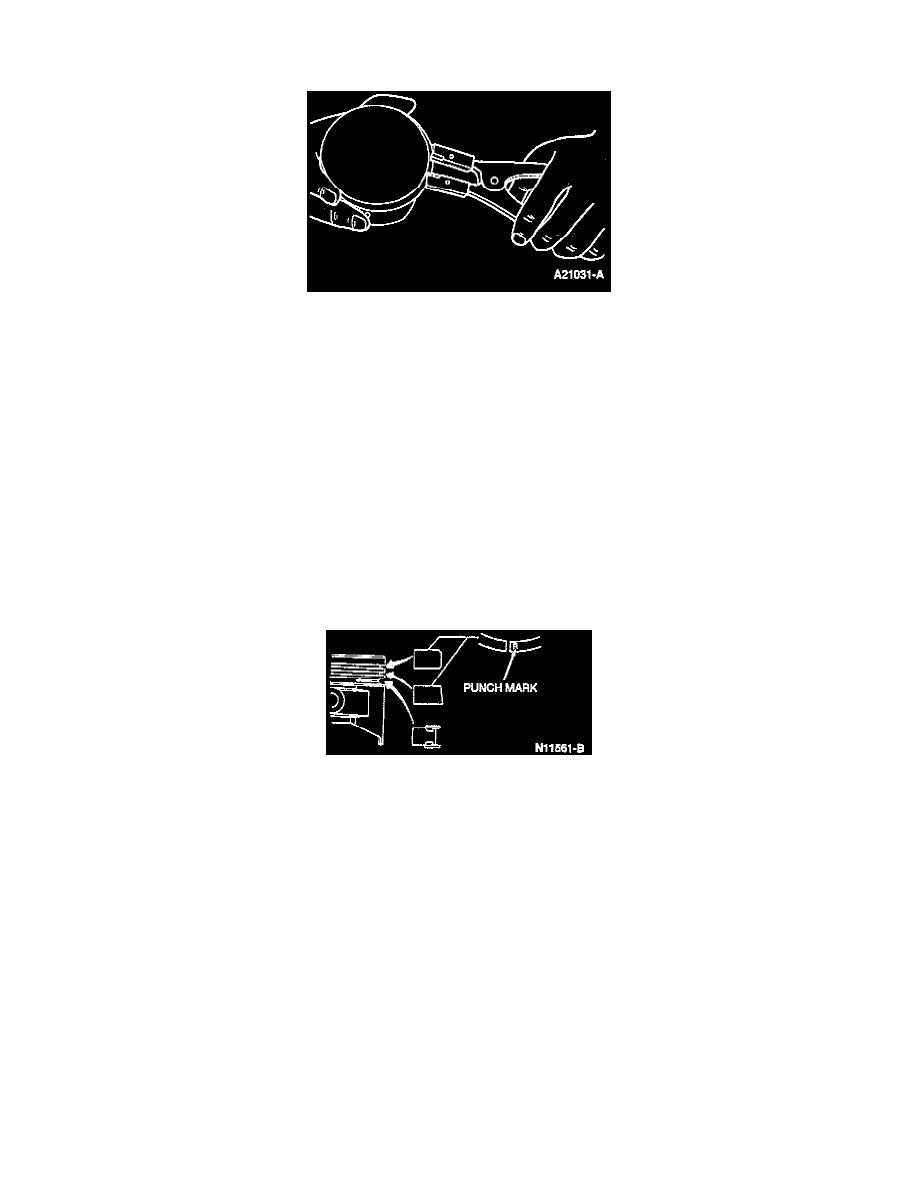
NOTE: If a punch mark exists on the piston rings, install the piston rings with the punch mark facing the top of the piston. If no punch mark
exists, the piston rings can be mounted with either side up.
7. Use a piston ring expander to install the first piston fling.