
Villager V6-181 3.0L SOHC VIN 1 EFI (1997)
7. Connect the heater blower motor electrical connector and heater blower motor resistor electrical connectors.
8. Position the A/C outlet duct on the rear air conditioning and heating assembly. Install the six rear air conditioning and heating assembly A/C outlet
duct screws. Tighten the six rear air conditioning and heating assembly A/C outlet duct screws securely.
9. Install the LH quarter trim panel.
10. Evacuate and charge the A/C system.
11. Connect the battery ground cable.
12. Fill the engine cooling system.
Rear Climate Control Panel
REMOVAL
1. Disconnect the battery ground cable.
2. Use an appropriate trim tool to pry the rear climate control assembly from the LH quarter trim panel.
3. Disconnect the rear climate control assembly electrical connectors and remove the rear climate control assembly from the vehicle.
INSTALLATION
1. To install, reverse the removal procedure.
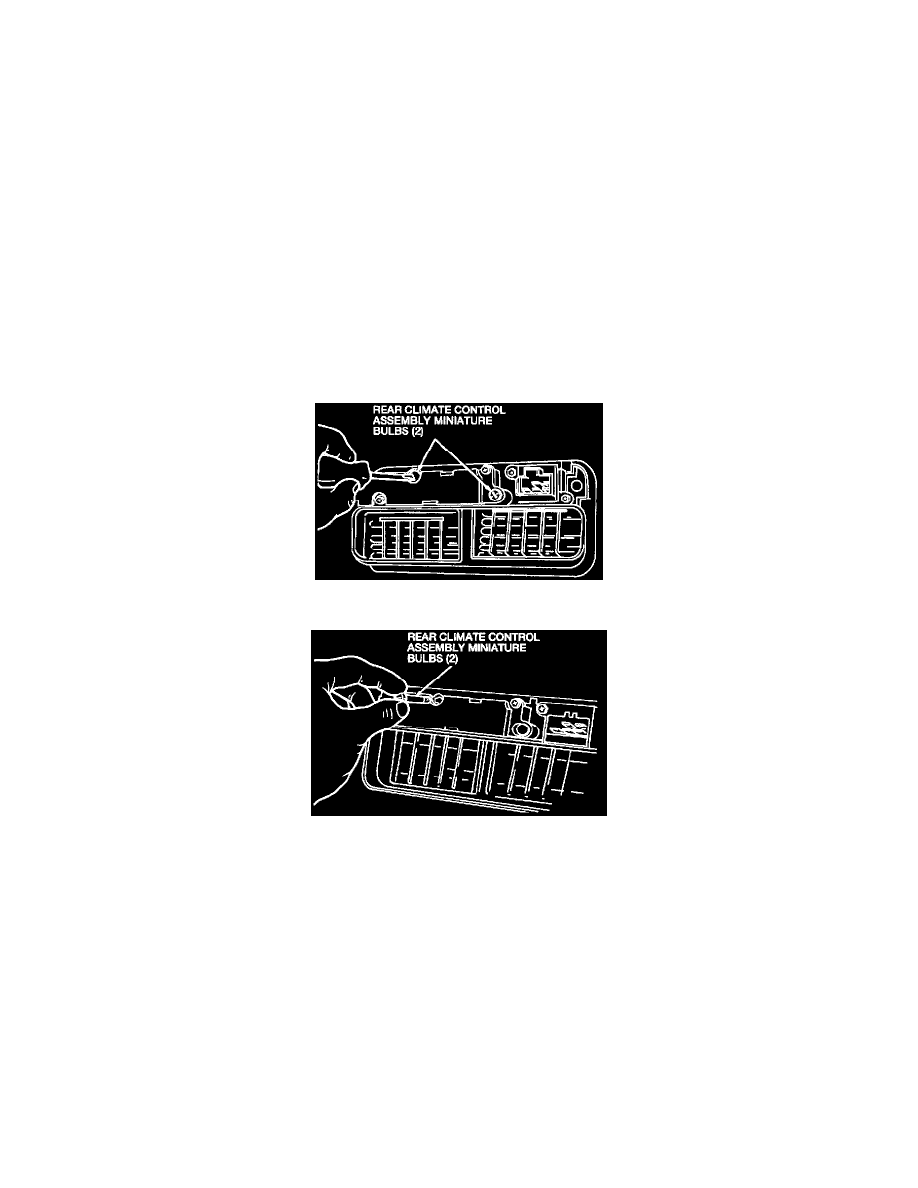
Rear Climate Control Panel Illumination Bulbs
REMOVAL
1. Disconnect the battery ground cable.
2. Use an appropriate trim tool to pry the rear climate control assembly from the LH quarter trim panel.
3. Disconnect the rear climate control assembly electrical connectors.
4. Unscrew the two rear climate control assembly miniature bulbs.
5. Remove the two rear climate control assembly miniature bulbs from the rear climate control assembly.
INSTALLATION
1. To install, reverse the removal procedure.
Control Assembly, HVAC
REMOVAL
1. Disconnect the battery ground cable.
2. Remove the four console compartment plastic screws or the C/D changer cover plastic screws (if equipped) and the console compartment door or
the C/D changer cover.
3. Remove the instrument panel ash receptacle.