Villager V6-181 3.0L SOHC VIN 1 EFI (1997)

4. Use a soft punch and hammer to drive on the end of the output shaft to seat the stop ring in the stop: ring retainer.
5. Install the internal gear, starter drive, output shaft, and drive lever and pin in the drive end housing.
NOTE: Apply grease to the drive lever and pin prior to installation.
6. Install the starter motor armature into the output shaft.
7. Install the pinion drive gear spring, pinion drive gear, and stop ring retainer onto the starter drive.
8. Install the stop ring.
9. Remove the starter motor armature.
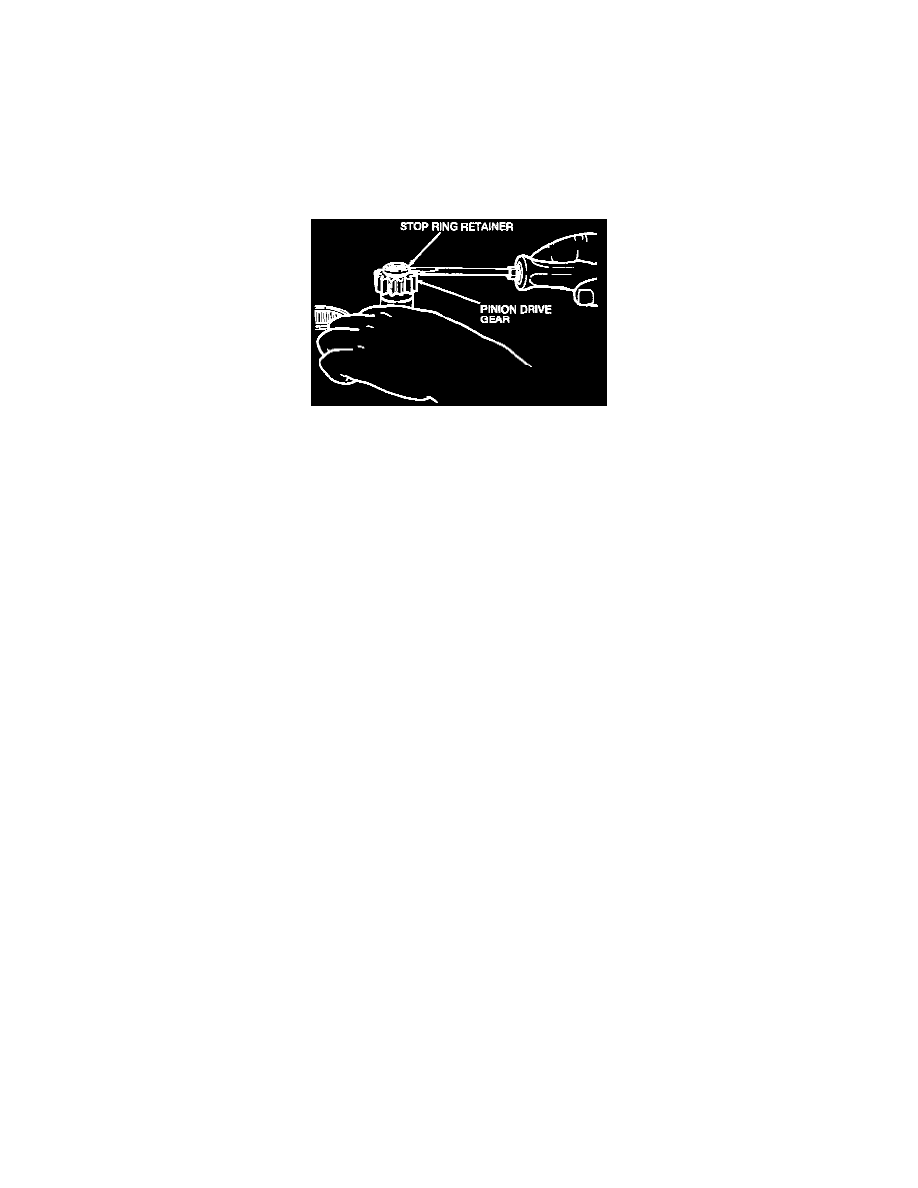
10. Insert a screwdriver between the pinion drive gear and the stop ring retainer to seat the stop ring.
11. Install the ball bearing.
12. Install the planet gears.
NOTE: Apply grease to the planet gears and the mounting points prior to installation.
13. Install the packing.
14. Install the starter motor armature in the starter frame.
15. Install the starter motor armature and starter frame into the drive end housing.
16. Install the brush holder and brush spring assembly on the starter motor armature.
17. Install the brush end plate. Install the two brush holder screws securing the brush holder to the brush end plate. Tighten the brush holder screws to
2.02.9 N.m (18-26 Lb.In).
18. Install the two thru bolts. Tighten the thru bolts to 6.9-8.8 N.m (61-78 Lb-In).
19. Install the disc plate and dust cover.
20. Install the plunger and plunger spring into the starter solenoid.
21. Install the starter solenoid into the drive end housing. Install the two starter solenoid screws. Tighten the starter solenoid screws to 4.9-6.9 N.m
(43-61 Lb.In).
22. Install the brush cable and the M-terminal nut. Tighten the M-terminal nut to 9.8-11.8 N.m (87-104 Lb.In).
23. Install the support bracket and nut.
24. Install the dust cap.
