
3000GT AWD V6-2972cc 3.0L DOHC Turbo (1991)
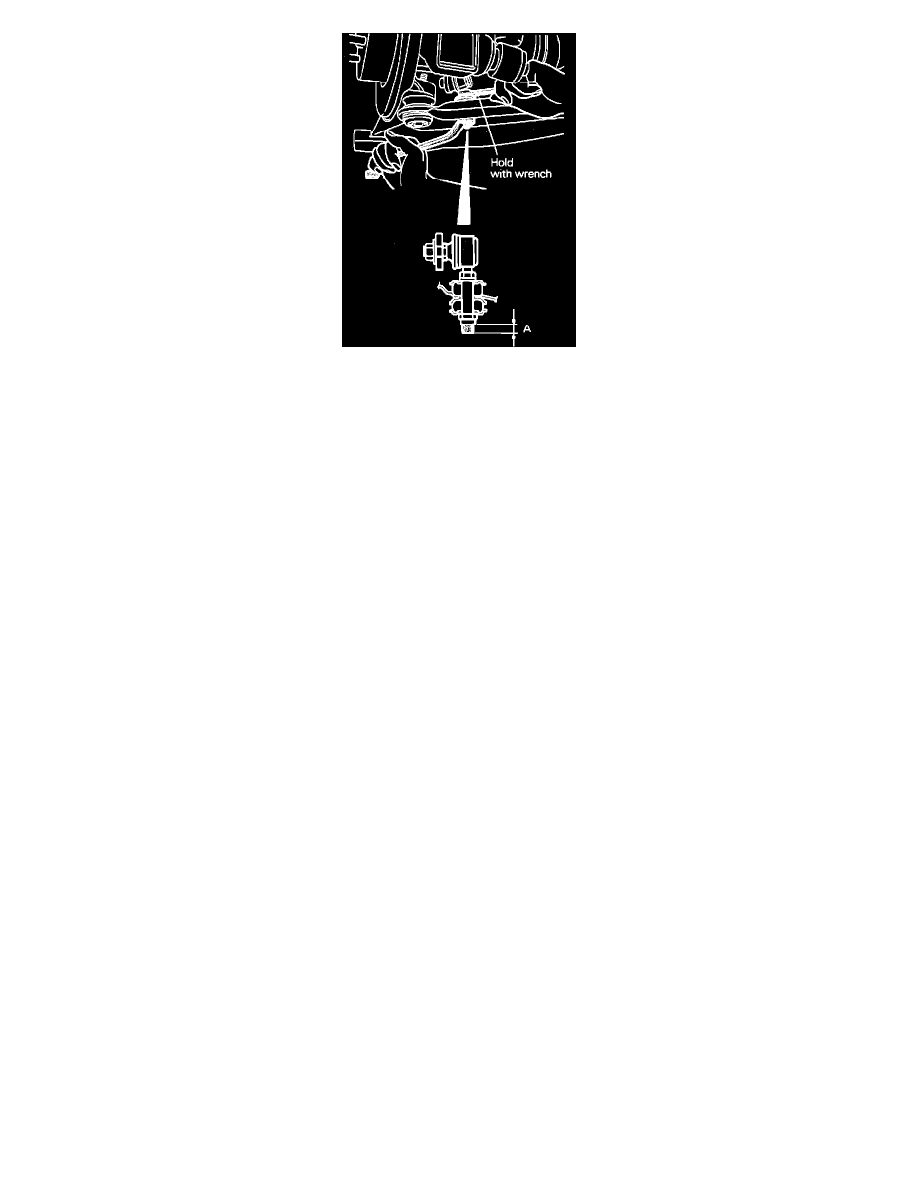
Fig. 21 Installing Stabilizer Link
1.
Remove rear suspension in numbered sequence shown in Figs. 18 and 19, noting the following:
a. Support rear suspension with a suitable transmission jack.
b. Remove crossmember bracket nut and bracket.
c. Lower transmission jack to obtain a gap between rear suspension and body.
d. Remove stabilizer bar.
2.
Check stabilizer link ball joint stud starting torque as follows:
a. Move stabilizer link ball joint stud from side to side several times.
b. Install two nuts on ball joint and measure ball joint starting torque, Fig. 20.
c. If starting torque is not 15-28 lbs., replace stabilizer link.
3.
Reverse procedure to install, noting the following:
a. Hold stabilizer link with wrench and tighten locknut so that protrusion is .354-.433 inch on Eclipse models and .197-.276 inch on 3000GT
models, Fig. 21.