
Eclipse Spyder AWD L4-1997cc 2.0L DOHC Turbo 16 Valve (1996)
5.
For ease of reassembly, use a sharp pencil to carefully trace around the heads of all the screws securing the weather-strip holders to the rails
6.
Remove the weather-strip holders.
7.
Remove and discard the control link assembly. Keep the bushing at the rear end of the control link for reuse with the new control link assembly.
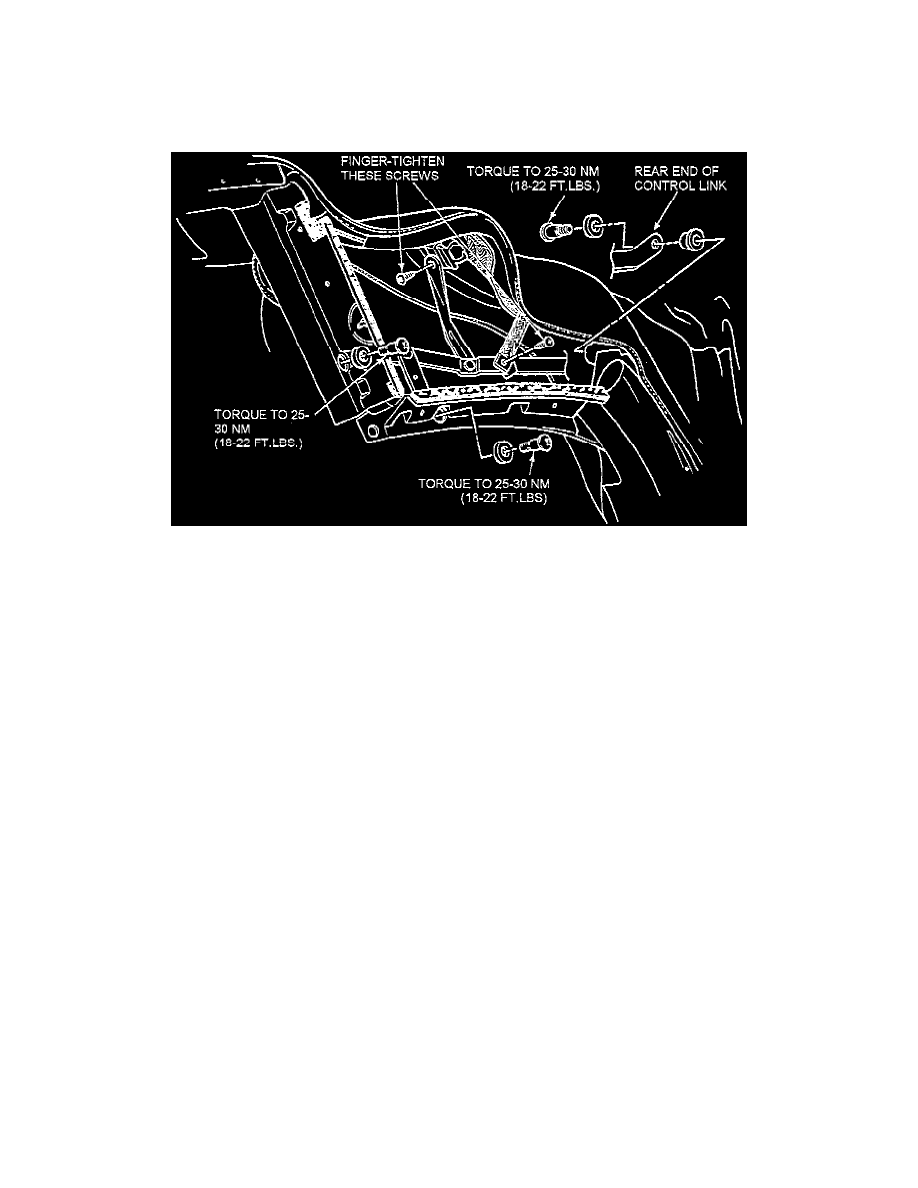
8.
Install a new control link assembly as shown:
CAUTION
Before reinstalling the flipper arm-to- # 2 bow screw, apply thread locking compound to the screw threads. Finger-tighten the screw.
a.
Note that all control link bolts and washers are interchangeable. Be sure that each bolt is installed with a washer.
b.
Reinstall the bushing in the rear end of the control link.
9.
Reinstall the weather-strip holders using the screw head tracings made in Step 5 as a guide.
CAUTION
Be careful not to strip out the screw threads. Finger-tighten the screw.
10.
Reinstall the weather-strips.
11.
Install the new elastic strap to the # 2 and # 3 bows positioning the plastic retainer on the strap next to the headliner retainers on the bows. Snap
the plastic retainer over the bows.