
Eclipse Spyder FWD L4-2350cc 2.4L SOHC 16 Valve (1996)
screws.
4.
If adjustment is required, loosen the holder screws, adjust as necessary, and tighten the screws.
5.
Reinstall the removed weatherstrip.
Suggested Repair Procedures
SYMPTOMS AND CONDITIONS
A.
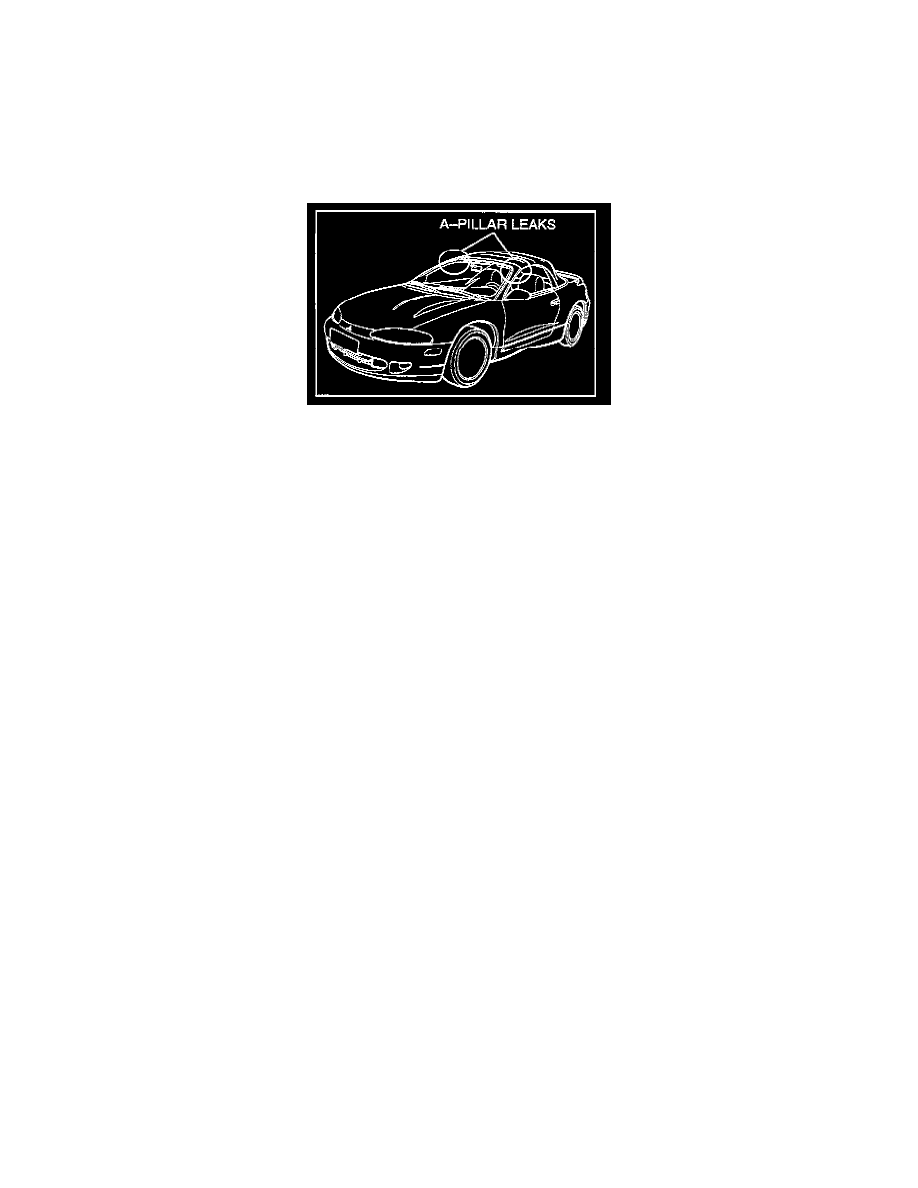
Windshield Header and/or A-Pillar Leak - Some early production vehicles may exhibit a water leak at the windshield header or A-pillar
weatherstrips. This may be caused by mis-installation, incorrect adjustment, or header weatherstrip damage or compression.
B.
Water Drip at Center Rail/Rear Rail Joint - The customer may report a water leak or drip at the joint of the center rail and rear rail weatherstrip.
Quarter-glass adjustment and new foam application to the weatherstrip holder can reduce instances of this type leak.
C.
Front Rail/Center Rail Leak at Highway Speeds or in Heavy Rain - Some vehicles may have a water leak during heavy rain when the vehicle is
stationary and the wind is blowing from the side, or at highway speeds where water tracks up the door glass and goes over the weatherstrip to the
joint of the front and center rail. Door glass to weatherstrip insertion adjustment, weatherstrip adjustment, and foam pad installation will reduce
occurrences of this type leak.
Important
Before starting any of the following procedures, use the information at the beginning of this bulletin along with the service manual to first make
sure the window and weatherstrip holders are in the best alignment possible, then water test the vehicle. When you have duplicated the leak the
customer has reported, and you have determined that all adjustments are within specification, proceed with the suggested repair solutions for that
particular type leak.
PROCEDURES
A.
Windshield Header and/or A-Pillar Leak
1.
TOP ADJUSTMENT
a.
Check the topstack for proper adjustment, referring to the service manual.
b.
Using the instructions in the service manual, adjust the header latch J-hooks and top upstops as necessary.
Note:
Do not use the J-hook adjustments for header force adjustment. The hooks should be adjusted to a length of 17 to 21 mm as indicated in the service
manual. Adjusting the J-hooks too tightly can compress and damage the header weatherstrip, requiring replacement.
c.
If you had to make any adjustments, water test the area again to see if the adjustments corrected the leak. If the leak remains, proceed with
the following.
2.
HEADER WEATHERSTRIP ADJUSTMENTS AND MODIFICATIONS