
Galant V6-2972cc 3.0L SOHC (1988)
Body Emblem: Technical Service Bulletins
Sigma V-6 Badge - Installation Procedure
SUBJECT:
"SIGMA V-6" BADGE INSTALLATION PROCEDURE
NO.
TSB-88-23-007
DATE
May, 1988
MODEL 1988 Galant Sigma
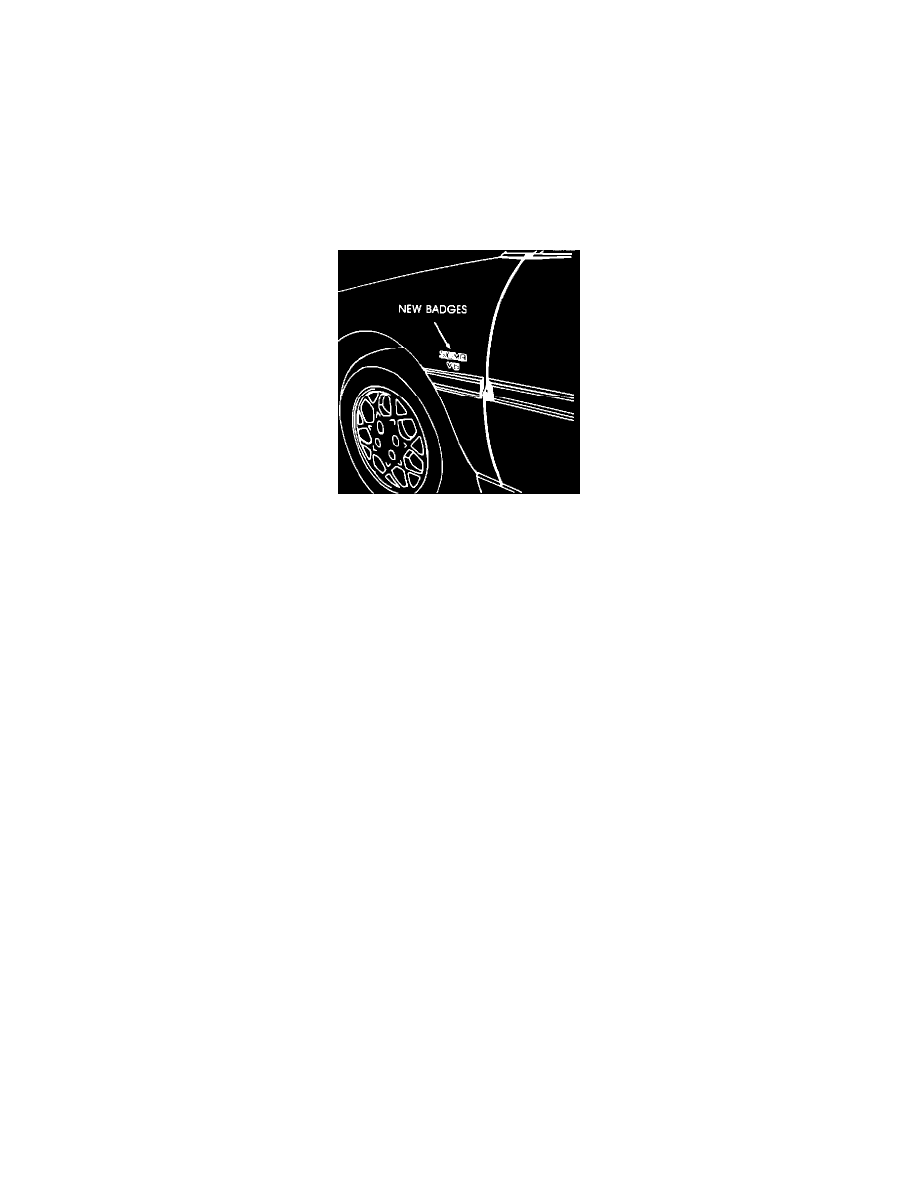
FIGURE 1
PURPOSE
This bulletin describes how to install new "SIGMA V-6" badges on 1988 Galant Sigma vehicles. An initial shipment of the new badges will be shipped
to your dealership free-of-charge based on the number of vehicles you have in current inventory (including demonstrator vehicles). Additional badges
will be shipped to your dealership monthly according to new vehicles ordered. These badges must be installed prior to retail delivery of the vehicle.
Four badges are required for each vehicle. One "SIGMA" badge and one "V-6" will be attached to each front fender above the body side molding as
shown in Figure 1.
NOTE:
MMSA does not recommend removing the "GALANT" badge located on the right side of the trunk lid. Removing this badge may damage the
paint finish. Damage to the paint surface as a result of removing this badge is not covered under the terms of the Mitsubishi New Vehicle
Limited Warranty.
WARRANTY INFORMATION
Installation of the badges is not a warranty operation. The badge installation should be done as part of the PDI process and a warranty claim should not
be submitted. In addition, the customer MUST NOT be charged for installation of these badges.
BADGE INSTALLATION PROCEDURE
1.
The painted surface where the badges are to be applied must be thoroughly cleaned before application. Heavy contamination such as dirt, grease,
tar, or Cosmoline, should be removed using a VM&P naptha (Dupont "Prepsol" or equivalent). Follow all solvent wipes with a dry wipe using a
clean lint-free rag. Use isopropyl alcohol for light cleaning (dust, etc.).