
Silhouette V6-191 3.1L VIN D TBI (1995)
dislodged.
^
Repeat bleeding procedure.
b. Road test the vehicle.
1) Make several normal (non-ABS) stops from a moderate speed to ensure proper brake system function.
WARNING: Allow adequate cooling time between stops.
Pressure Bleeding
PRESSURE BLEEDING
CAUTION:
^
Pressure bleeding equipment must be of the diaphragm type. It must have a rubber diaphragm between the air supply and the brake fluid to prevent
air, moisture and other contaminants from entering the hydraulic system.
^
Prior to bleeding the brakes, the front and rear displacement cylinder pistons must be returned to the top/most position. The preferred method uses
a Scan Tool to perform the rehoming procedure. If a Scan Tool is not available, another procedure may be used, but it is extremely important that
the procedure be followed exactly as outlined. Refer to Bleeding Brakes (Motor Rehome Procedure)
NOTE: - Tools Required:
^
J 29532 Diaphragm type brake bleeder, or equivalent bleeder.
^
J 35589 Compact brake bleeder adapter, or equivalent adapter.
1. Clean brake fluid reservoir cover and surrounding area.
2. Remove brake fluid reservoir cover.
3. Inspect brake fluid reservoir level. Add clean brake fluid as required.
4. Connect adapter to brake fluid reservoir.
5. Connect the other end of the adapter to pressure bleeding equipment.
6. Adjust pressure bleed equipment to 35 to 70 kPa (5 to 10 psi) and wait for approximately 30 seconds to ensure there is no leakage.
Brake Bleeding
7. Adjust pressure bleed equipment to 205 to 240 kPa (30 to 35 psi). Proceed as follows with pressure bleeding equipment connected and
pressurized:
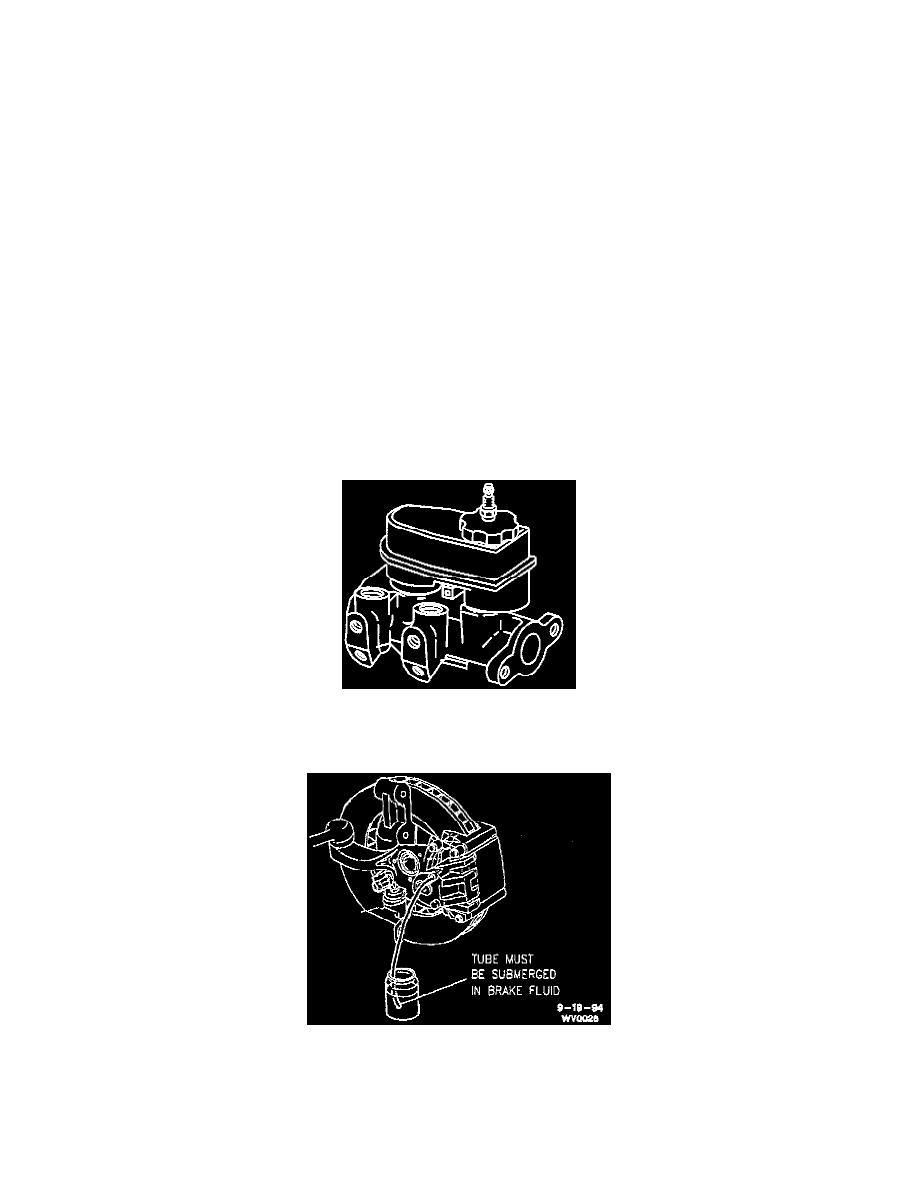
a. Attach a clear plastic bleeder hose to the rearward bleeder valve on the brake modulator. Submerge opposite hose end in a clean container
partially filled with clean brake fluid.