
Silhouette V6-191 3.1L VIN D TBI (1995)
Ball Joint: Service and Repair
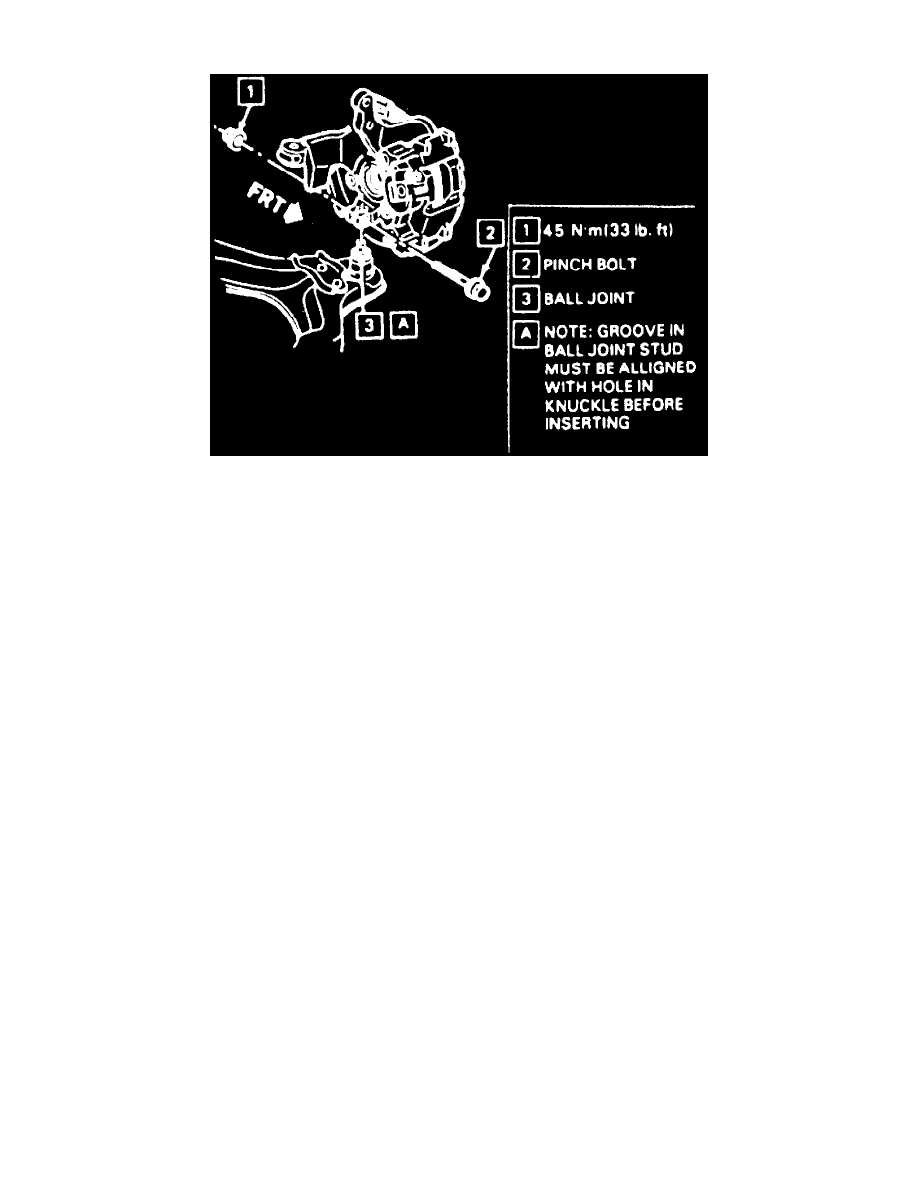
Fig. 10 Separating Ball Joint & Steering Knuckle
1. Raise and support vehicle.
2. Place suitable jack stands under frame.
3. Lower vehicle slightly so weight of vehicle rests on jack stands and not on control arms.
4. Remove tire and wheel assemblies. When performing any repair procedure near drive axles, care must be taken to prevent drive axle joints
from being overextended. If either end of shaft is disconnected, over extension of the joint could result in separation of internal
components which could go undetected and result in failure of the joint. Drive axle joint seal protectors part No. J-34754, or equivalent,
should be used anytime service is performed on or near the drive axles.
5. Remove stabilizer shaft to control arm bolt, then remove pinch bolt, Fig. 10.
6. Separate ball joint from the steering knuckle, Fig. 10.
7. Using a 1/8 inch drill bit, drill a pilot hole through ball joint rivets. Finish drilling rivets using a 1/2 inch drill bit. Use caution not to damage
drive axle seals when drilling rivets.
8. Loosen stabilizer shaft bushing assembly nut, then remove ball joint from the control arm.
9. Reverse procedure to install, using a new pinch bolt and nut.