
Neon L4-2.0L VIN C (1997)
Camshaft: Service and Repair
Removal and Installation
NOTE: To remove camshaft the cylinder head must be removed.
REMOVAL
1. Perform fuel system pressure release procedure before attempting any repairs.
2. Remove the cylinder head cover.
3. Mark rocker arm shaft assemblies so that they are installed in their original positions.
4. Remove rocker arm shaft bolts.
5. Remove timing belt, timing belt tensioner, and camshaft sprocket.
6. Remove rear timing belt cover.
7. Remove cylinder head.
8. Remove camshaft sensor and camshaft target magnet.
9. Remove camshaft from the rear of cylinder head.
INSPECT CYLINDER HEAD FOR THE FOLLOWING:
NOTE:
-
Check oil feed holes for blockage.
-
Inspect cylinder head camshaft bearings for wear, Refer to Cylinder Head, Inspection and Cleaning.
-
Check camshaft bearing journals for scratches and worn areas. If light scratches are present, they may be removed with 400 grit sand paper. If
deep scratches are present, replace the camshaft and check the cylinder head for damage. Replace the cylinder head if worn or damaged. Check
the lobes for pitting and wear. If the lobes show signs of wear, check the corresponding rocker arm roller for wear or damage. Replace rocker
arm/hydraulic lash adjuster if worn or damaged. If lobes show signs of pitting on the nose, flank or base circle; replace the camshaft.
INSTALLATION
1. Lubricate the camshaft journals with oil and install camshaft without rocker arm assemblies installed.
2. Install camshaft target magnet into the end of the camshaft. Tighten mounting screw to 3.4 Nm (30 inch lbs.).
3. Install camshaft position sensor and tighten mounting screws to 9 Nm (80 inch lbs.).
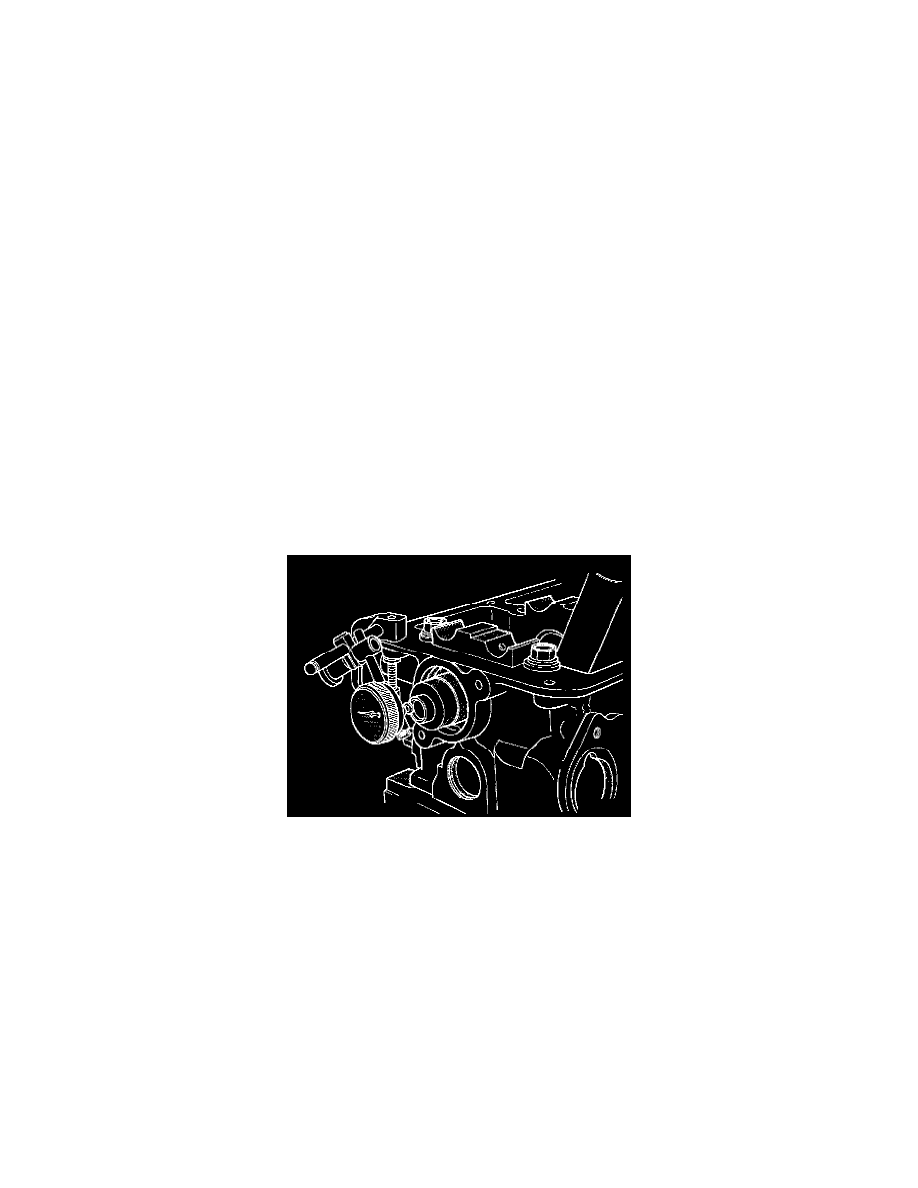
Camshaft End Play
4. Measure camshaft end play using the following procedure:
-
Mount dial indicator C-3339 or equivalent, to a stationary point on cylinder head.
-
Using a suitable tool, move camshaft to rearward limits of travel.
-
Zero the dial indicator.
-
Move camshaft forward to limits of travel and read dial indicator.
-
End play travel: 0.13 - 0.33 mm (0.005 - 0.013 inch).
5. Install front camshaft seal. Camshaft must be installed before the camshaft seal is installed.
6. Install cylinder head.
7. Install rear timing belt cover.
8. Install camshaft sprocket and tighten to 115 Nm (85 ft. lbs.).
9. Install timing belt tensioner and timing belt.