
Prowler V6-3.5L VIN G (1999)
9. Remove the brake pedal holding tool from the brake pedal.
10. Pump the brake pedal to seat the pads.
11. Bleed any air from the brake caliper. Refer to Brake Bleeding.
Rear
Remove
During service procedures, grease and other foreign material must be kept off disc brake caliper, rotor and external surfaces of the hub.
Handling of the caliper and rotor must be done in such a way as to avoid damage to the rotor and scratching or nicking of the friction material on the
brake shoes.
During removal and installation of a wheel and tire, use care not to strike the disc brake caliper.
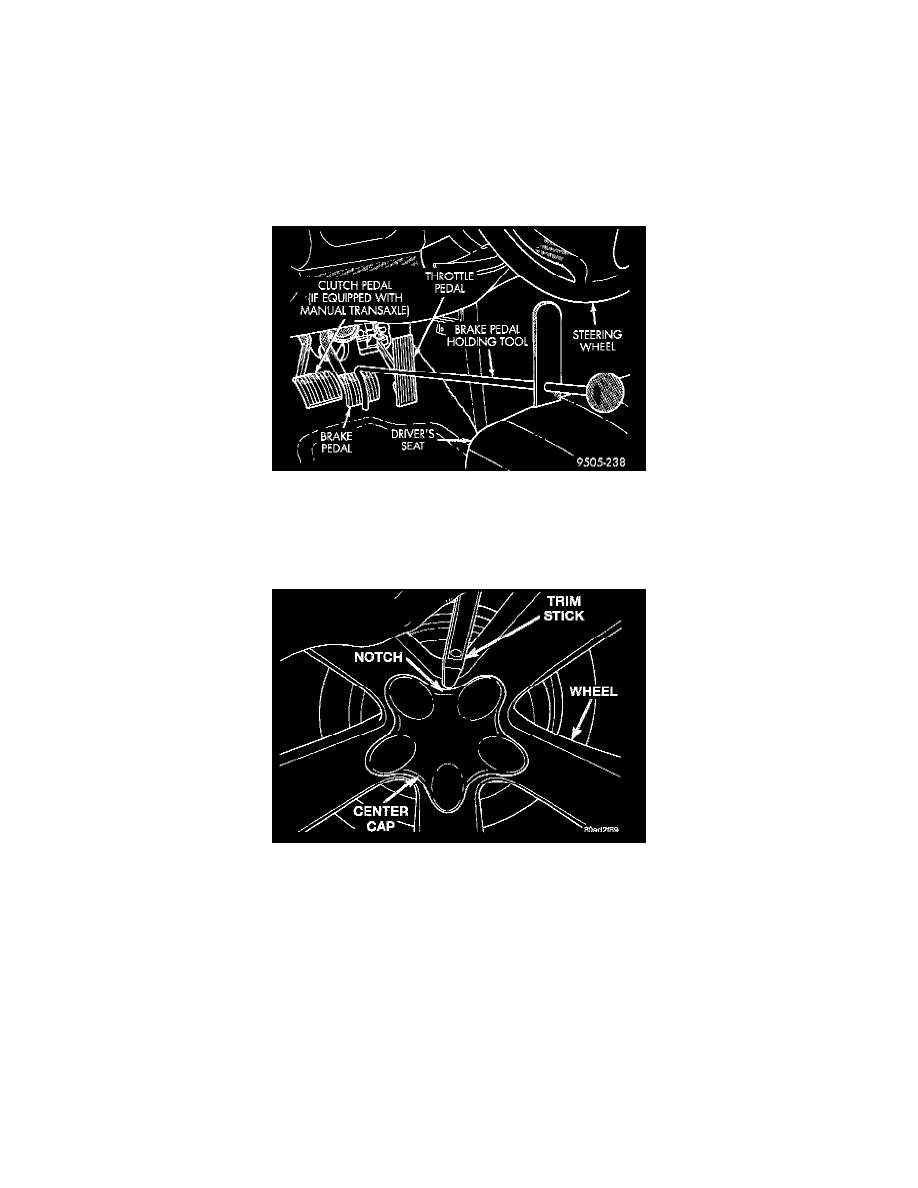
Brake Pedal Holding Tool Installed
1. Using a brake pedal holding tool such as the one shown, depress the brake pedal past its first inch of travel, and secure it in this position. This will
isolate the master cylinder from the brake hydraulic system, not allowing the fluid to drain from the reservoir.
2. Raise vehicle on jackstands or centered on a hoist.
Wheel Center Cap Removal
3. Remove the center cap from the wheel. Center cap is removed by inserting a trim stick into the notch on the center cap and prying it off the wheel.
4. Remove the wheels and tires.
5. Remove the banjo bolt securing the brake hose to the brake caliper. Inspect the brass washers for damage and replace as necessary.