
Prowler V6-3.5L VIN G (1999)
11. The wheel must be rotated on the tire changer so that the valve stem is located in a position that is at approximately 5 O'clock to the mounting arm
on the tire changing equipment being used.
CAUTION:
-
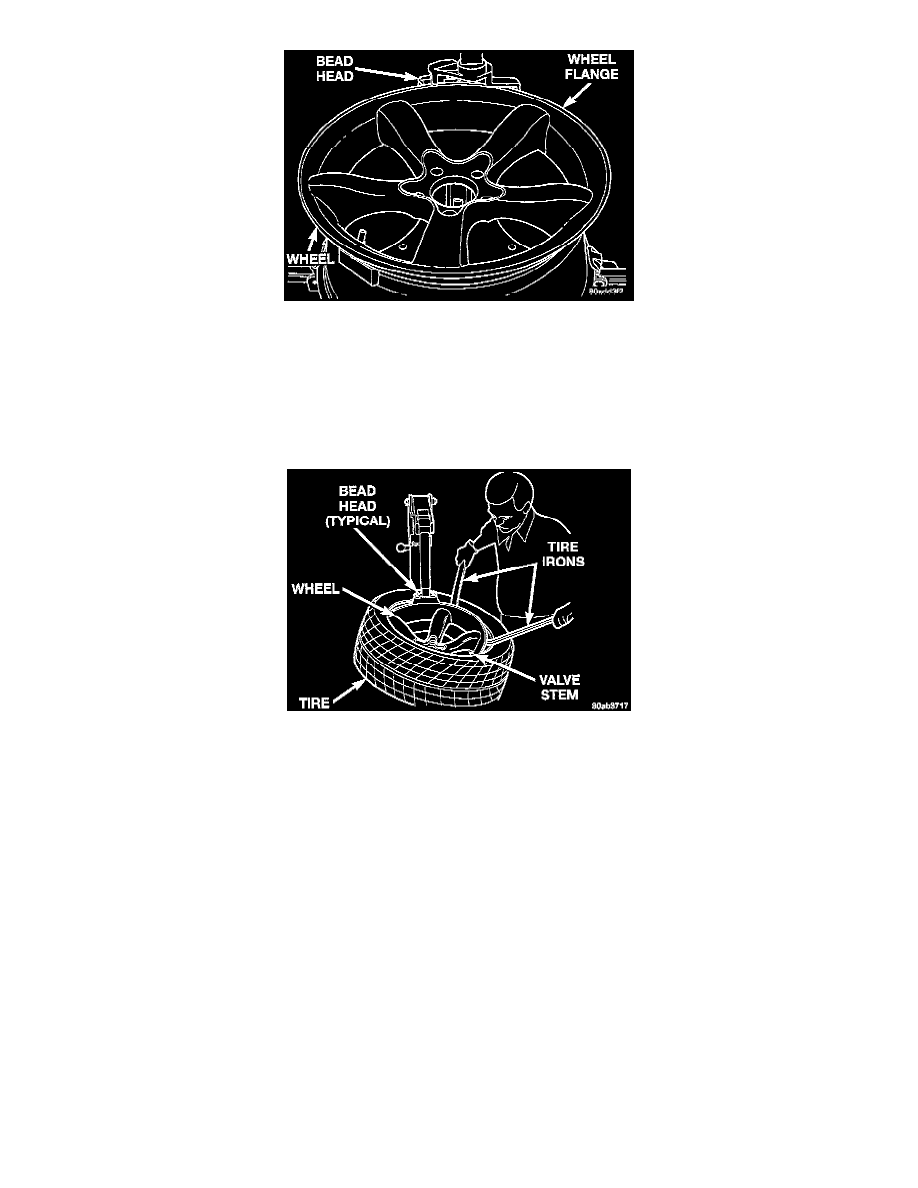
The upper bead on the extended mobility tire is very difficult to mount onto the wheel. Be sure to follow the steps below when mounting the
upper bead. Not following the recommended procedure will result in damage to the wheel, tire and pressure transmitter.
-
Protective covers are to be used on the tire irons to protect the wheel from damage when mounting the tire.
-
When inserting the tire irons into the wheel be sure they do not come in contact with the tire pressure transmitter. This will break the pressure
transmitter off the valve stem.
12. Place 2 tire irons at 1 O'clock and 3 O'clock between the bead head of the tire changer and the valve stem. Using the tire irons push the upper bead
of the tire down into the well of the wheel.
13. Keeping upper bead of tire pushed into the well of the wheel, rotate the table on the tire changer, mounting the upper bead of the tire onto the wheel.
14. Position the tire on the wheel so it is correctly match mounted.
15. Install only the original valve stem core into the valve stem of the tire pressure transmitter.
CAUTION:
-
When the upper bead of the tire is seating to the wheel, the last section of the bead to seat can not be at the tire pressure transmitter. If this
occurs, it means that the bead of the tire is binding on the transmitter. If this occurs deflate the tire and break the upper bead. Insert a tire iron
near the transmitter and raise the bead of the tire over the flange of the wheel and release.