
Prowler V6-3.5L VIN G (1999)
Shifter A/T: Service and Repair
REMOVAL
1. Remove shifter handle and console.
2. Loosen adjuster nuts on interlock adjuster and shifter adjuster.
3. Disconnect shifter cable from cable attaching stud (pin).
4. Disconnect interlock cable from shifter base slot. Be careful not to break tab on interlock cable conduit end fitting.
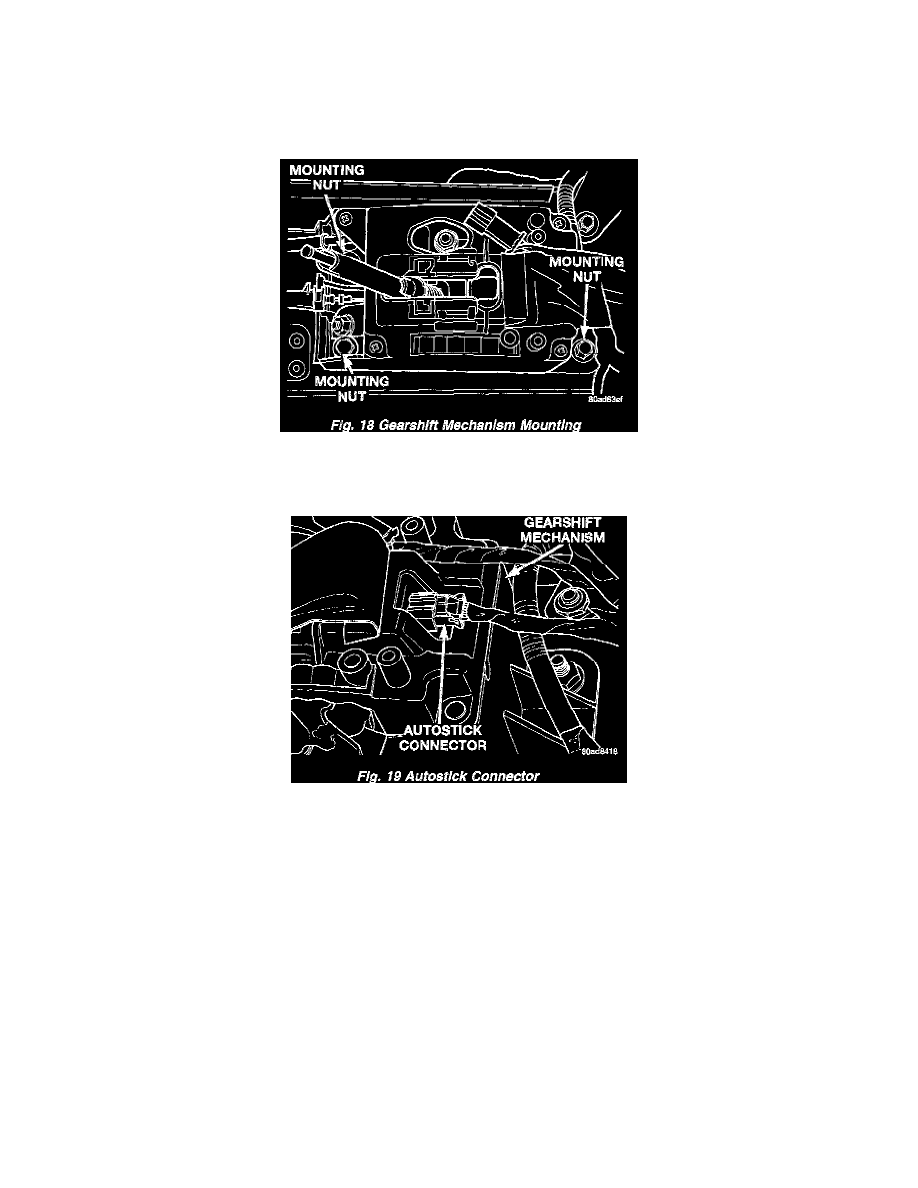
Fig. 18
5. Remove the four floor pan attaching nuts from the interior of the shifter base (Fig. 18).
Fig. 19
6. Remove Autostick electrical connector (Fig. 19).
7. Remove shifter assembly from vehicle.
INSTALLATION
1. Install new gearshift mechanism. Make sure eyelet of shifter cable is inside of shifter housing.
2. Install four floor pan attaching nuts to hold shifter base.
3. Place shift lever and transaxle in park.
CAUTION: Park sprag must be engaged when adjusting linkage. Rock vehicle back and forth to ensure that park sprag is fully engaged.
4. With the ignition in the lock position, attach shift cable eyelet to cable attaching stud (pin).
5. Slip interlock cable core wire into interlock adjustment lever groove. Make sure the interlock cable slug is seated in the groove.
6. Slip interlock cable conduit end fitting into base and snap into place.
CAUTION: Both the shift cable and the interlock cable must be adjusted. Refer to the cable adjustment procedures.