
Grand Prix V6-3.8L VIN 2 (2004)
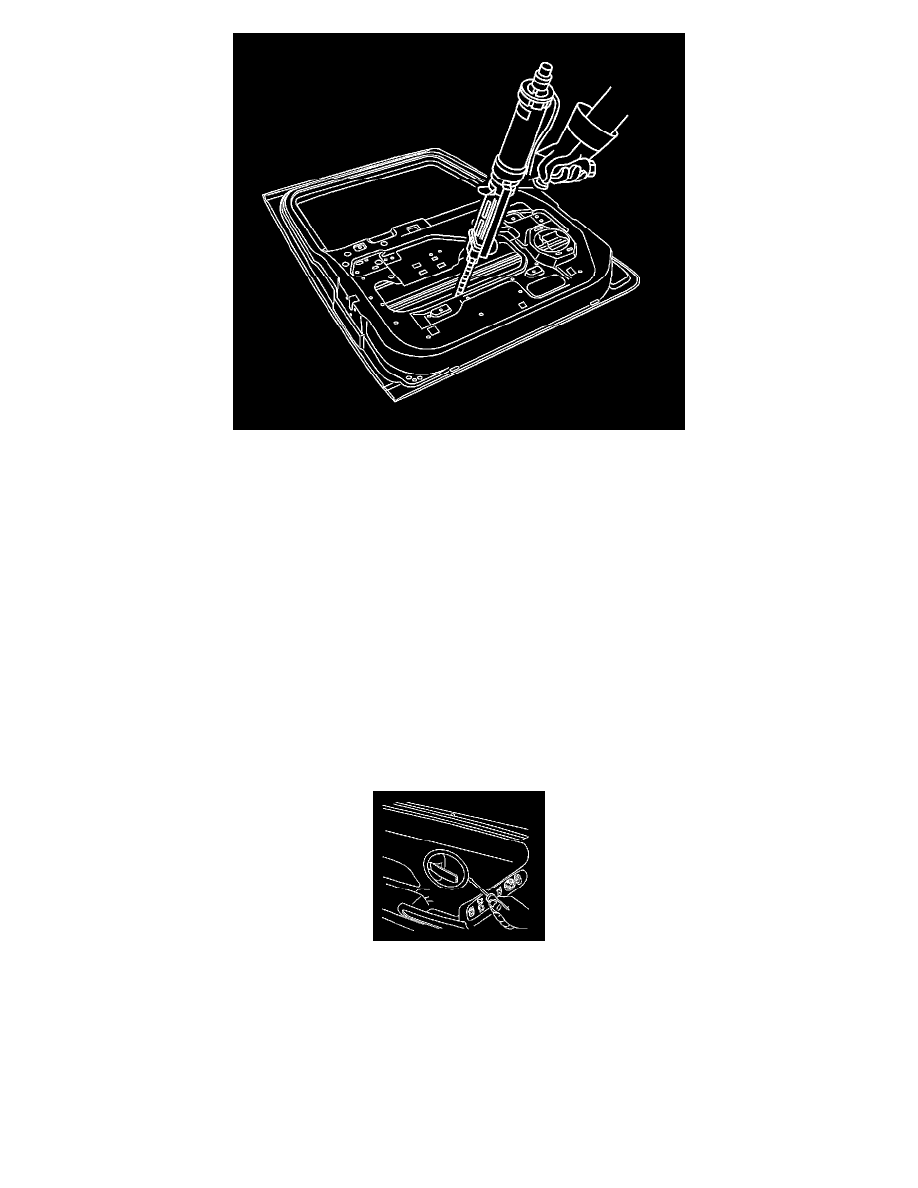
14. Apply Fusor super flexible anti-flutter foam-fast set, Fusor P/N 121/124 or equivalent in 4-5 evenly spaced locations between the door outer panel
and the inner safety beam.
15. Apply sealers and anti-corrosion materials to the repair area as necessary. Refer to Anti-Corrosion Treatment and Repair () in Paint/Coatings.
16. Paint the repaired area. Refer to Basecoat/Clearcoat Paint Systems (See: Paint, Striping and Decals/Paint/Application and ID/Basecoat/Clearcoat
Paint Systems) in Paint/Coatings.
17. Install the door assembly. Refer to Door Replacement - Rear (See: Service and Repair/Door Replacement - Rear) in Doors.
18. Install all related panels and components.
19. Connect the negative battery cable. Refer to Battery Negative Cable Disconnect/Connect Procedure.
20. Enable the SIR system. Refer to SIR Disabling and Enabling Zones.
Rear Side Door Trim Panel Replacement
Trim Panel Replacement - Side Rear Door
Tools Required
J 38778 Door Trim Pad and Garnish Clip Remover
Removal Procedure
1. Insert a flat-bladed tool at the front edge of the door handle bezel. Pull the bezel away from the door to disengage the retaining clips.