
Torrent AWD V6-3.4L VIN F (2006)
Fluid - A/T: Service and Repair
Transaxle Fluid Replacement
Removal Procedure
1. Raise and support the vehicle.
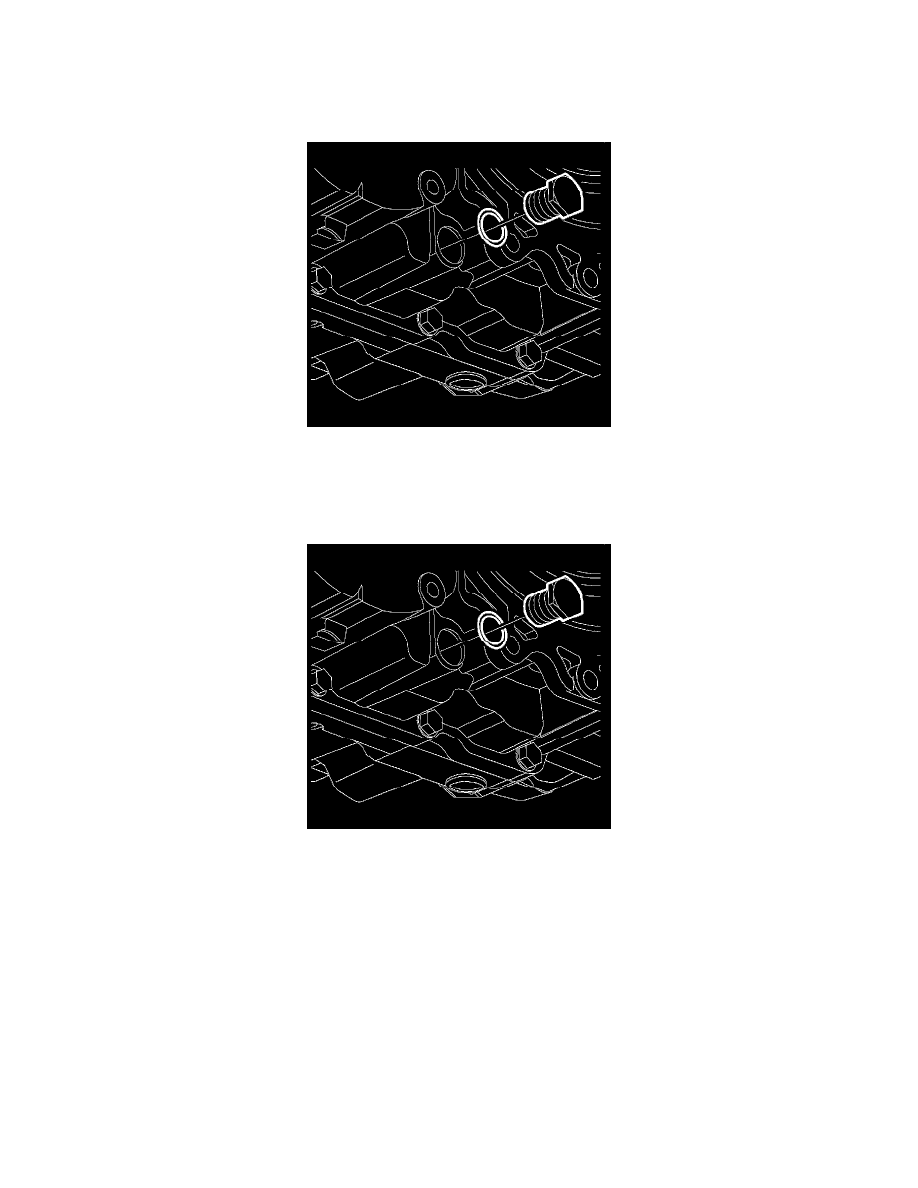
2. Remove the drain plug and drain fluid. Allow at least 5 minutes for the fluid to drain completely.
3. Remove the gasket from the drain plug and discard.
Installation Procedure
1. Install the new gasket on the drain plug.
2. Notice: Refer to Component Fastener Tightening Notice in Service Precautions.
Install the drain plug.
^
Tighten the drain plug to 40 Nm (30 ft. lbs.).
3. Make sure vehicle is level.
4. Remove the fluid level indicator located behind the front transaxle mount. Refer to Fluid Level Indicator Replacement.
5. Important: DexronIII automatic transmission fluid is not compatible with this transaxle. If DexronIII ATF is used, transaxle failure will result.
This transaxle uses GM T-IV fluid P/N 88900925.
Notice: Do not remove the 3rd gear anchor band bolt located on top of the transmission for checking fluid or adding fluid. Removing the bolt will
dislocate internal components and require the transmission to be removed from the vehicle and disassembled for repair.
Add approximately 3.1 L (3.3 Qt) of GM T-IV fluid to the transaxle, using the fluid level indicator location.
6. Important: If the check is necessary at a low oil temperature of 30° - 40°C (86° - 104°F), perform check using the COLD range on the level gage.