
Fuego L4-2165cc 2.2L (1984)
Constant Velocity Joint: Service and Repair
GI 76 (Transmission Side) Constant Velocity Joint
1.
Place driveshaft in suitable vise and remove retaining clip and circlip.
2.
Cut boot lengthwise, then remove yoke from coupling.
3.
Place adhesive tape around spiders to prevent separation. The roller cages and needle bearings are matched and must not be separated. Never use
thinner to clean component parts.
4.
Using suitable press, remove spider.
5.
Lubricate driveshaft and slide on new retaining collar and boot.
6.
Push spider back onto splined shaft.
7.
Make three crimps, spaced 120° apart, by stamping metal splines on driveshaft.
8.
Spread suitable grease inside boot and in yoke.
9.
Remove adhesive tape and engage spider in yoke, then slide boot along yoke, inserting a smooth rod to ease lip into yoke groove.
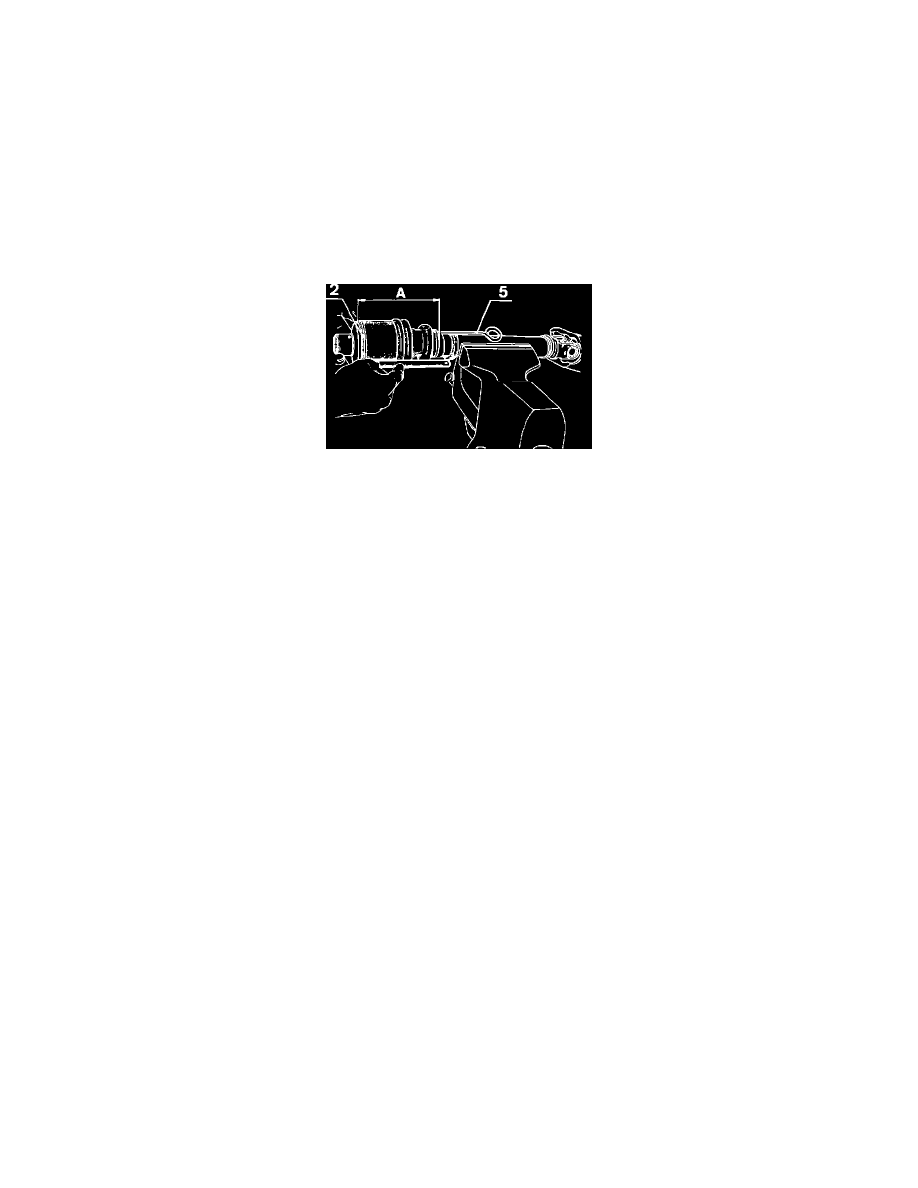
Fig. 10 Adjusting joint. GI 76 coupling
10.
Install new circlip (2), Fig. 10, then reinsert rod between boot and shaft tube to restrict amount of air contained inside joint.
11.
Lengthen or shorten joint until measurement A, Fig. 10, is 6.141 inch (156 mm) as measured between the end faces of the boot when the latter is
located in the grooves. After joint is correctly adjusted, remove rod.