
9000 L4-1985cc 2.0L DOHC (1986)
11.
Attach the suction cups and lift out the glass.
12.
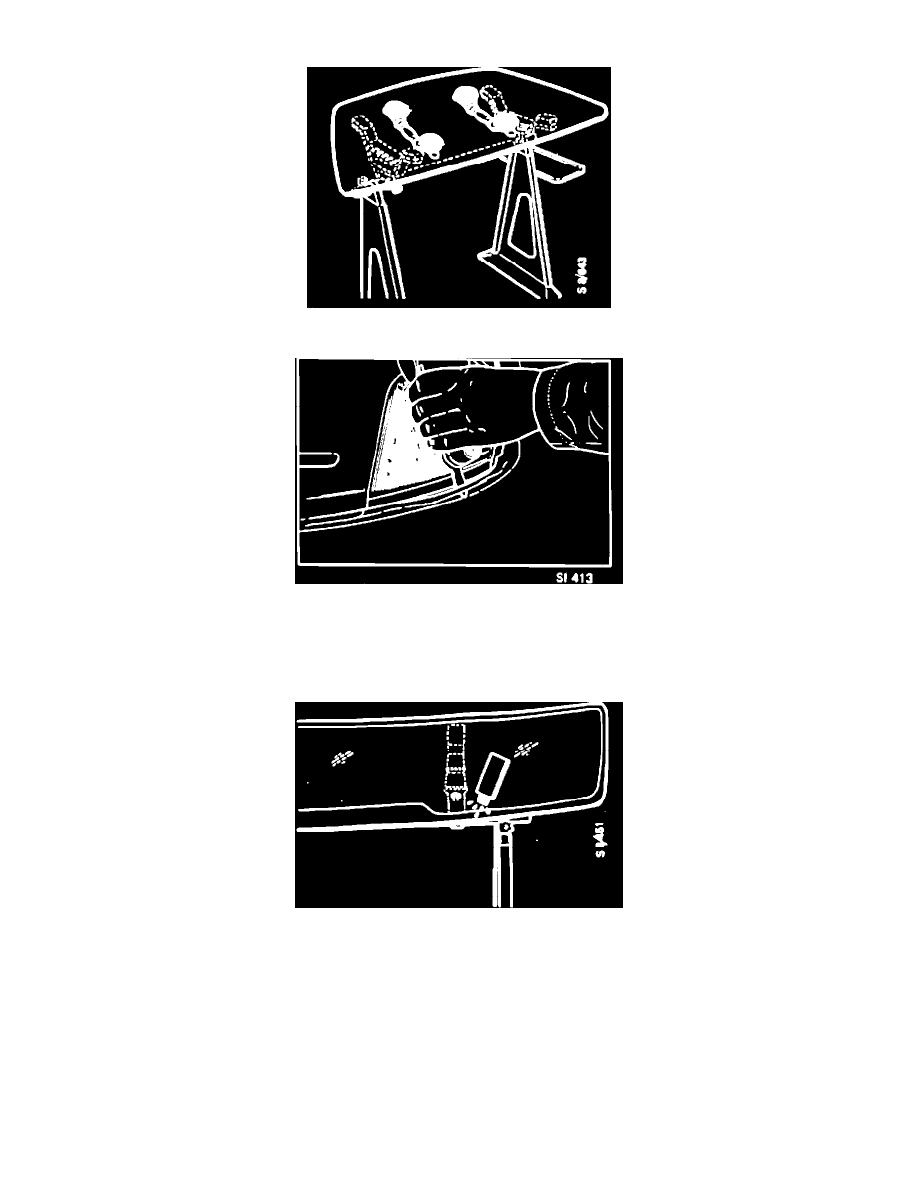
Attach the suctions cups to the new windshield. Place on a suitable stand with the inside of the glass facing upwards.
13.
Using the trimming knife supplied with the cutter, trim the bead of adhesive on the window frame flange to a maximum thickness of 2 mm.
Do not remove all of the original adhesive. This provides a good base for the fresh adhesive.
Remove all tape protecting the paintwork.
Windshield Installation:
1.
Thorougly clean the edge of the glass and the metal flange of the car using the cleaning solution from Adhesive Kit 30-07-119.
NOTE:
Do not allow the cleaner to dry naturally as this may leave traces of grease. Always use clean, lint-free rags, refolding them frequently and
using a clean one for each surface.
The car must be setting on level ground and on all four wheels during the installation.