
Astra L4-1.8L (2009)
Engine Control Module: Service and Repair
Engine Control Module Replacement
Removal Procedure
Note:
*
When returning a replaced control unit, do not clear the fault memory.
*
The security code must be reset using Tech 2 when replacing or interchanging the engine control module (before removal).
1. Open the hood.
2. Read out control unit data with a Tech 2. Refer to Diagnostic System Check - Vehicle (See: Testing and Inspection/Initial Inspection and
Diagnostic Overview/Diagnostic System Check - Vehicle).
Warning: Refer to Battery Disconnect Warning (See: Starting and Charging/Battery/Service Precautions).
Note: The battery must not be disconnected until all consumers (e.g. fan) have ceased operation. However, a minimum waiting time of 30 seconds
must be observed.
3. Disconnect the battery.
*
Remove the ground connection from the ground terminal.
*
Loosen the nut.
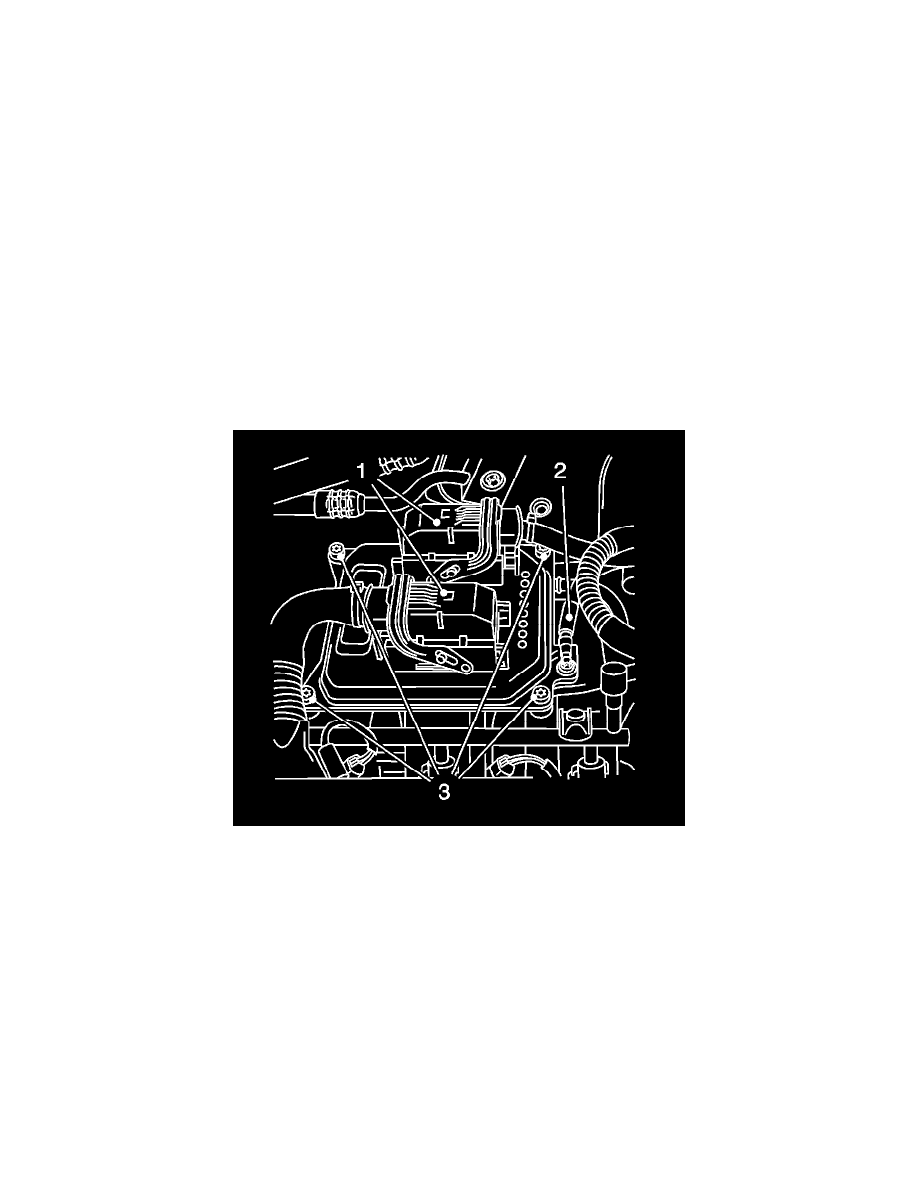
4. Remove the wiring harness from the engine control module (ECM).
Disconnect the 2 wiring harness plugs (1).
5. Remove the ground cable (2) from the ECM.
Remove the bolt.
6. Remove the ECM.
Remove the 4 bolts (3).
Installation Procedure
Caution: Refer to Fastener Caution (See: Service Precautions/Vehicle Damage Warnings/Fastener Caution).
1. Install the ECM.
Tighten the 4 bolts to 8 Nm (71 lb in).
2. Install the ground cable to the ECM.
Tighten the bolt to 8 Nm (71 lb in).