
ION L4-2.2L VIN F (2004)
5. Pull the bushing into the axle sleeve by holding the hex end of the threaded shaft while turning the nut. Leave a 2 - 3 mm (0.078 - 0.118 inch) gap
between the axle sleeve and bushing flange.
6. Disassemble and remove the bushing installation tool from the axle.
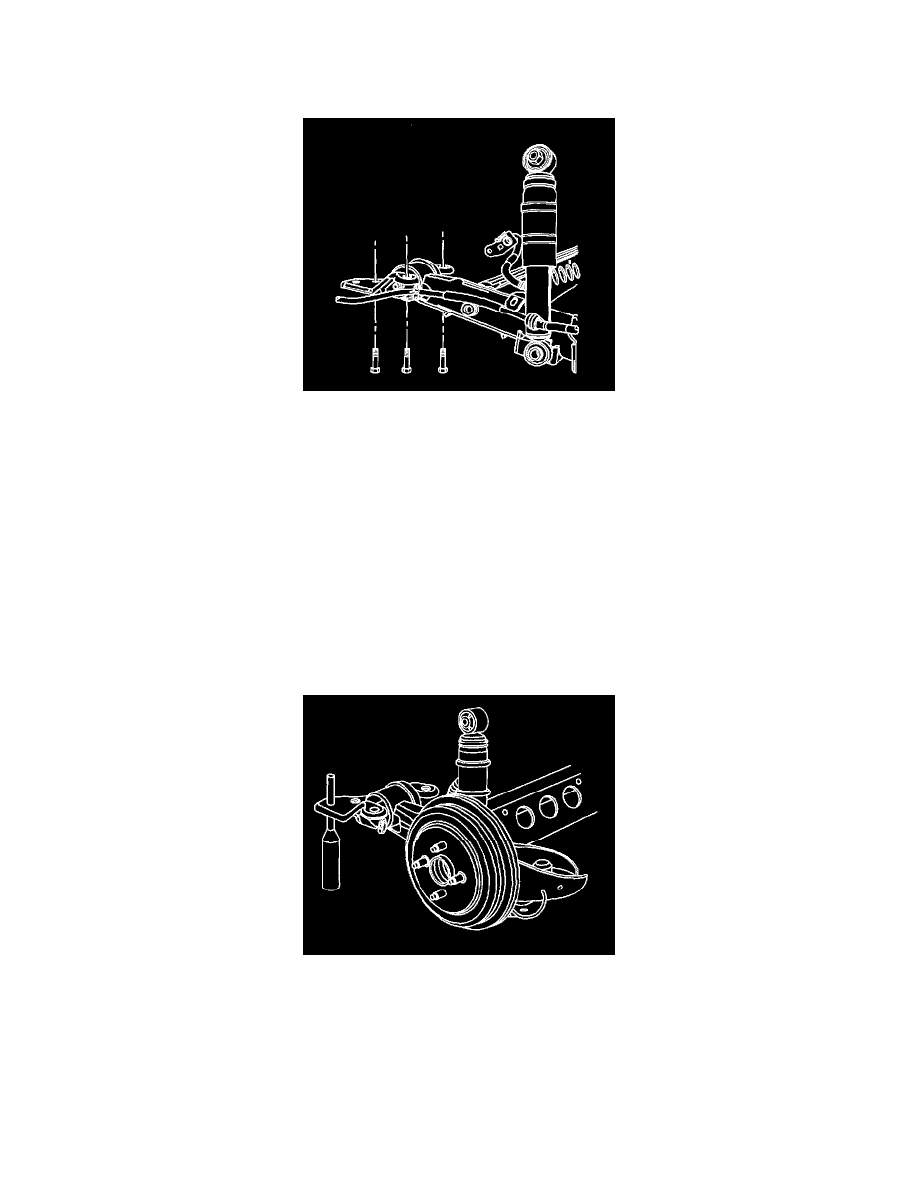
7. Install the axle brackets to the axle bushings with the alignment slot on the outboard side.
Important: The axle bushing through bolts must be installed with the bolt head facing inboard.
8. Loosely install the bushing bolts, park brake cable brackets and nuts.
9. Using the jack stands, lower the rear of the axle until the bushing brackets contact the body.
10. Hand tighten the axle bracket to body bolts just enough to hold the brackets flush to the body.
Important: The axle through bolts must be tightened with the axle at the correct trim height and prior to torquing the axle bracket to body bolts.
11. Using the jack stands, raise the axle to the proper trim height specification by measuring the vertical distance between the bottom edge of the
upper spring seat and the bottom of the notch in the lower spring seat.
Notice: Refer to Fastener Notice in Service Precautions.
12. Tighten the axle bushing through bolts.
-
Tighten the bolts to 90 Nm (66 ft. lbs.) +60°
13. Insert two 12 mm diameter pins through the axle brackets into the underbody.
14. Align the left side axle bracket and snug down the bolts.