
L300 V6-3.0L VIN R (2001)
14. Apply a thin coating of clean mineral oil on TXV to evaporator O-ring surfaces.
CAUTION: BLOWER RESISTOR CARD HAS SHARP EDGES AND MAY BE VERY HOT IF BLOWER WAS USED PRIOR TO
SERVICING.
15. Reach down through blower motor opening and locate evaporator pipes and block.
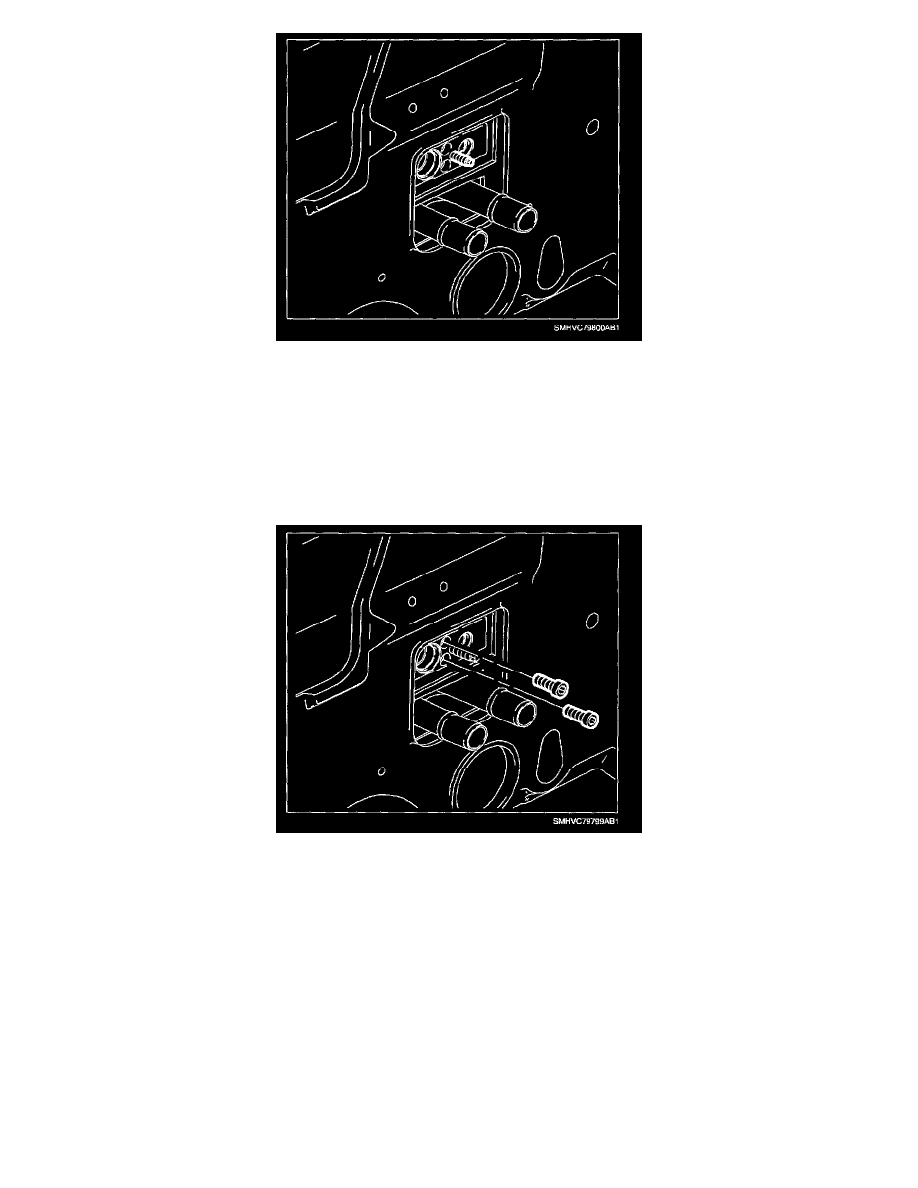
16. Install TXV into foam seal, dome end towards passenger's side of vehicle.
17. While gently lifting evaporator pipes and block with one hand, gently press TXV inward until fully installed onto both pipes. When completely
installed, TXV should be almost flush with edge of bevel of TXV foam seal.
18. Remove suction/liquid line assembly to TXV bolt from TXV.
NOTE: Improper installation of TXV to evaporator pipes will damage pipes and require evaporator core replacement.
19. Thread TXV to evaporator core block bolts into block by hand. Bolts should thread in easily. Do not force! If bolts do not thread in easily, verify
that TXV is properly installed onto both pipes and fully seated to block.
20. After verifying proper installation, tighten both TXV to block bolts.
Torque:
TXV-to-Block Bolts: 7 N.m (62 in-lbs)