
SW2 L4-1.9L DOHC VIN 7 (1997)
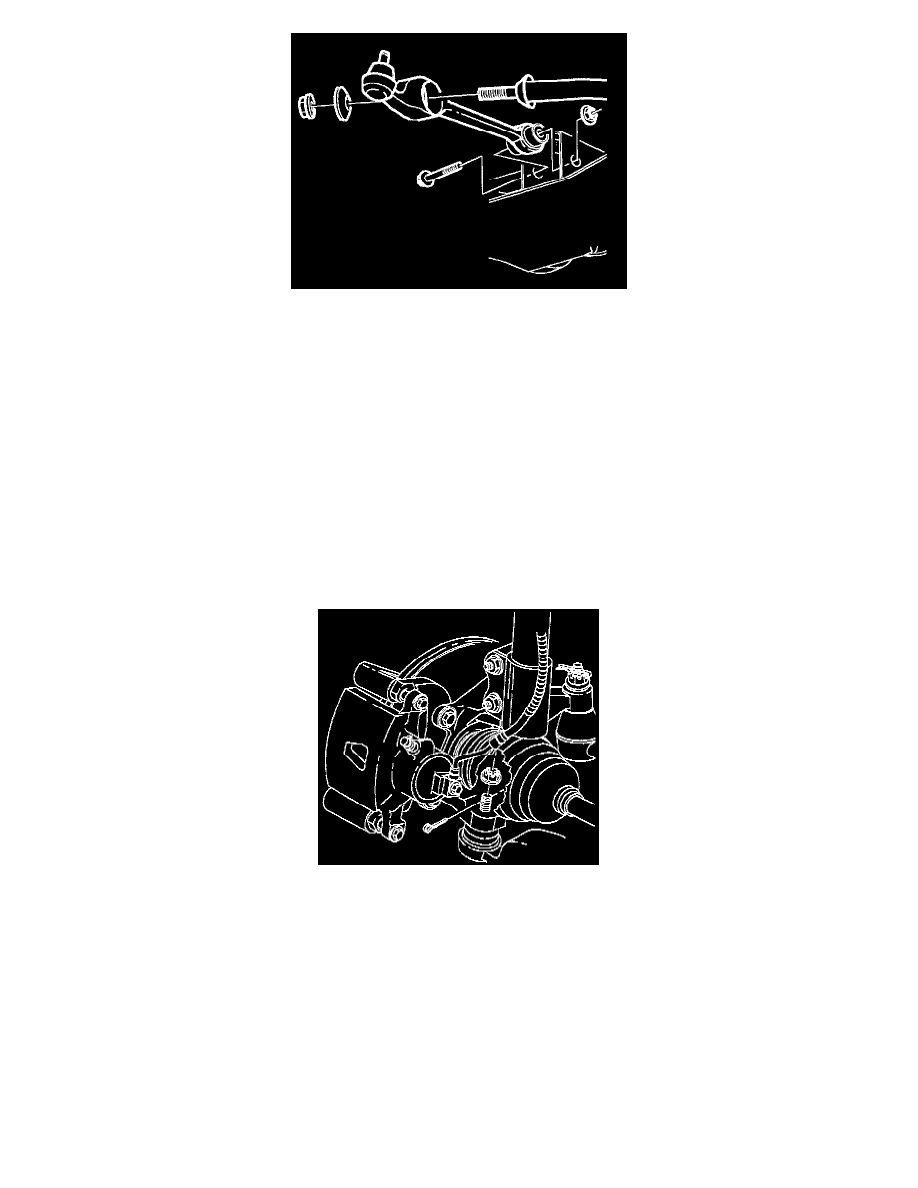
1. Install control arm onto tension strut.
IMPORTANT: Do not install fastener nut at this time.
2. Position end of control arm into the cradle and install fastener.
Bolt:
Torque: 125 Nm (92 ft. lbs.)
Nut:
Torque: 100 Nm (74 ft. lbs.)
3. Install control arm-to-tension strut fastener nut.
Torque: 144 Nm (106 ft. lbs.)
IMPORTANT: Lower control arm ball stud threads must be thoroughly cleaned and lubricated before installing and tightening nut.
4. Connect ball stud to steering knuckle with fastener. Torque and install new cotter pin.
Torque: 75 Nm (55 ft. lbs.)
IMPORTANT: If it is necessary to rotate the castle nut after tightening to orient it to the hole in the stud, always tighten the nut to align it; never
loosen it.