VUE AWD L4-2.2L VIN D (2005)

Install the transaxle range switch lever (1), washer (2) lock washer (3), and lever nut (4).
^
Tighten the transaxle range switch lever nut to 16 Nm (12 ft. lbs.).
2. Snap the cable end fitting onto the ball stud of the transaxle range switch lever. An audible snap will be heard when properly installed.
3. Install the battery tray and bracket.
4. Install the battery.
5. Install the range selective lever bolt and cover.
^
Tighten the bolt to 10 Nm (89 inch lbs.).
6. Install the left splash shield.
7. Install the tire and wheel.
8. Lower the vehicle. Refer to Vehicle Lifting.
Shift Select Cable Replacement
Shift Select Cable Replacement
^
Tools Required
-
J 36346 Fascia Retainer Remover
Removal Procedure
1. Caution: Ensure that the vehicle is properly supported and squarely positioned. To help avoid personal injury when a vehicle is on a hoist,
provide additional support for the vehicle on the opposite end from which the components are being removed.
Important: All shiftier cable and park lock cable clips are one time usage only. Any service repair requiring cables to be disconnected from the
transaxle control cable bracket or shiftier assembly will require a cable clip replacement.
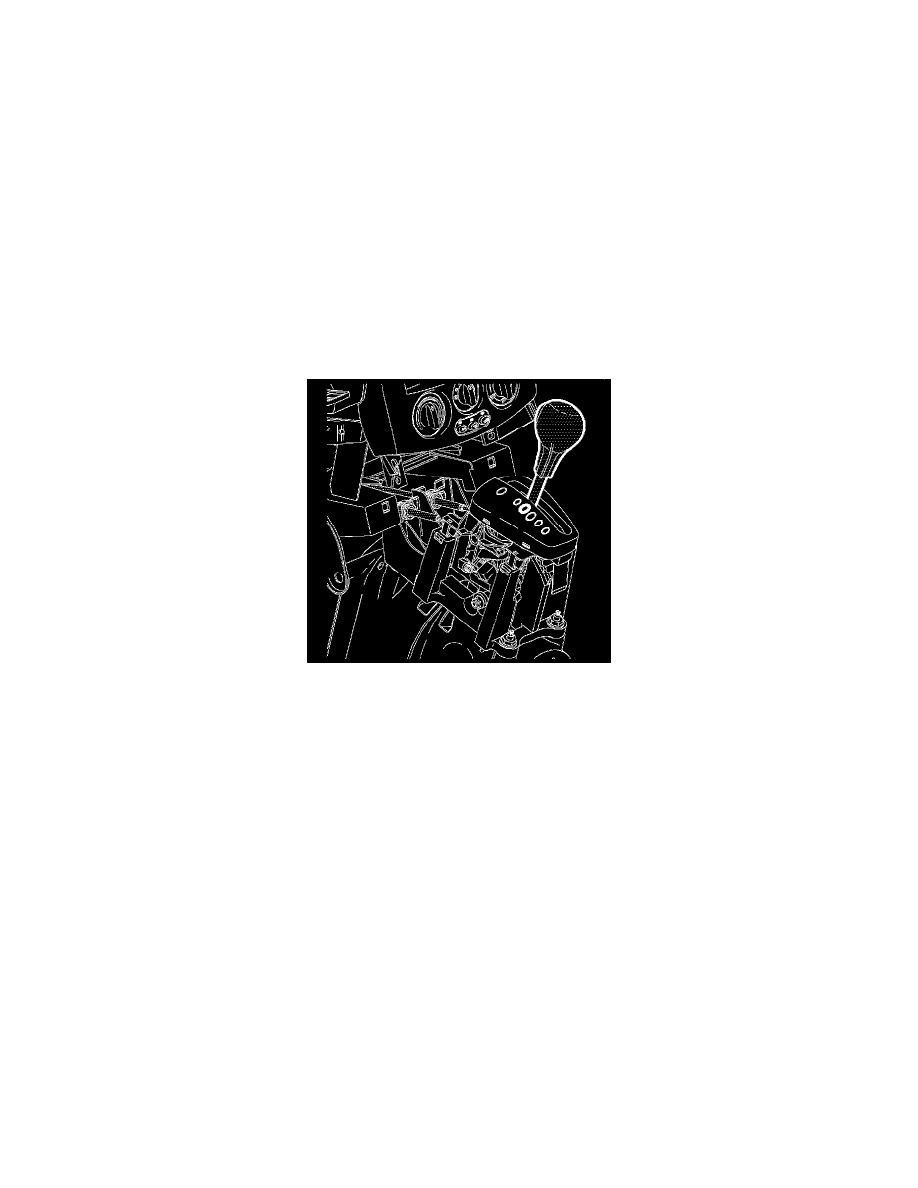
Move the control assembly into the N - Neutral position.
2. Important: Record all pre-set radio stations.
Remove the battery.
3. Remove the battery tray.
4. Remove the console.
