
Leon Mk2
|

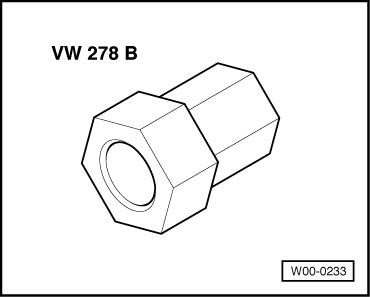
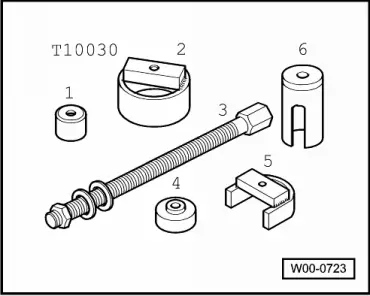
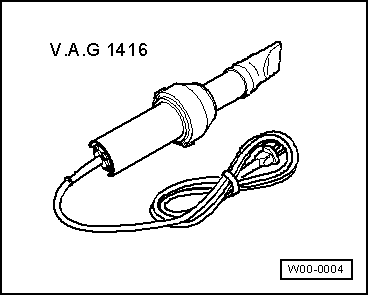
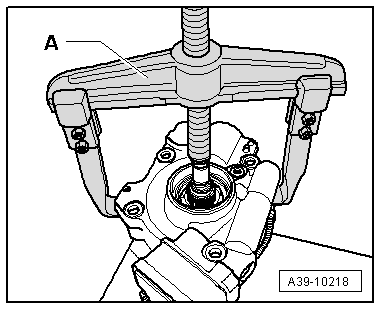
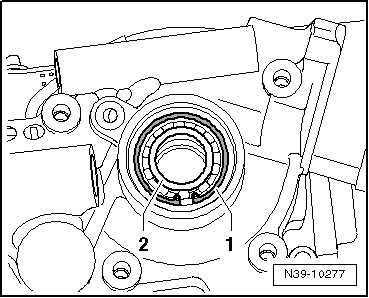
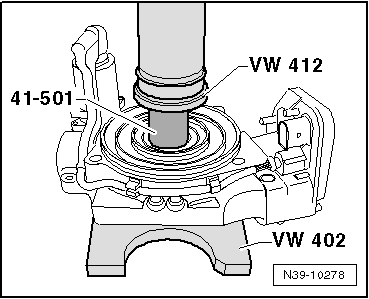
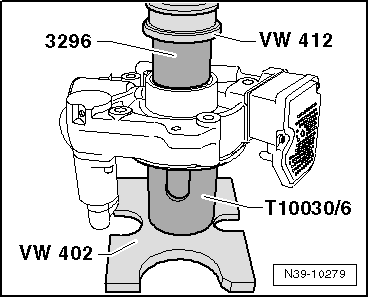
| Special tools and workshop equipment required |
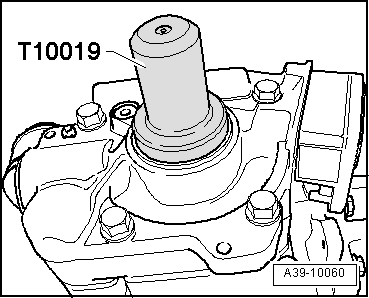
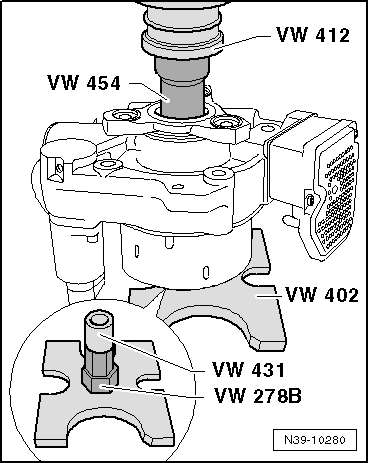
| t | Support equipment -VW 402- |
| t | Tappet -VW 412- |
| t | pressure tool -VW 431- |
| t | pressure tool -VW 454- |
| t | Tube -3296- |
| t | Tappet -41 501- |
|
|
|
|
|
|
|
|
|
|
|
|
|
|
|
|
|
|
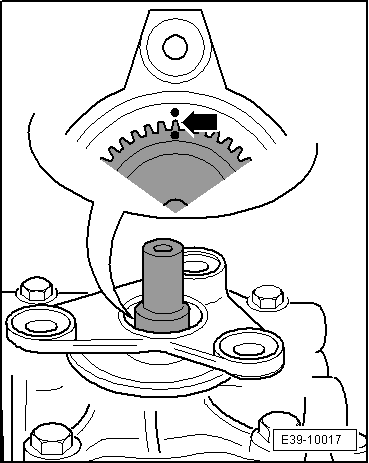
 Note
Note
|
|
|
|
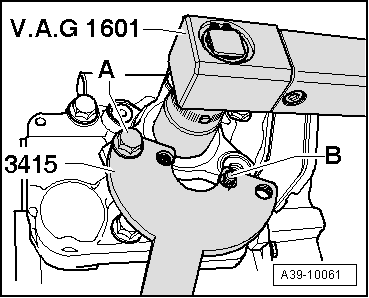
Note |
|
|
|
|
|
| Component | Nm | |
| Flange for propshaft to rear final drive | 210 | |