
Leon Mk2
| Removing |

| 1 - | Pressurized gas shock absorber |
| q | Can be replaced separately. |
| q | Check the shock absorber for leaks and noises. |
| q | removing and fitting → Chapter |
| q | Disposal procedure → Chapter |
| q | Allocation: → Parts catalogue |
| Functional check |
| Press on the shock absorber by hand. Under a constant pressure, the piston rod should insert itself to the limit smoothly. |
| The piston rod will return to its initial position if there is sufficient gas pressure in the shock absorber. |
| Even if the piston rod does not return to its initial position this does not mean that the shock absorber is faulty as long as there is no oil leak |
| 2 - | Protective cap |
| 3 - | Guard tube |
| 4 - | Bump stop |
| 5 - | Shock absorber socket |
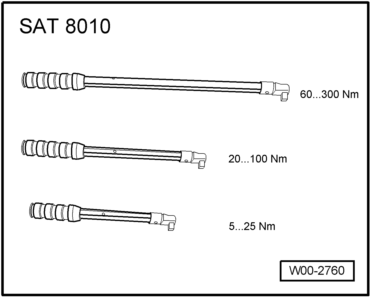
| 6 - | 20 Nm |
| q | replacing |
| q | Unscrewing |
| 7 - | Protective cap |
|
|
|
|
|