
Leon Mk2
|
|

|
|

|
|
|
 Caution
|
|
| Specified torques |
| Component | Tightening torque | ||
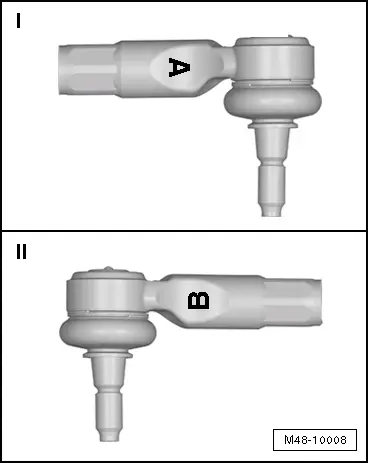
| Track rod ball joint to track rod | 70 Nm | ||
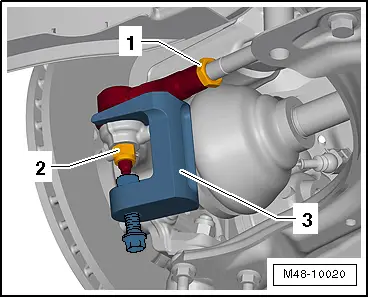
Track rod ball joint to wheel bearing housing
| Tighten to 100 Nm, then loosen (turn back) 180° and retighten to 100 Nm |