Remove the cable guide from the fuel distributor and lay it to the side.
Caution
When slackening the union nuts of the high pressure line, hold the connection fitting with an open-end wrench. If the connection fitting loosens, this can cause leakage.
–
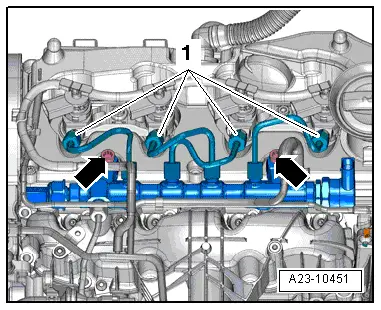
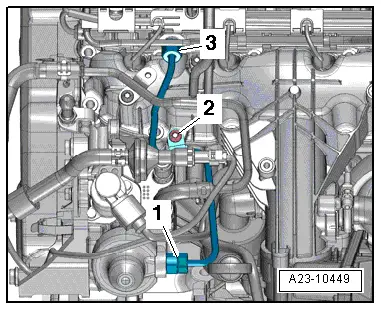
Unscrew the union nuts -1- of the high pressure lines from the injection units.
–
Release fixing screws -arrows- and remove the fuel distributor.
Install
Installation is performed in the reverse order, pay attention to the following points:
 Note
Note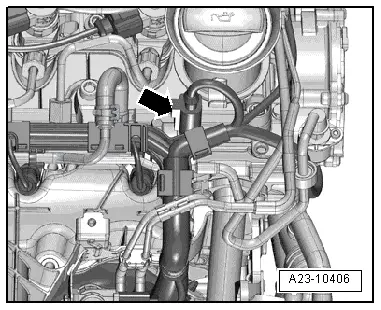
 Caution