skoda Workshop Repair Guides

Skoda Workshop Service and Repair Manuals

Removing and installing the front air distribution flap control motorV426 > < Right-hand drive
Removing and installing right temperature flap control motorV159
Removing and installing right temperature flap control motor -V159 -
Removing
–  Switch off the ignition and all electrical components.
Left-hand drive:
–  Remove storage compartment on the front passenger side.
Right-hand drive:
–  Remove lower part of the dash panel insert on the driver's side → Body Work; Rep. gr.70.
–  Remove knee airbag → Body Work; Rep. gr.69.
All vehicles:
–  Remove right footwell vent → Chapter.
–  Slacken the bottom part of the dash panel on the right side and swivel slightly downwards.
   
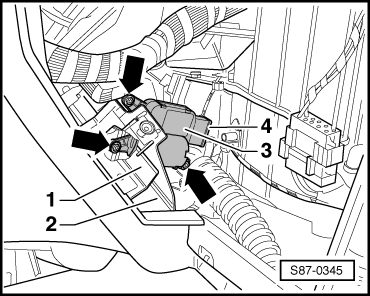
–  Swivel the dash panel holder -2- with the control unit for Xenon headlights -1- towards the right (left-hand drive, for right-hand drive the control unit is located on another point), until the fixing screws -arrows- are reached.
–  Disconnect plug connection -4-.
  S87-0345
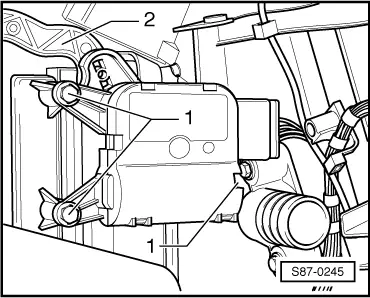
–  Release fixing screws -1-, remove control motor and unhook support -2-.
Install
Installation is performed in the reverse order, pay attention to the following points:
  Note
t  After installing the control motor, it is necessary to test the operation of the right temperature flap.
t  Carry out the function „Initiate basic setting“ with the Vehicle diagnosis, measurement and information system -VAS 5051-.
  S87-0245

Removing and installing the front air distribution flap control motorV426 > < Right-hand drive