| –
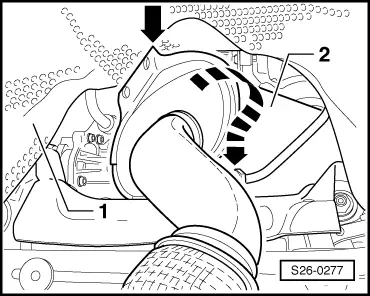
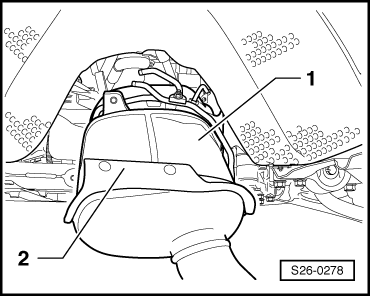
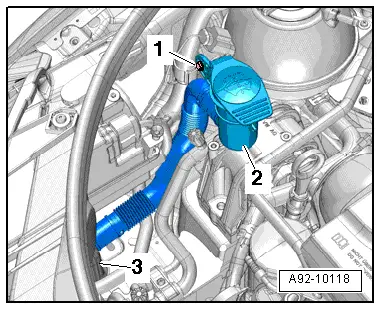
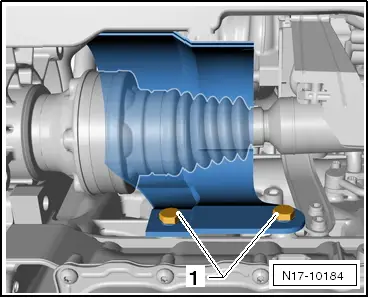
| Insert the diesel particle filter -1- with the bracket -2- upwards as shown and swivel to the left by 180°. |
| Further installation occurs in reverse order. However, pay attention to the following: |
| t
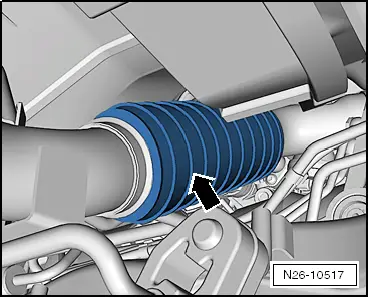
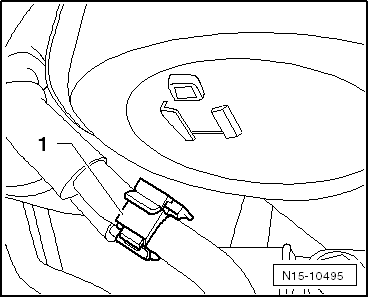
| Replace gasket and clamp for diesel particle filter. |
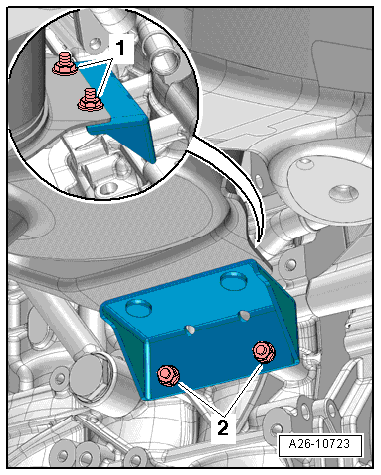
| –
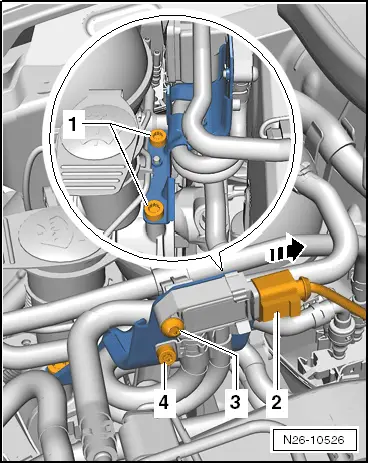
| First fasten the diesel particle filter loosely to the exhaust gas turbocharger and then fasten to the bottom bracket. |
| –
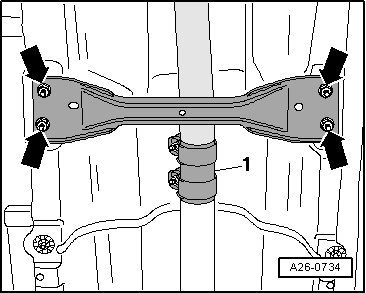
| Align exhaust system free of stress: |
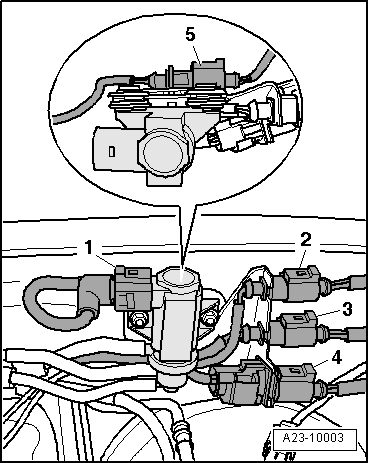
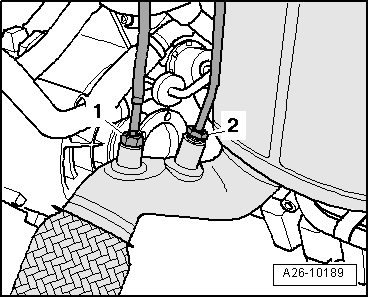
| If the differential pressure sender -G505- is changed, the differential pressure sender -G505- must be adapted via the diagnostic unit: Targeted functions; adapt differential pressure sender -G505-. |
|
|
|


 Caution
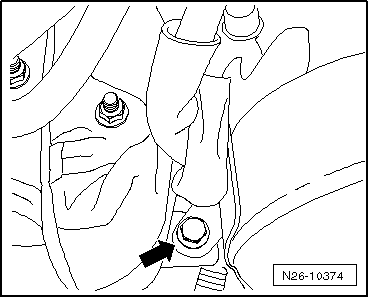
 Note
Note