
Impreza 2.5 RS Coupe AWD F4-2.5L SOHC (2001)
ST1 922431000 AXLE SHAFT INSTALLER
ST2 927390000 ADAPTER
CAUTION: Do not hammer drive shaft when installing it.
3. Tighten axle nut temporarily.
4. Replace circlips from DOJ spline with new one. (2200 cc AT model only)
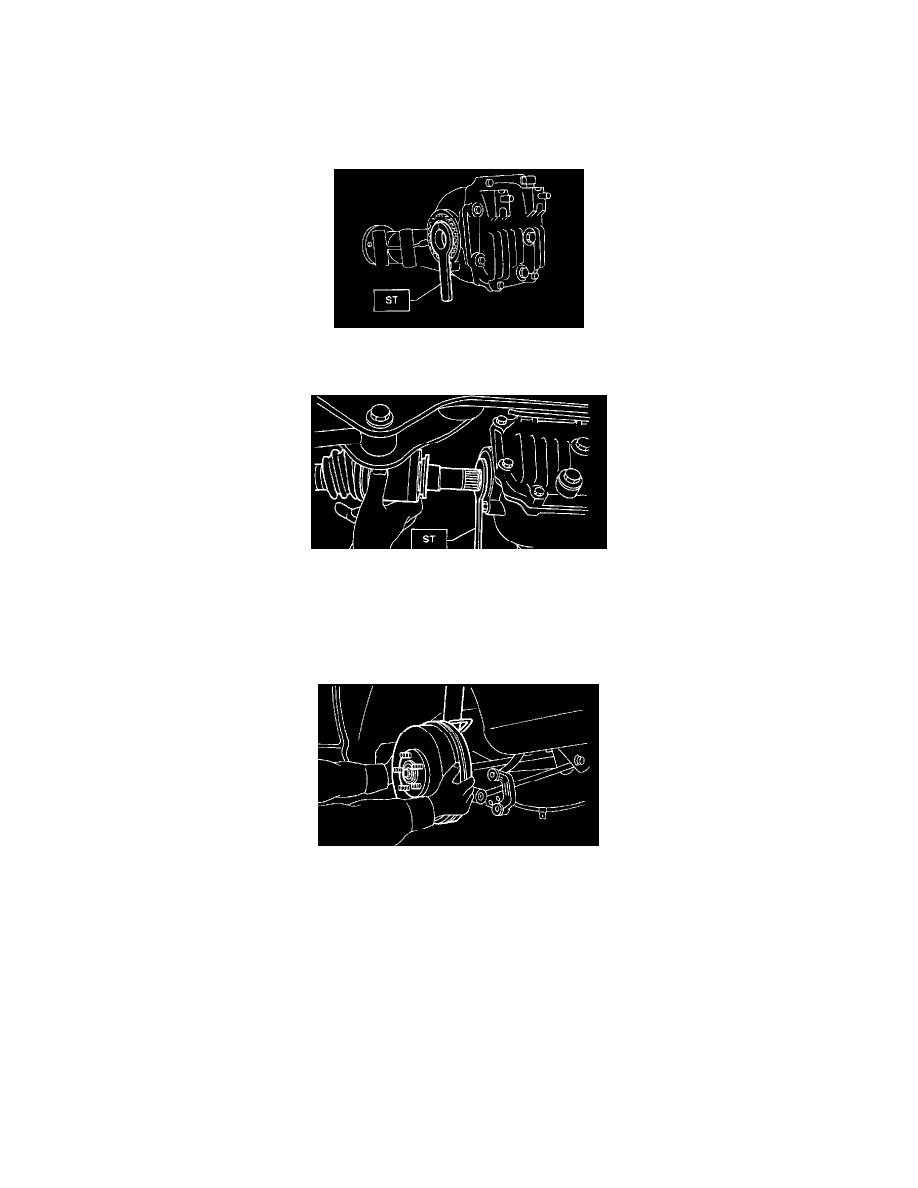
5. Using ST, install DOJ into differential.
ST 28099PA090 SIDE OIL SEAL PROTECTOR
6. Insert DOJ spline end into bore of side oil seal, and remove ST.
CAUTION: Do not allow DOJ splines to damage side oil seal.
ST 28099PA090 SIDE OIL SEAL PROTECTOR
7. Align DOJ and differential splines.
8. Push housing to insert DOJ into differential.
NOTE: Make sure DOJ is inserted properly.
9. Connect rear housing assembly to trailing link assembly, and tighten self-locking nut.
Tightening torque: 113 Nm (11.5 kgf-m, 83 ft. lbs.)
10. Connect rear housing assembly to lateral link assembly, and tighten self-locking nut.
Tightening torque: 137 Nm (14 kgf-m, 101 ft. lbs.)
11. Install stabilizer bracket.
12. While depressing brake pedal, tighten axle nut using a socket wrench.
Tightening torque: 186 Nm (19 kgf-m, 137 ft. lbs.)
CAUTION:
^
Use a new axle nut.
^
Always tighten axle nut before installing wheel on vehicle. If wheel is installed and comes in contact with ground when axle nut is loose, wheel
bearings may be damaged.
^
Be sure to tighten axle nut to specified torque. Do not overtighten it as this may damage wheel bearing.