
Impreza GT F4-2.5L Turbo (2009)
Installation
The contents of this article reflects service bulletin 16-75-09 dated 04/08/09.
The strainer has changed from being made of metal to resin. The length of the bolts and the torque specification has also changed.
INSTALLATION
1) Check the control valve body for dust and other foreign matter.
2) Attach a new control valve strainer to the control valve body.
1) Apply ATF to the entire perimeter of the O-ring on the control valve strainer.
CAUTION:
When applying ATF, avoid adhesion of dust and foreign matter on the O-ring.
2) Install the control valve strainer to the control valve body from the O-ring side.
CAUTION:
If the control valve strainer is pushed in at an angle, the O-ring may be damaged. Be sure to push in the control valve strainer straight to
install.
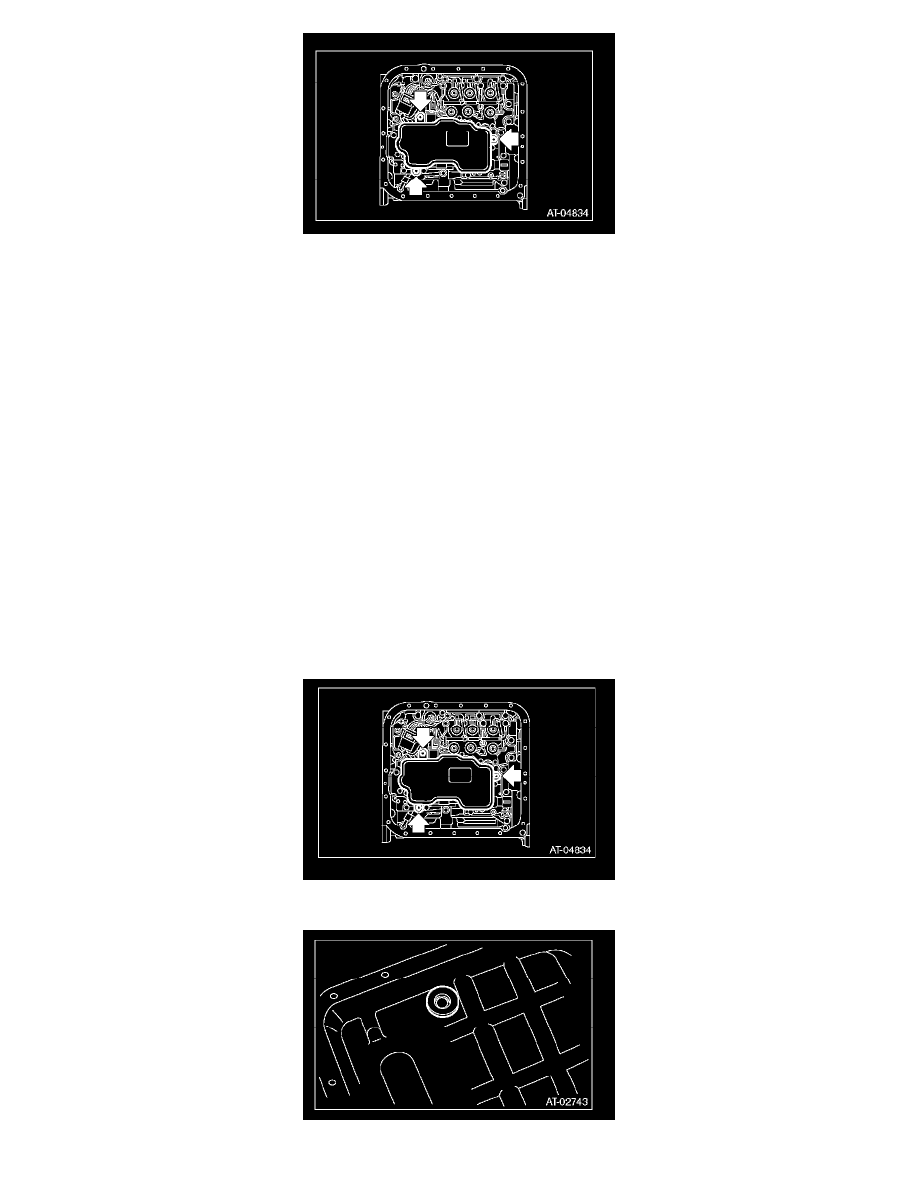
3) Tighten the three bolts.
Torque Specification.
Resin strainer ......................................................................................................................................................... 4.6 Nm (0.46 Kgf-m, 3.4 ft-lb)
Metal strainer ............................................................................................................................................................ 10 Nm (1.0 Kgf-m, 7.4 ft-lb)
3) Attach the magnet at the specified position of the oil pan.