
Impreza RS Coupe AWD F4-2.5L SOHC (1999)
(4) Tighten adjusting screw by two threads.
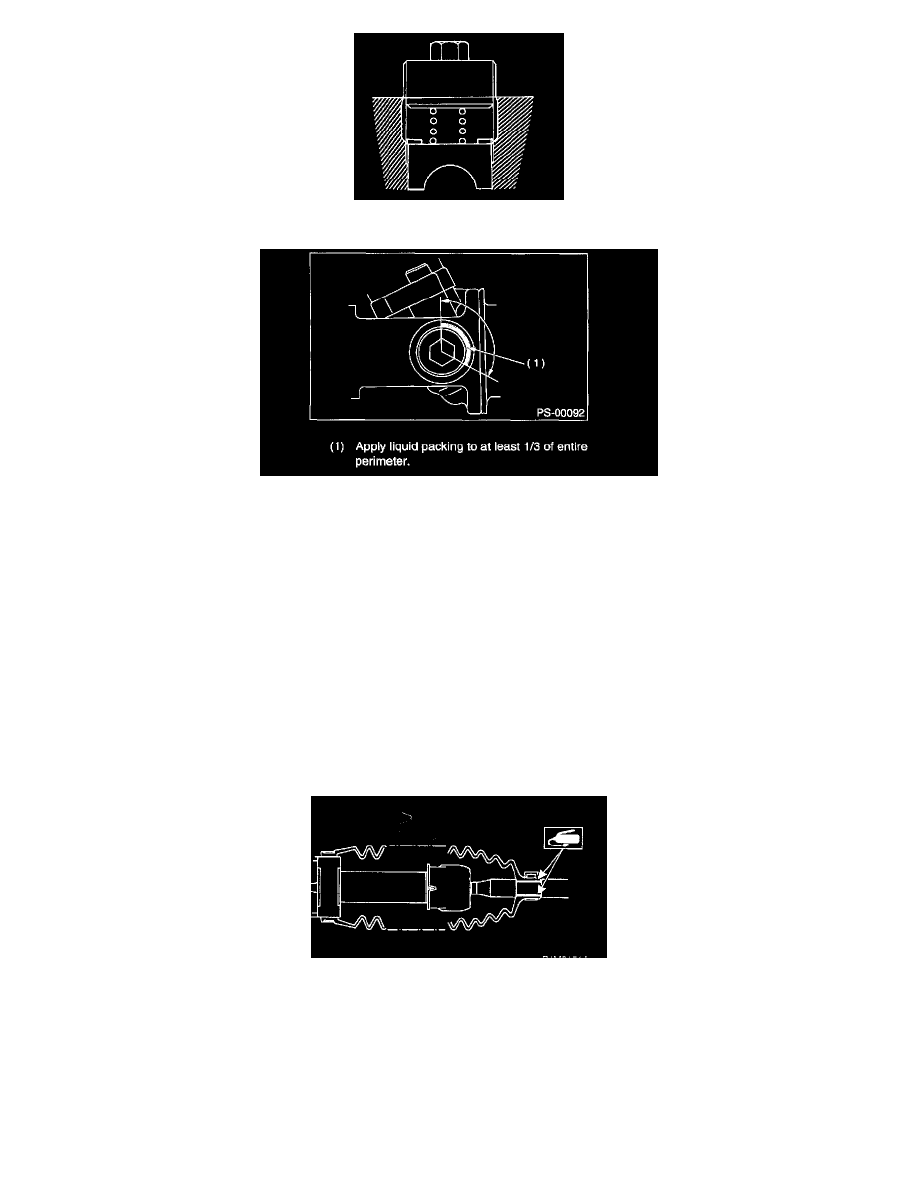
(5) Apply liquid packing to at least 1/3 of entire perimeter of adjusting screw thread.
Liquid packing: THREE BOND 1141
(6) Tighten adjusting screw to 7.4 Nm (0.75 kg-m, 5.4 ft. lbs.) and back off 25°.
(7) Install lock nut. While holding adjusting screw with a wrench, tighten lock nut using ST.
ST 926230000 SPANNER
Tightening torque (Lock nut):
39 ± 10 Nm (4.0 ± 1.0 kg-m, 29 ± 7 ft. lbs.)
NOTE:
-
Hold adjusting screw with a wrench to prevent it from turning while tightening lock nut.
-
Make adjustment so that steering wheel can be rotated fully from lock to lock without binding.
9. Check for service limit as per article of "Service limit". Make replacement and adjustment if necessary.
10. Install boot to housing.
NOTE:
-
Before installing boot, be sure to apply grease to the groove of tie-rod.
-
Install fitting portions of boots to the following portions in both sides of assembled steering gearbox.
The groove on gearbox
The groove on the rod
-
Make sure that boot is installed without unusual inflation or deflation.