
Legacy Postal Wagon AWD F4-2.2L SOHC (1998)
c) Remove belt cover No. 2 (LH).
d) Remove belt cover No. 2 (RH).
CAUTION: Do not damage or lose the seal rubber when removing belt covers.
e) Remove tensioner bracket.
B: INSPECTION
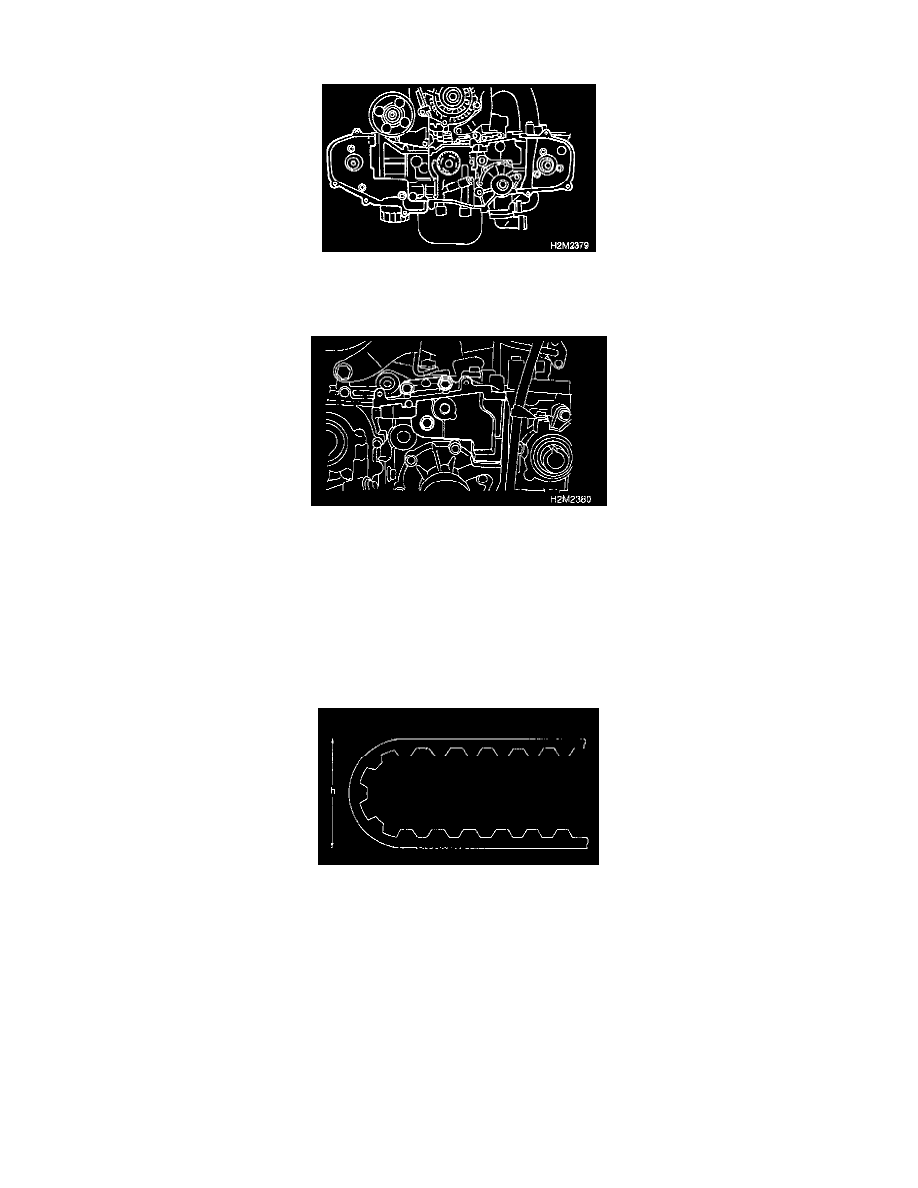
1. Timing Belt
a) Check timing belt teeth for breaks, cracks, and wear. If any fault is found, replace belt.
b) Check the condition of back side of belt; if any crack is found, replace belt.
CAUTION:
^
Be careful not to let oil, grease or coolant contact the belt. Remove quickly and thoroughly if this happens.
^
Do not bend the belt sharply.
Bending radius: h 60 mm (2.36 inch) or more
2. Automatic Belt Tension Adjuster
a) Visually check oil seals for leaks, and rod ends for abnormal wear or scratches. If necessary, replace faulty parts.
CAUTION: Slight traces of oil at rod's oil seal does not indicate a problem.
b) Check that the adjuster rod does not move when a pressure of 294 N (30 kg, 66 lbs.) is applied to it. This is to check adjuster rod stiffness.
c) If the adjuster rod is not stiff and moves freely when applying 294 N (30 kg, 66 lbs.), check it using the following procedures:
(1) Slowly press the adjuster rod down to the end surface of the cylinder. Repeat this motion 2 or 3 times.
(2) With the adjuster rod moved all the way up, apply a pressure of 294 N (30 kg, 66 lbs.) to it. Check adjuster rod stiffness.
(3) If the adjuster rod is not stiff and moves down, replace the automatic belt tension adjuster assembly with a new one.
CAUTION:
^
Always use a vertical type pressing tool to move the adjuster rod down.