
SVX LSi AWD L6-3.3L DOHC (1997)
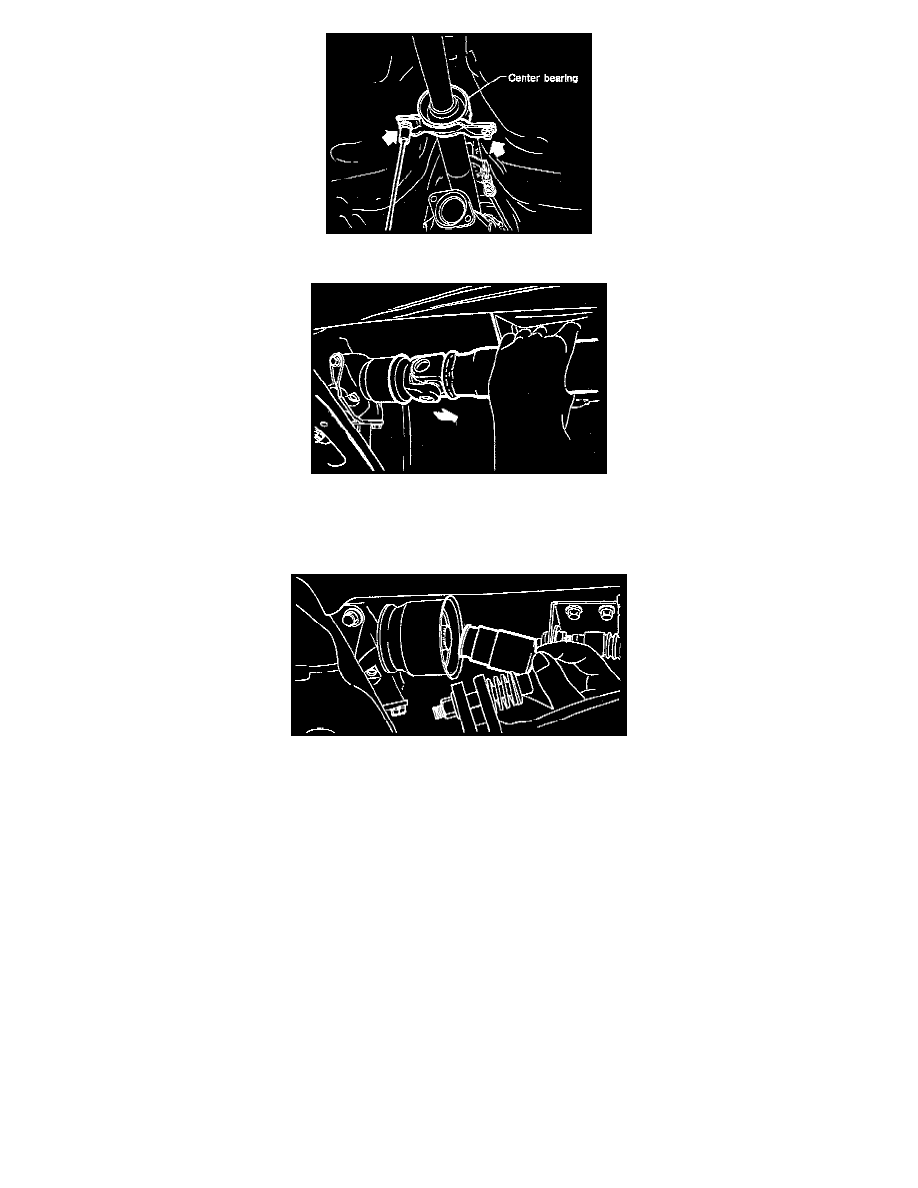
9. Remove the two bolts which hold center bearing to car body.
10. Remove propeller shaft from transmission.
11. Install the extension cap to transmission.
a. Be sure to use an empty oil can to catch oil flowing out when removing propeller shaft.
b. Be sure not to damage oil seals and the frictional surface of sleeve yoke.
c. Be sure to plug the opening in transmission after removal of propeller shaft.
INSTALLATION
1. Install center bearing onto front propeller shaft.
2. Install washer to center bearing.
-
Apply a coat of grease to both surfaces of washer before installation.
Recommended grease: Molybdenum disulfide grease
3. Align marks and install companion flange.
4. Tighten stake nut until center bearing is set in position.
-
Be sure to install new stake nut.
Tightening torque: 245-294 Nm (181-217 ft.lb)
-
Stake the nut after tightening.
5. Align marks and connect front and rear shafts.
Tightening torque: 24-32 Nm (17-24 ft.lb)
6. Remove the extension cap from transmission.
7. Insert sleeve yoke into transmission and attach center bearing to car body.
Tightening torque: 47-57 Nm (35-42 ft.lb)
8. Connect flange yoke and rear differential.