
Aerio L4-2.3L (2006)
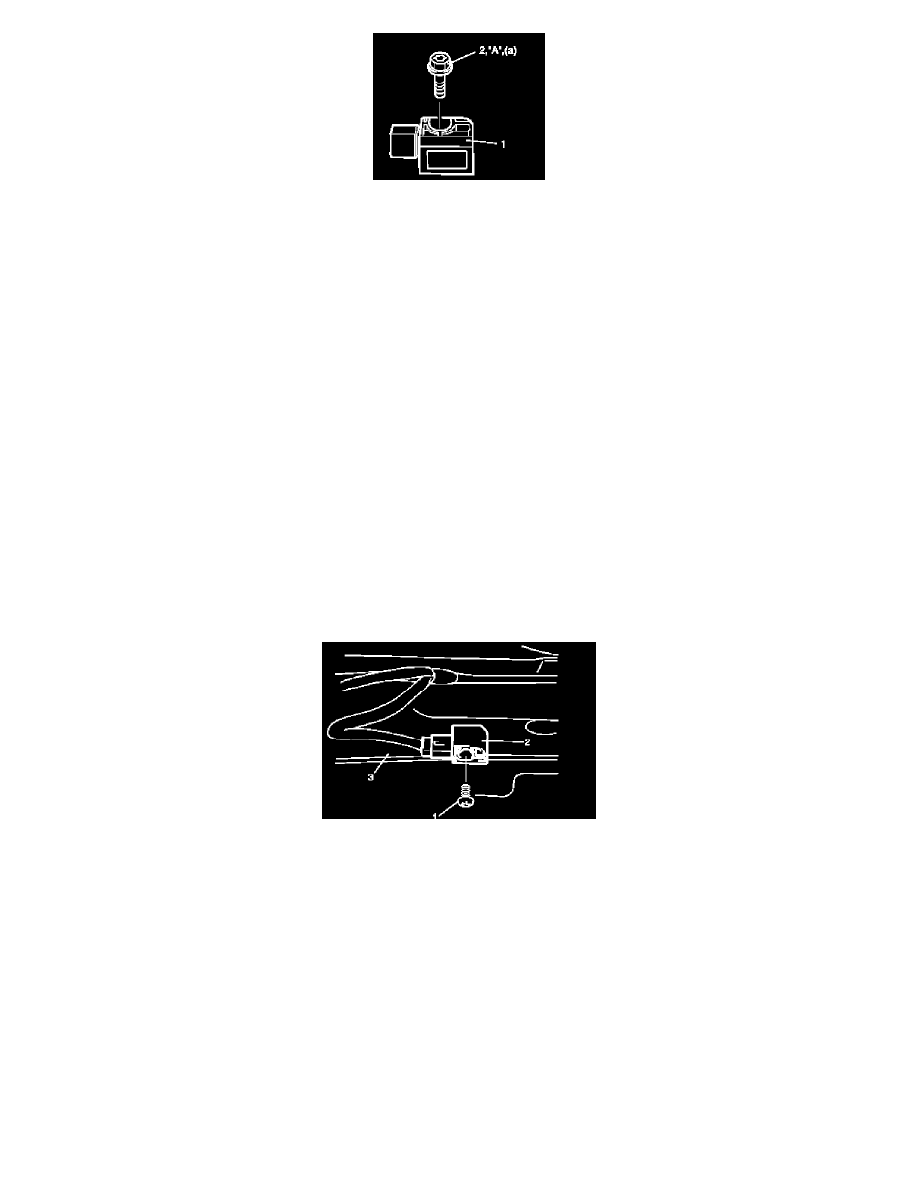
2. Apply thread lock cement to mounting bolts thread. Install forward sensor (1) on front panel and tighten mounting bolt (2) to specified torque.
"A": Thread lock cement 99000-32100
Tightening torque
Forward sensor mounting bolt a: 9 N.m (0.9 kg-m, 6.5 lb-ft)
3. Connect forward sensor connector by pushing connector till click is heard from it.
4. Connect negative cable at battery.
5. Enable air bag system referring to Enabling Air Bag System:Advanced Air Bag.
Side Sensor
Side Sensor Removal and Installation
WARNING:
During service procedures, be very careful when handling a sensor.
-
Never strike or jar a sensor.
-
Under some circumstance, it could cause improper operation of the air bag system. A sensor bolt must be carefully torqued to assure
proper operation.
Removal
1. Disconnect negative ( ) cable at battery.
2. Disable air bag system. Refer to Disabling Air Bag System:Advanced Air Bag.
3. Remove center pillar lower trim and side sill scuff.
4. Turn up floor carpet at front seat side.
5. Remove side sensor bolt (1), and side sensor (2) from under body (3).