
Esteem L4-1590cc 1.6L SOHC 0 MFI 16V (1995)
INSPECTION
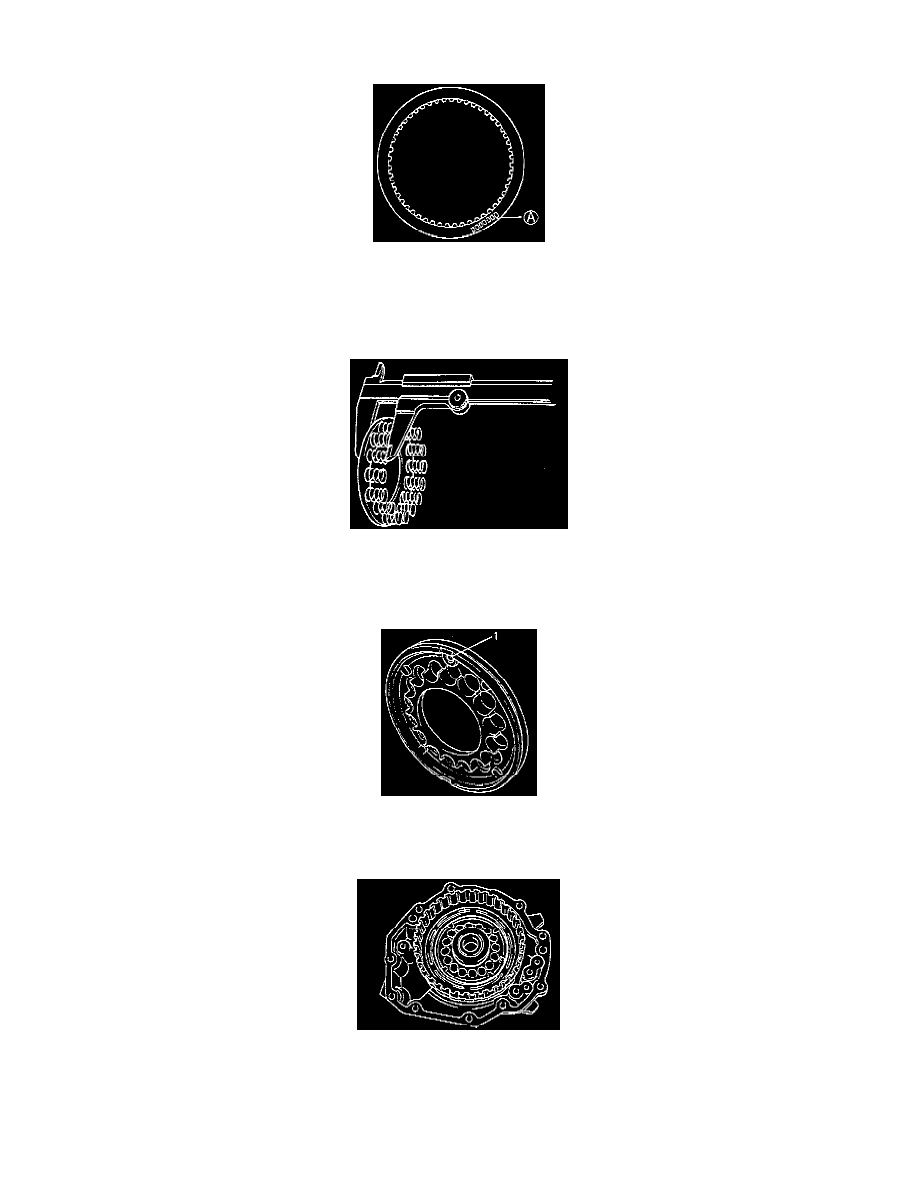
1. Check that sliding surfaces of discs, plates and flanges are not worn or burnt. If necessary, replace.
NOTE:
^
If disc lining is exfoliated or discolored, or part of printed numbers ((A) section) is defaced, replace all discs.
^
Before assembling new discs, soak them in A/T fluid for at least two hours.
2. Measure height of overdrive clutch return spring.
Specified value: 18.9 mm (0.74 inch)
NOTE: Do not apply excessive force when measuring spring height. Perform measurement at several points.
3. Check to make sure that ball makes creaking noise when shaking piston clockwise and counterclockwise. (i.e., check that ball is free.)
ASSEMBLY
1. Apply A/T fluid to new O-rings.
2. Install new O-rings to pistons.
3. Set coast clutch piston to overdrive clutch piston by pushing with fingers.
4. Press overdrive clutch and coast clutch piston to overdrive clutch drum.
NOTE: Make sure that O-rings are not twisted or deviated from position during insertion of piston.